
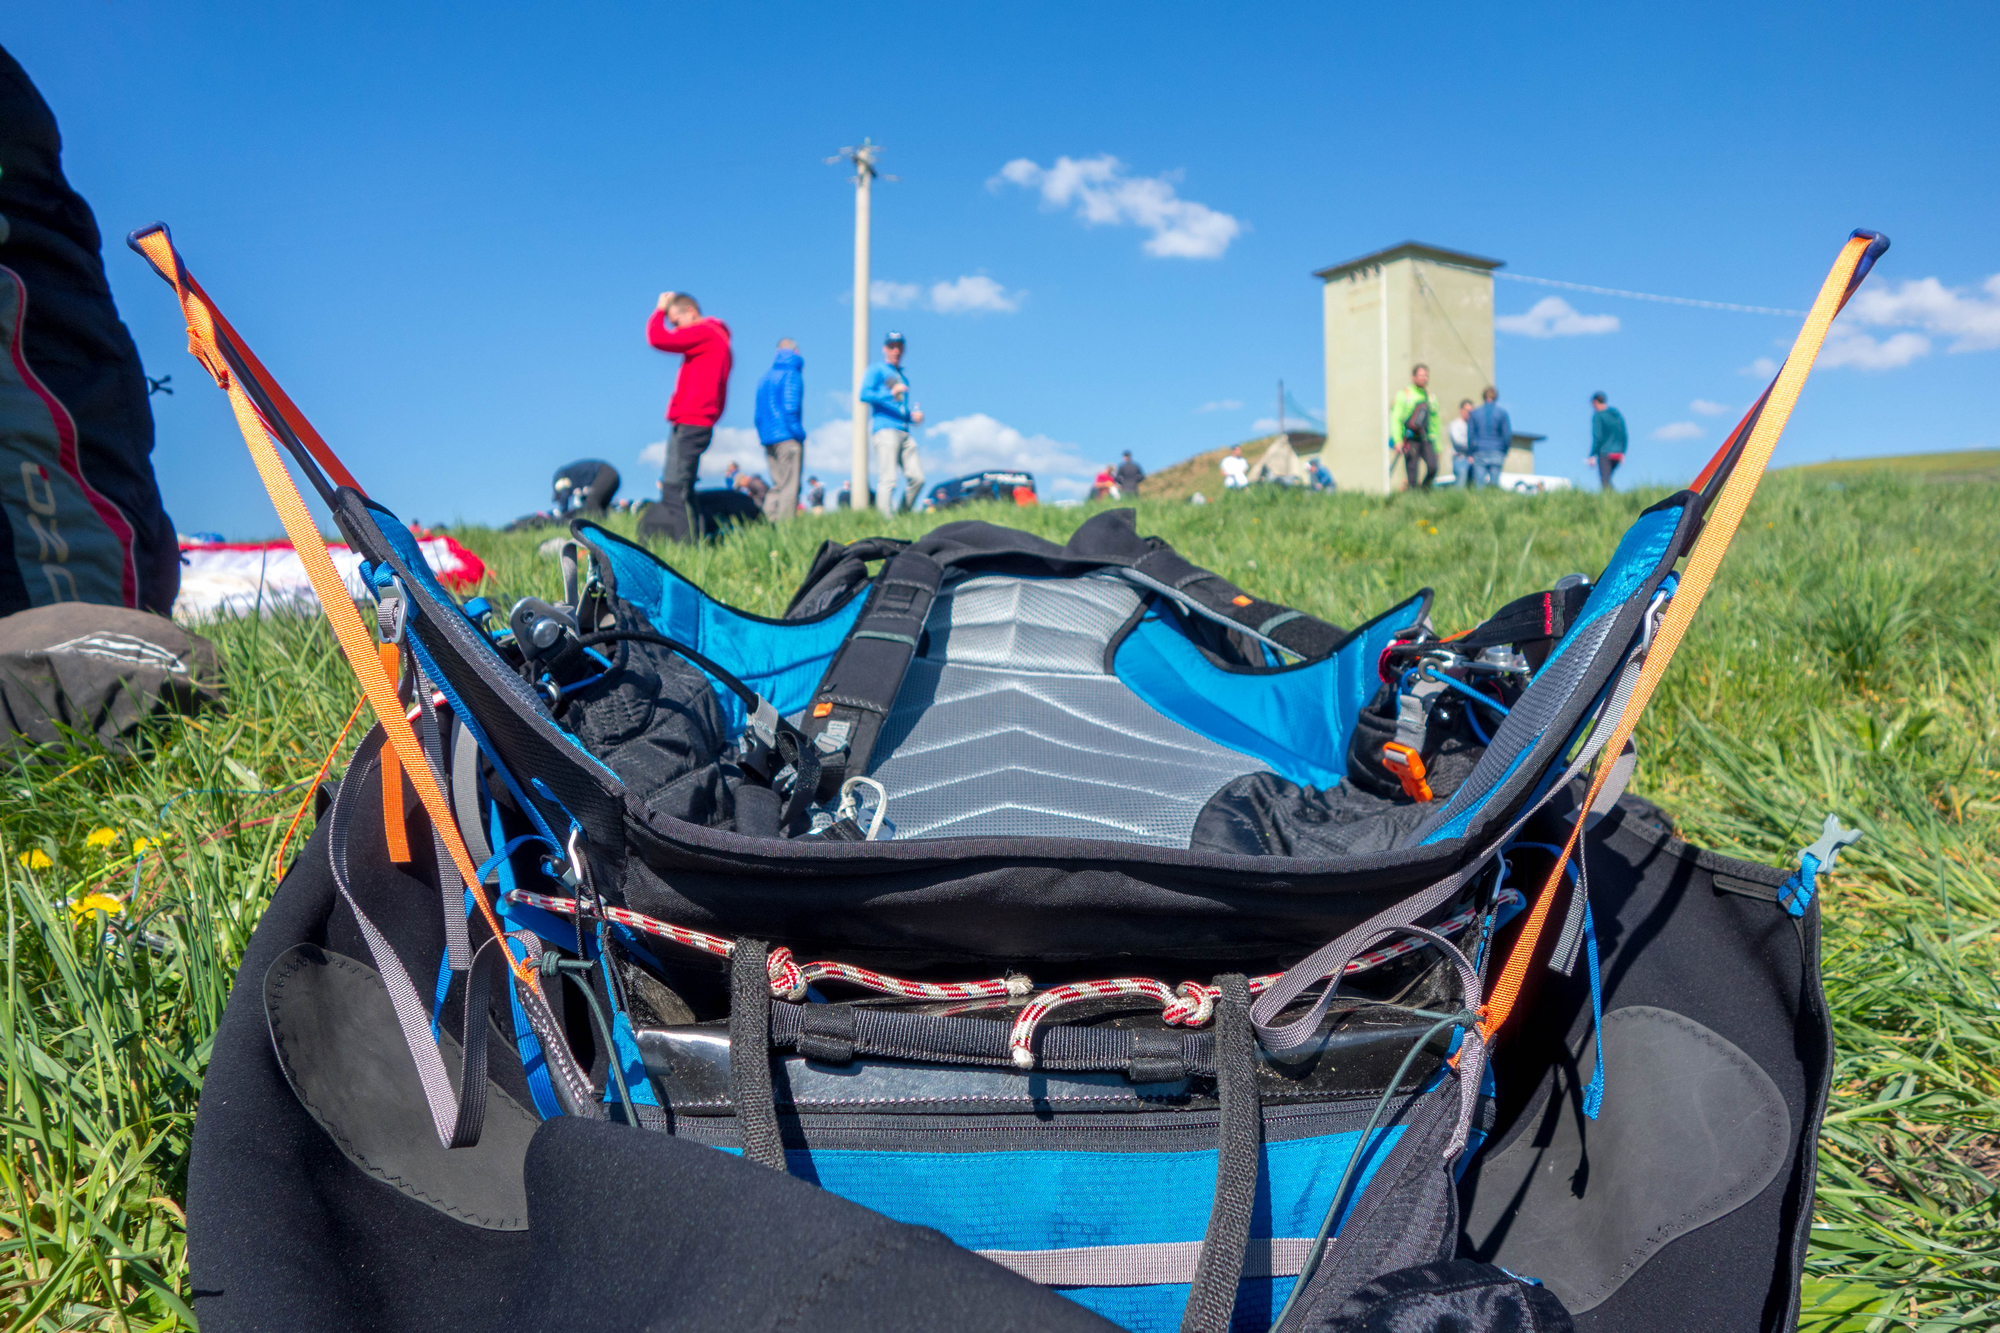
Harness Pre-Flight Inspection Guide …
Humankind has always dreamed of flying like birds. Yet biologically, we are not naturally built for the skies!
Over centuries of innovation, aviation pioneers created remarkable free-flight gliders that allow us to roam the sky freely.
However, accessible as paragliding has become, it remains an aviation activity with inherent risks.
As highlighted in our article on preventing buckle-up failure in paragliding, serious accidents occur every season from oversights made immediately prior to takeoff.
Complacency, rush, distraction, or fatigue—the human factor takes many forms.
Every aviation discipline requires rigorous pre-flight routines before takeoff. In paragliding, this is our “Pre-Flight Check”.
This guide does not rehash the standard 5-point launch check taught in paragliding schools, which every pilot must master as second nature.
Instead, we focus on in-depth, periodic technical inspections of the harness itself—ideal for a quiet evening at home, while waiting for the shuttle, or after a rough landing.
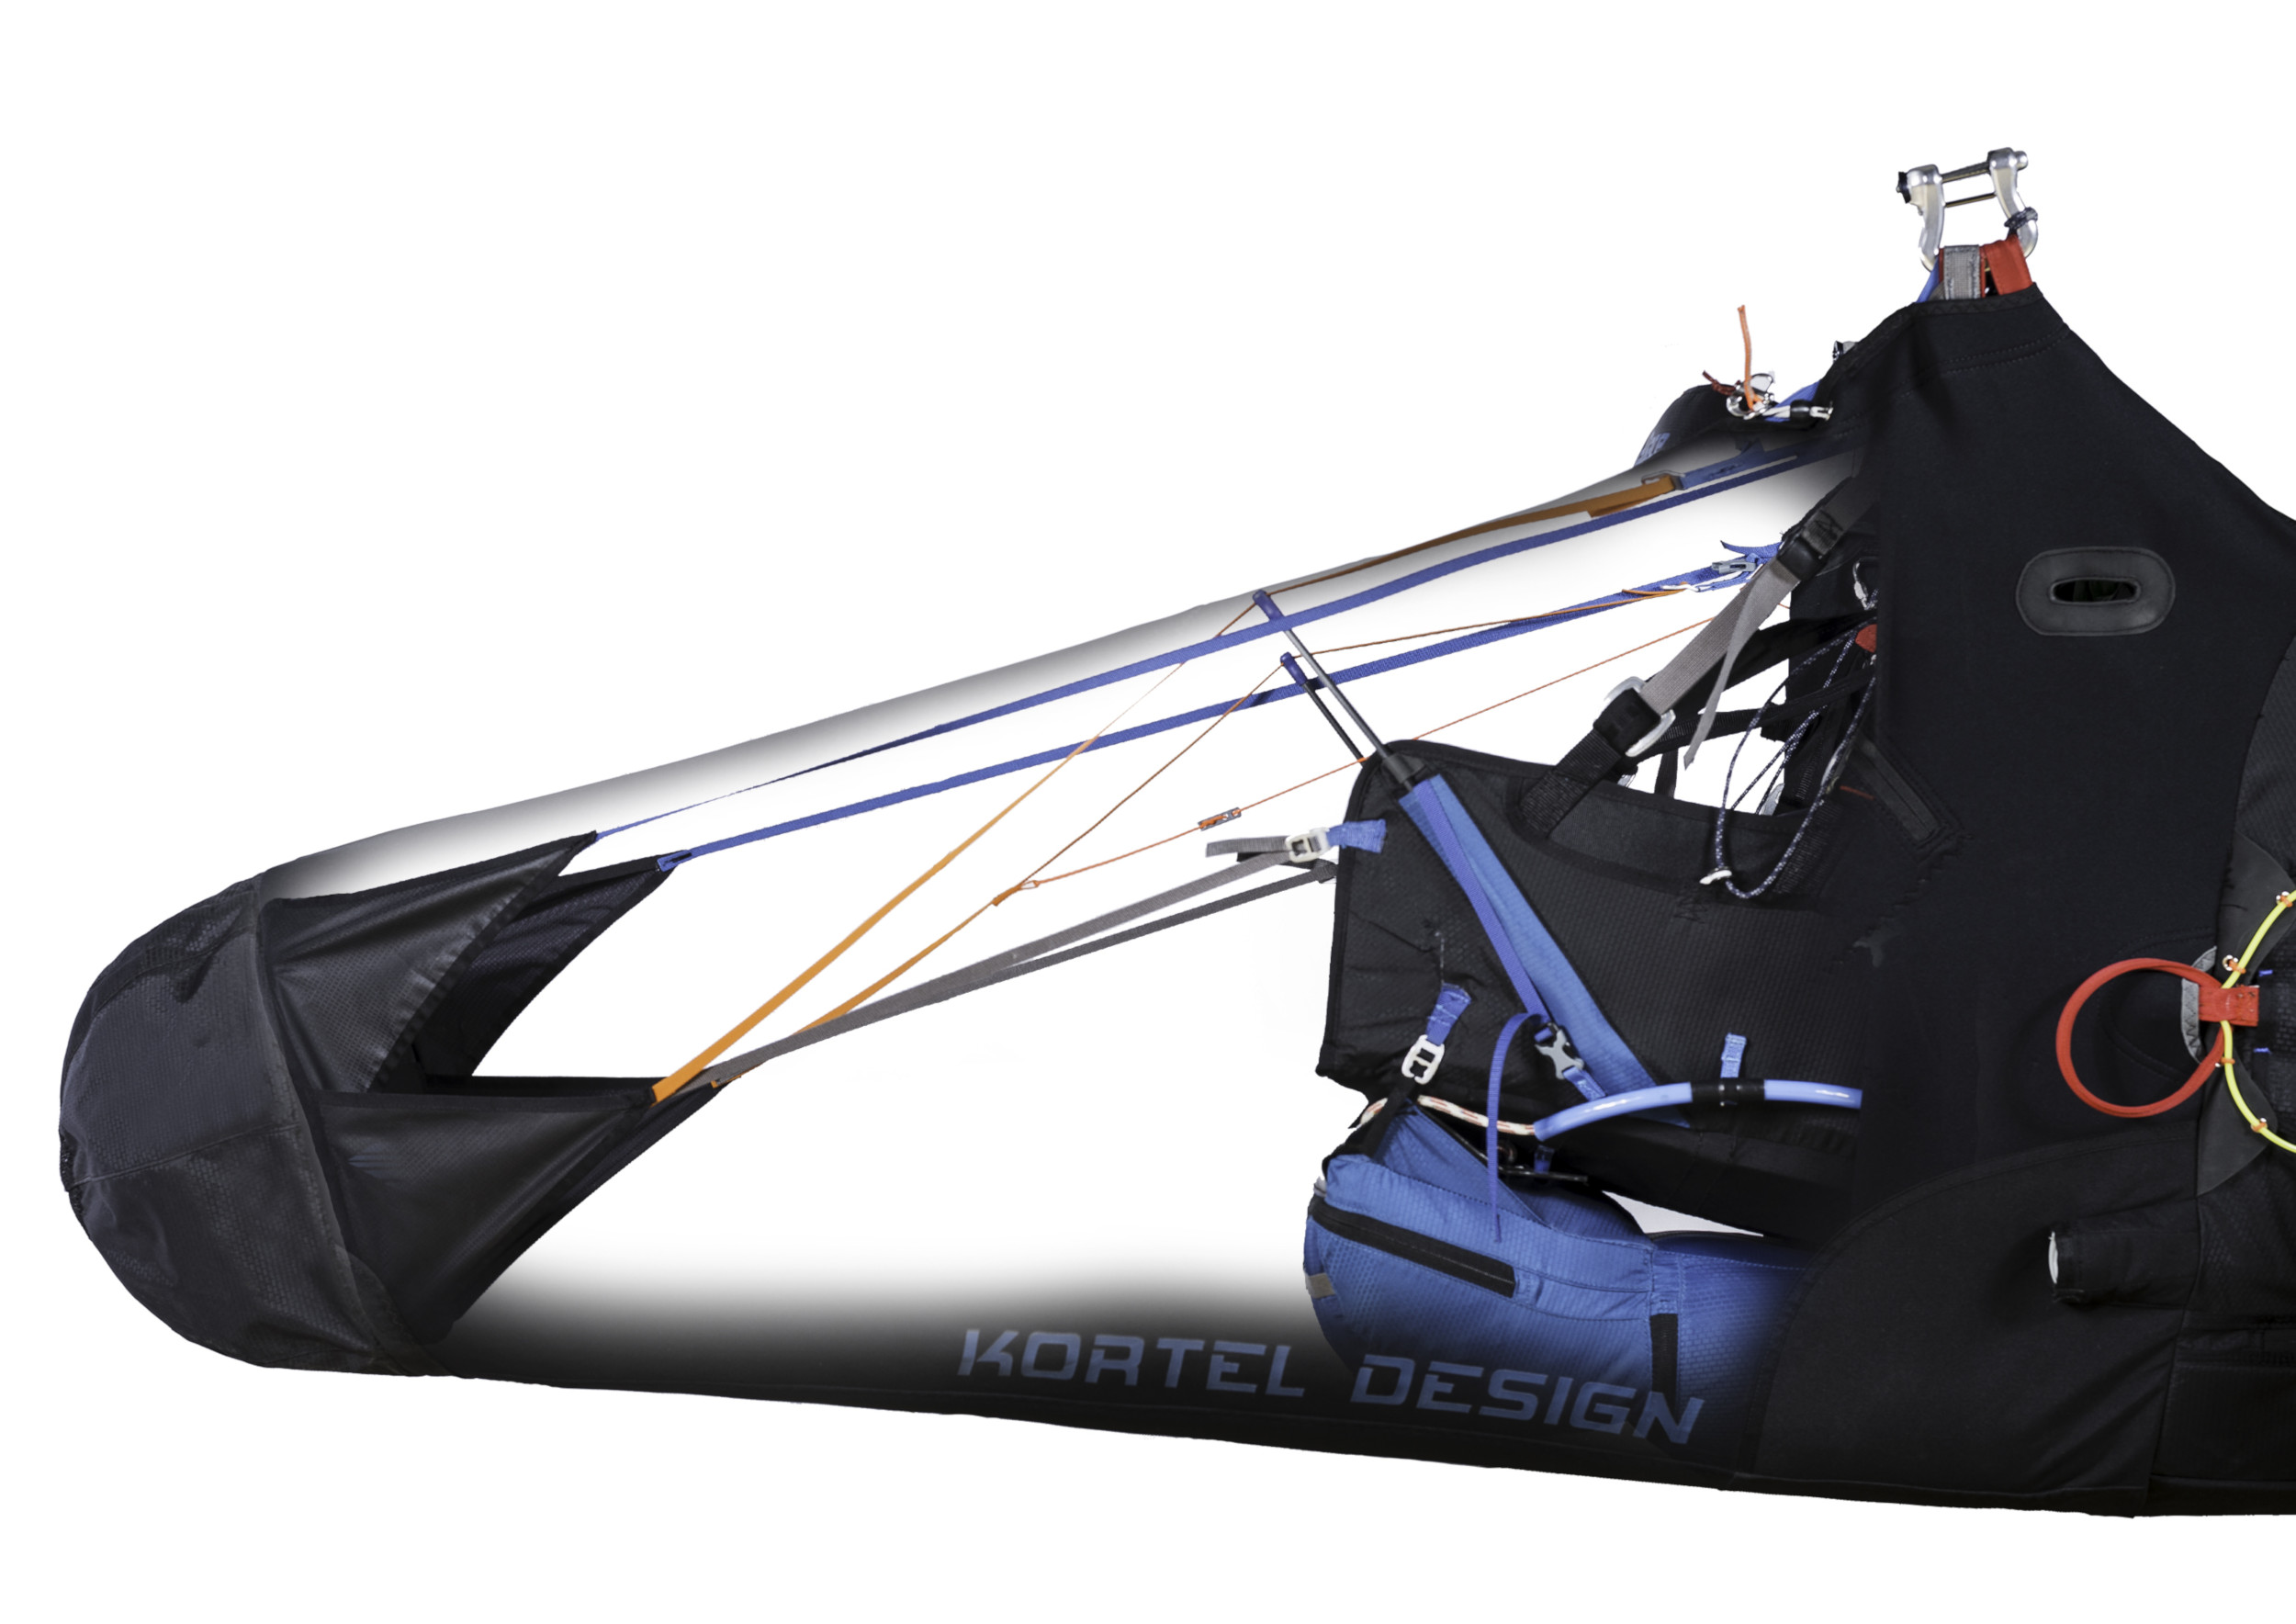
Here is an exhaustive inspection checklist to tailor to your specific harness model and accessories.
Crucial if you have:
- Loaned your harness to a friend
- Borrowed or purchased a second-hand harness
- Received your harness back from a repair workshop
- …
Harness Structure:
- Overall condition of fabrics and seams.
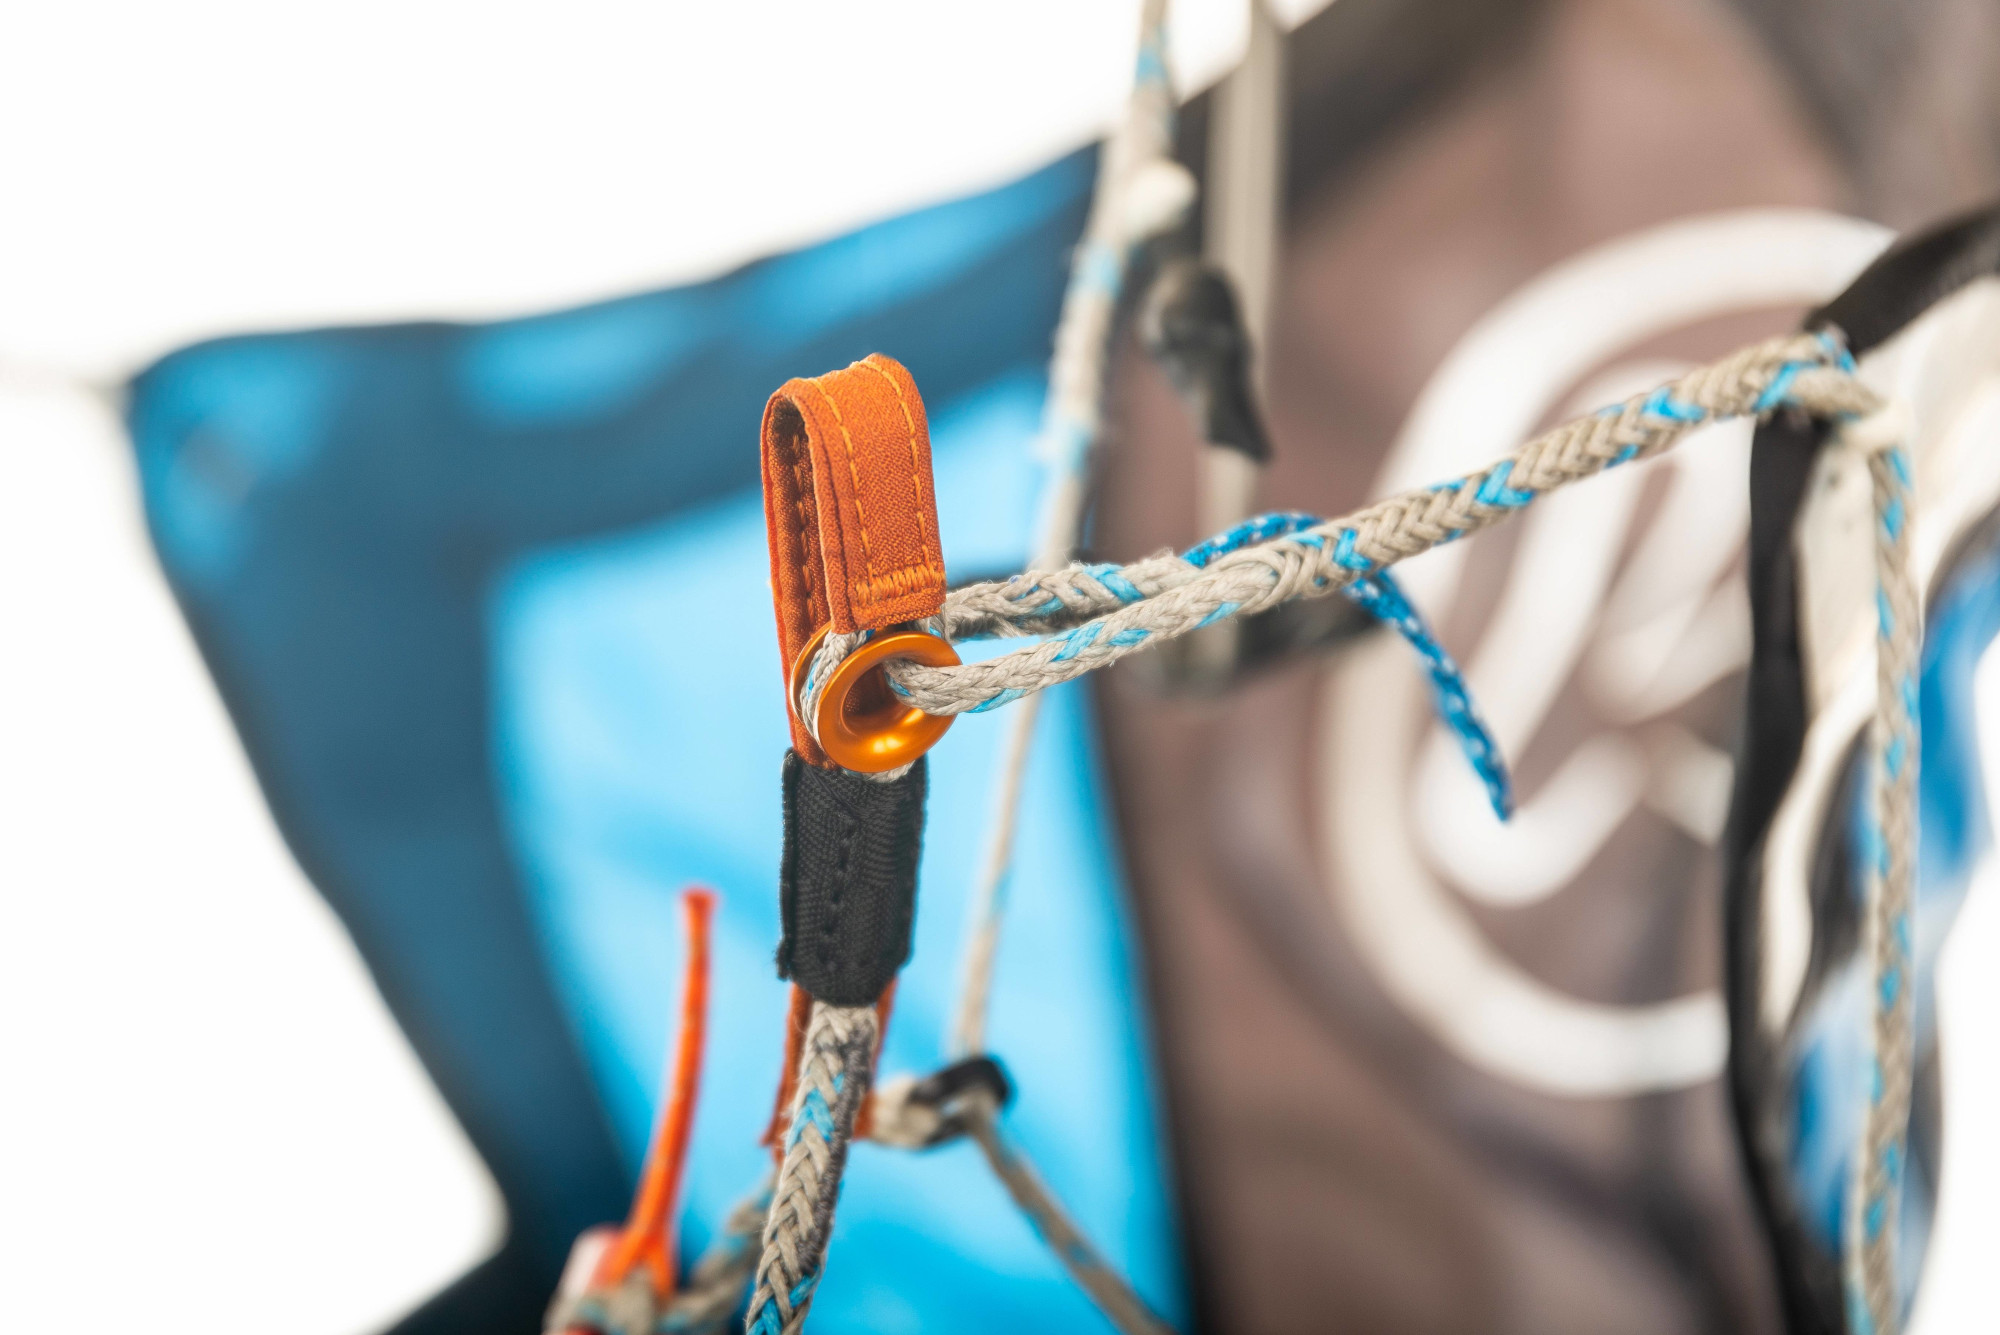
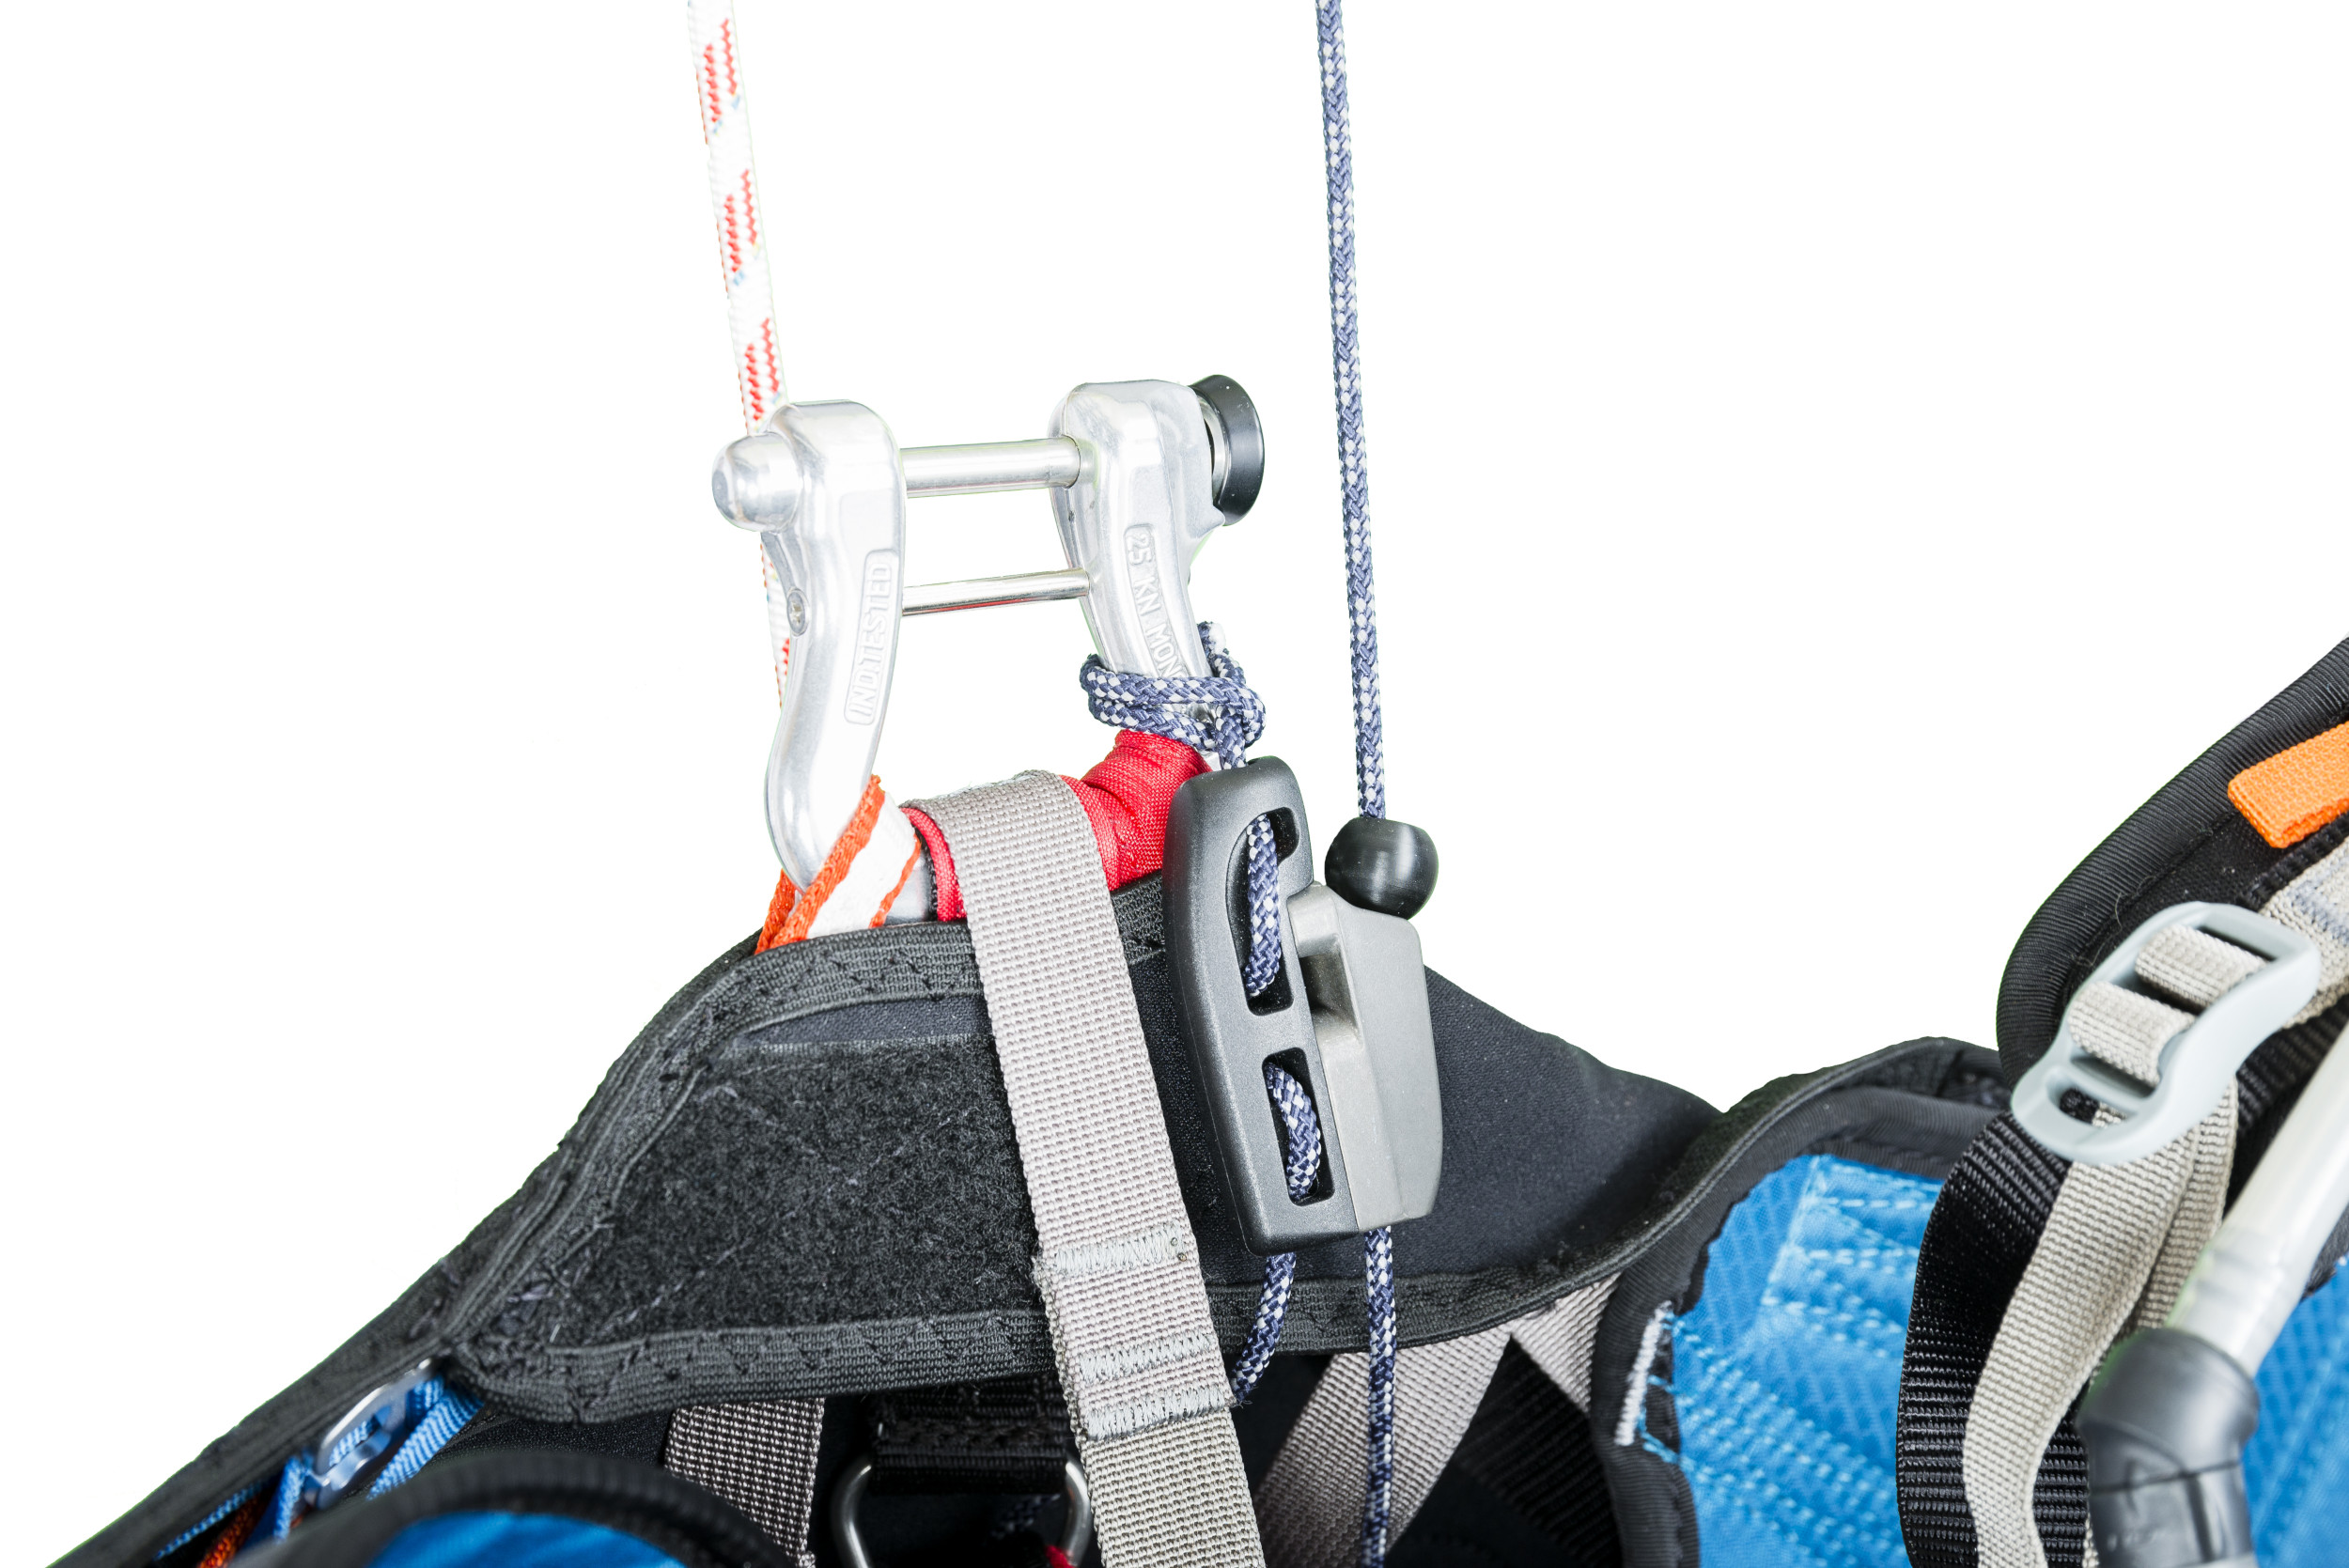
- Integrity of load-bearing webbing and Dyneema lines: check for fraying, cuts, chemical contamination, or UV discoloration.
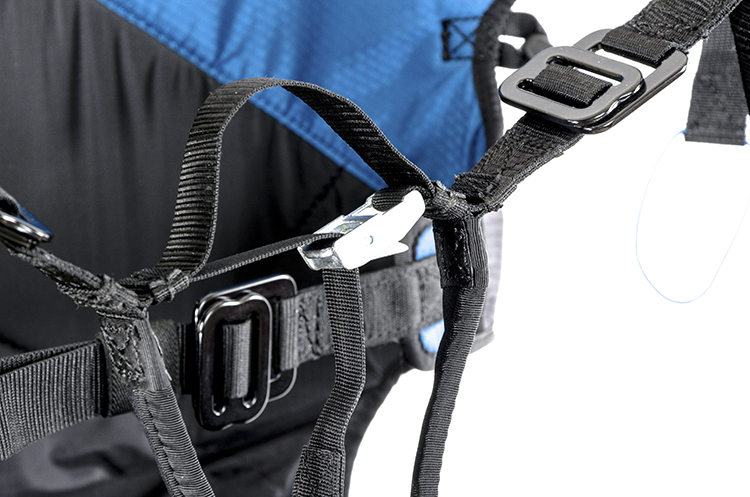
- Are strap adjustments set correctly? Has anyone altered your settings?
- Is the speed bar calibrated correctly? A speed bar line set too short can pull the glider into accelerated trim immediately upon launch!
- Condition of speed system lines: worn lines can jam in pulleys and lock the glider accelerated in flight.
Rescue Parachute System:
- Is the reserve parachute installed?
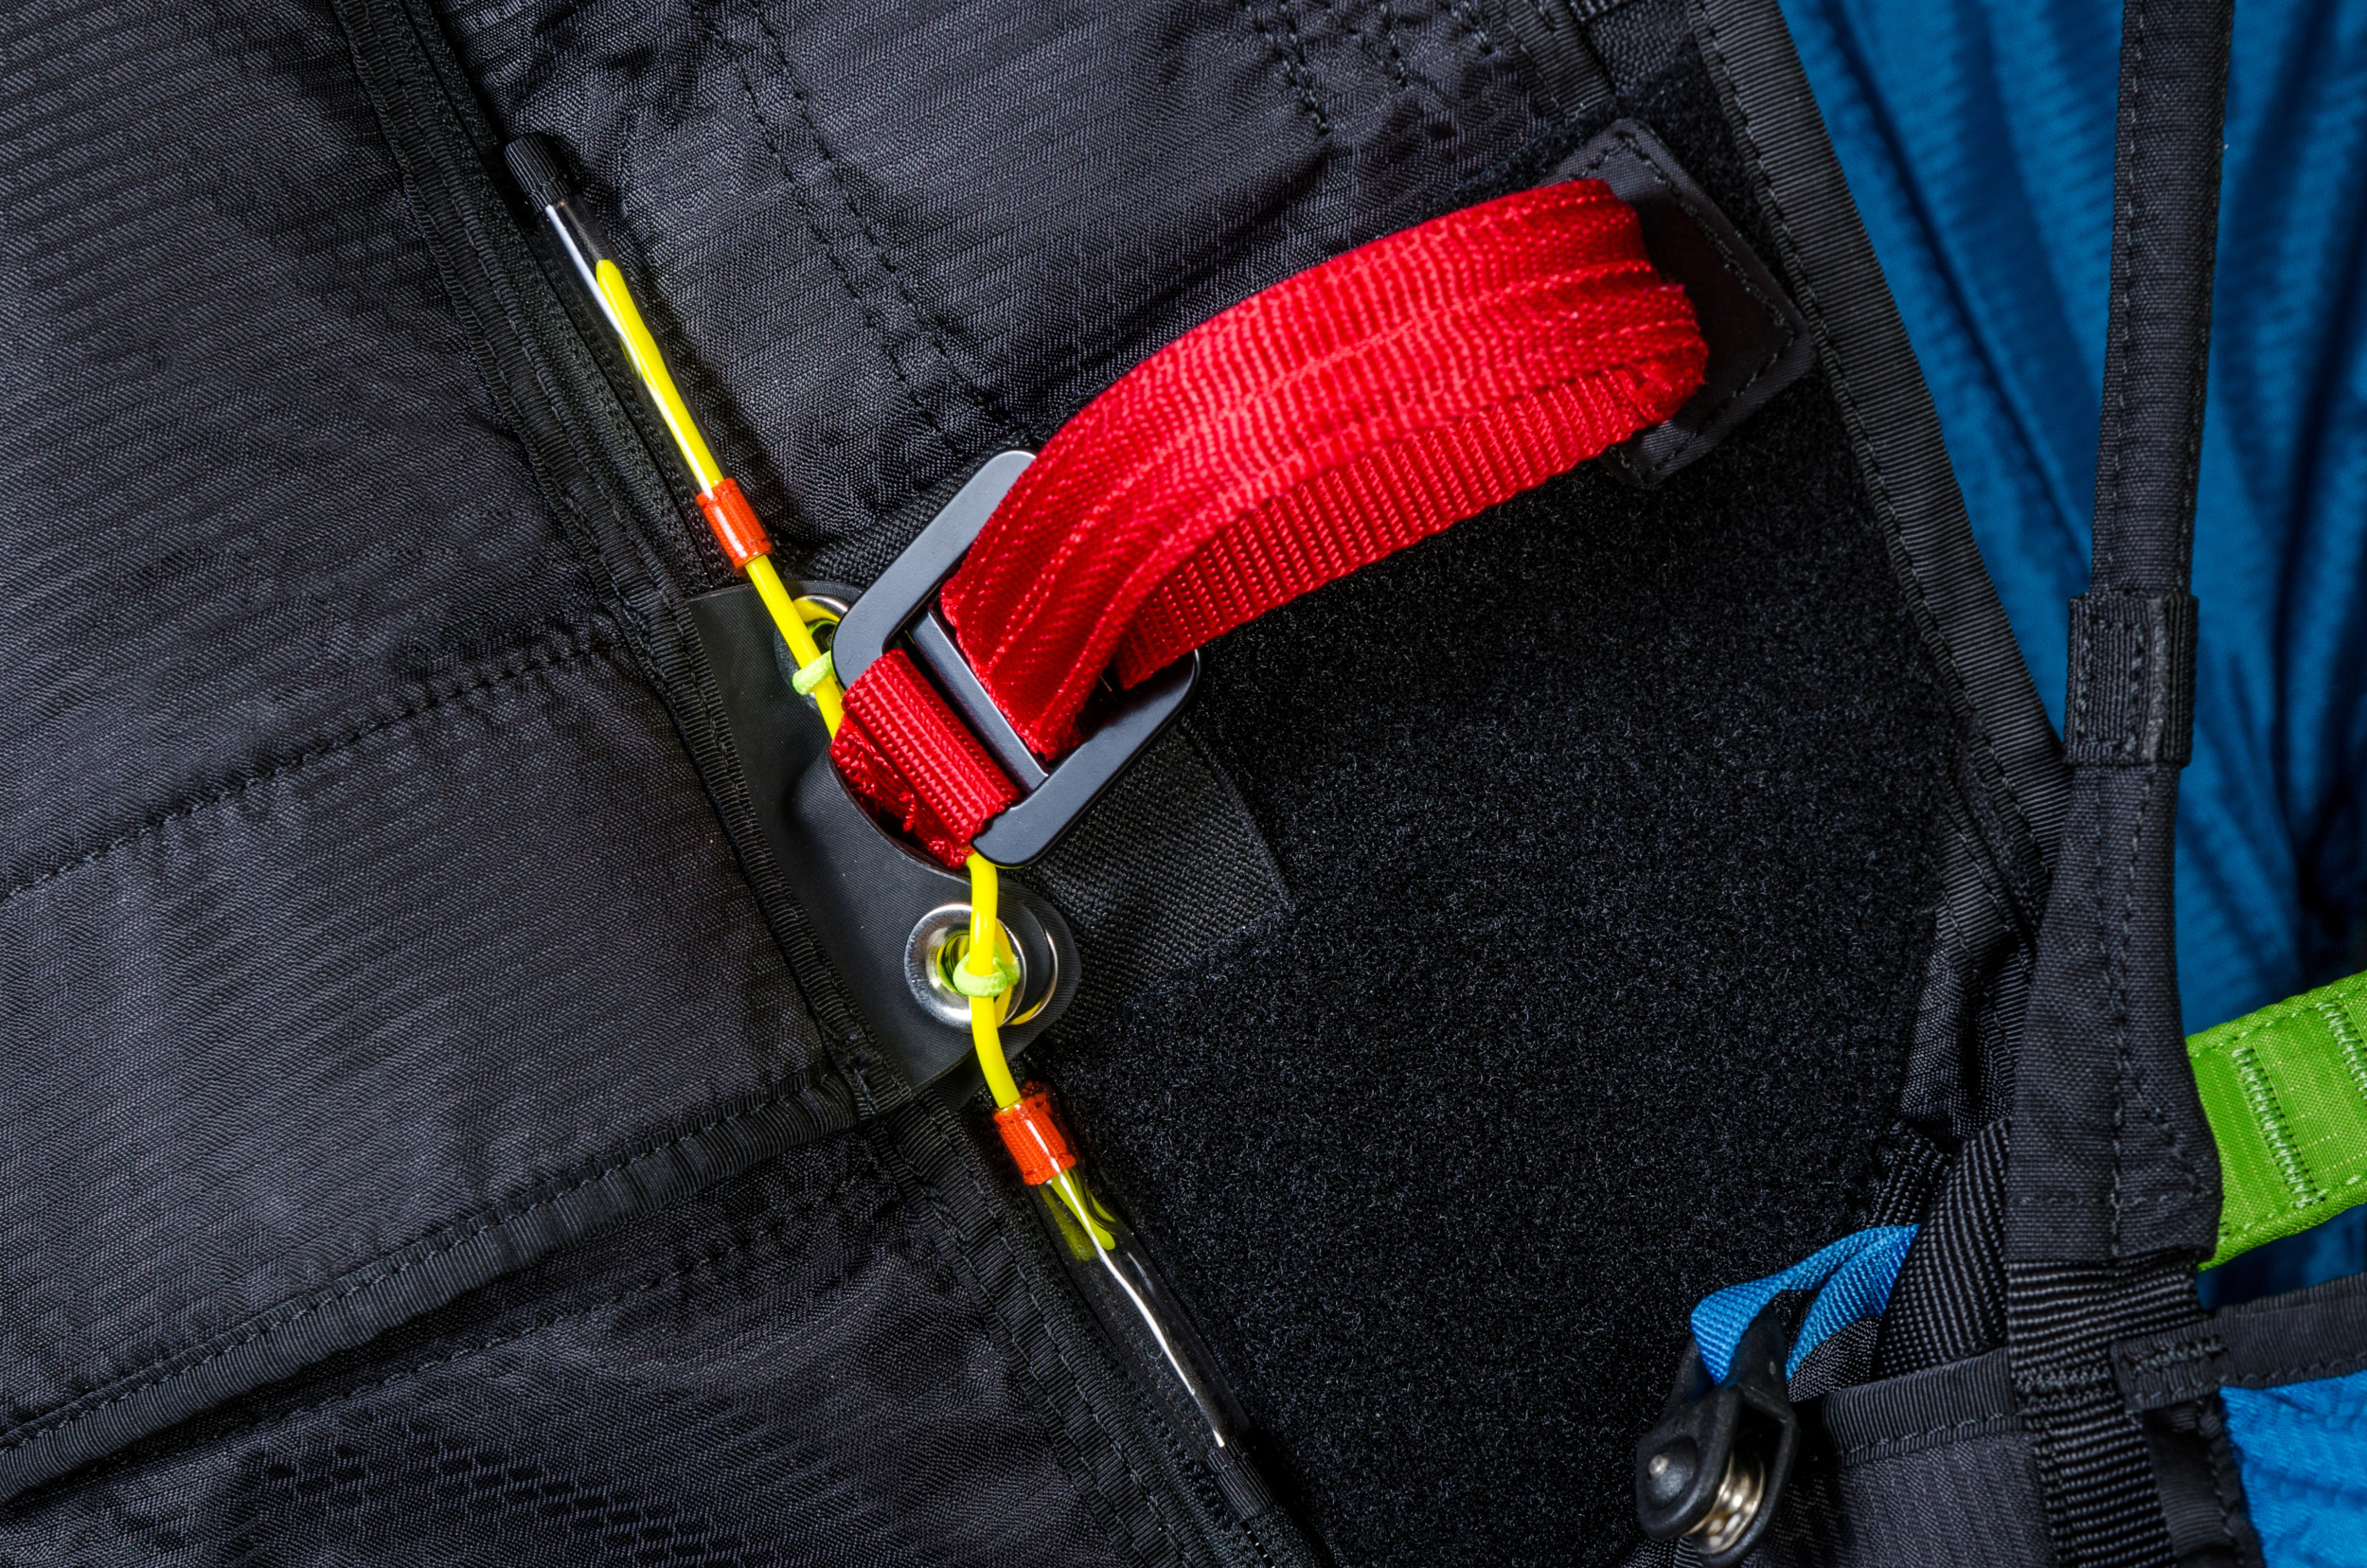
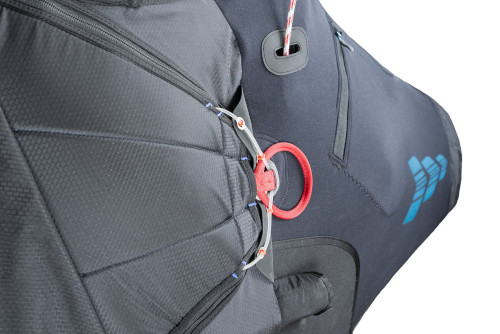
- Is the rescue handle connected to the correct loop on the pod (center vs. lateral per manual)? An incorrect strop attachment point can jam container flaps before the pins release.
- Are rescue bridles connected properly to the reserve lines? (Direct larks head or maillon?) If larks head, ensure it is centered and pulled bone-tight. If maillons, check locking barrels.
- Is the container closed strictly according to manufacturer instructions?
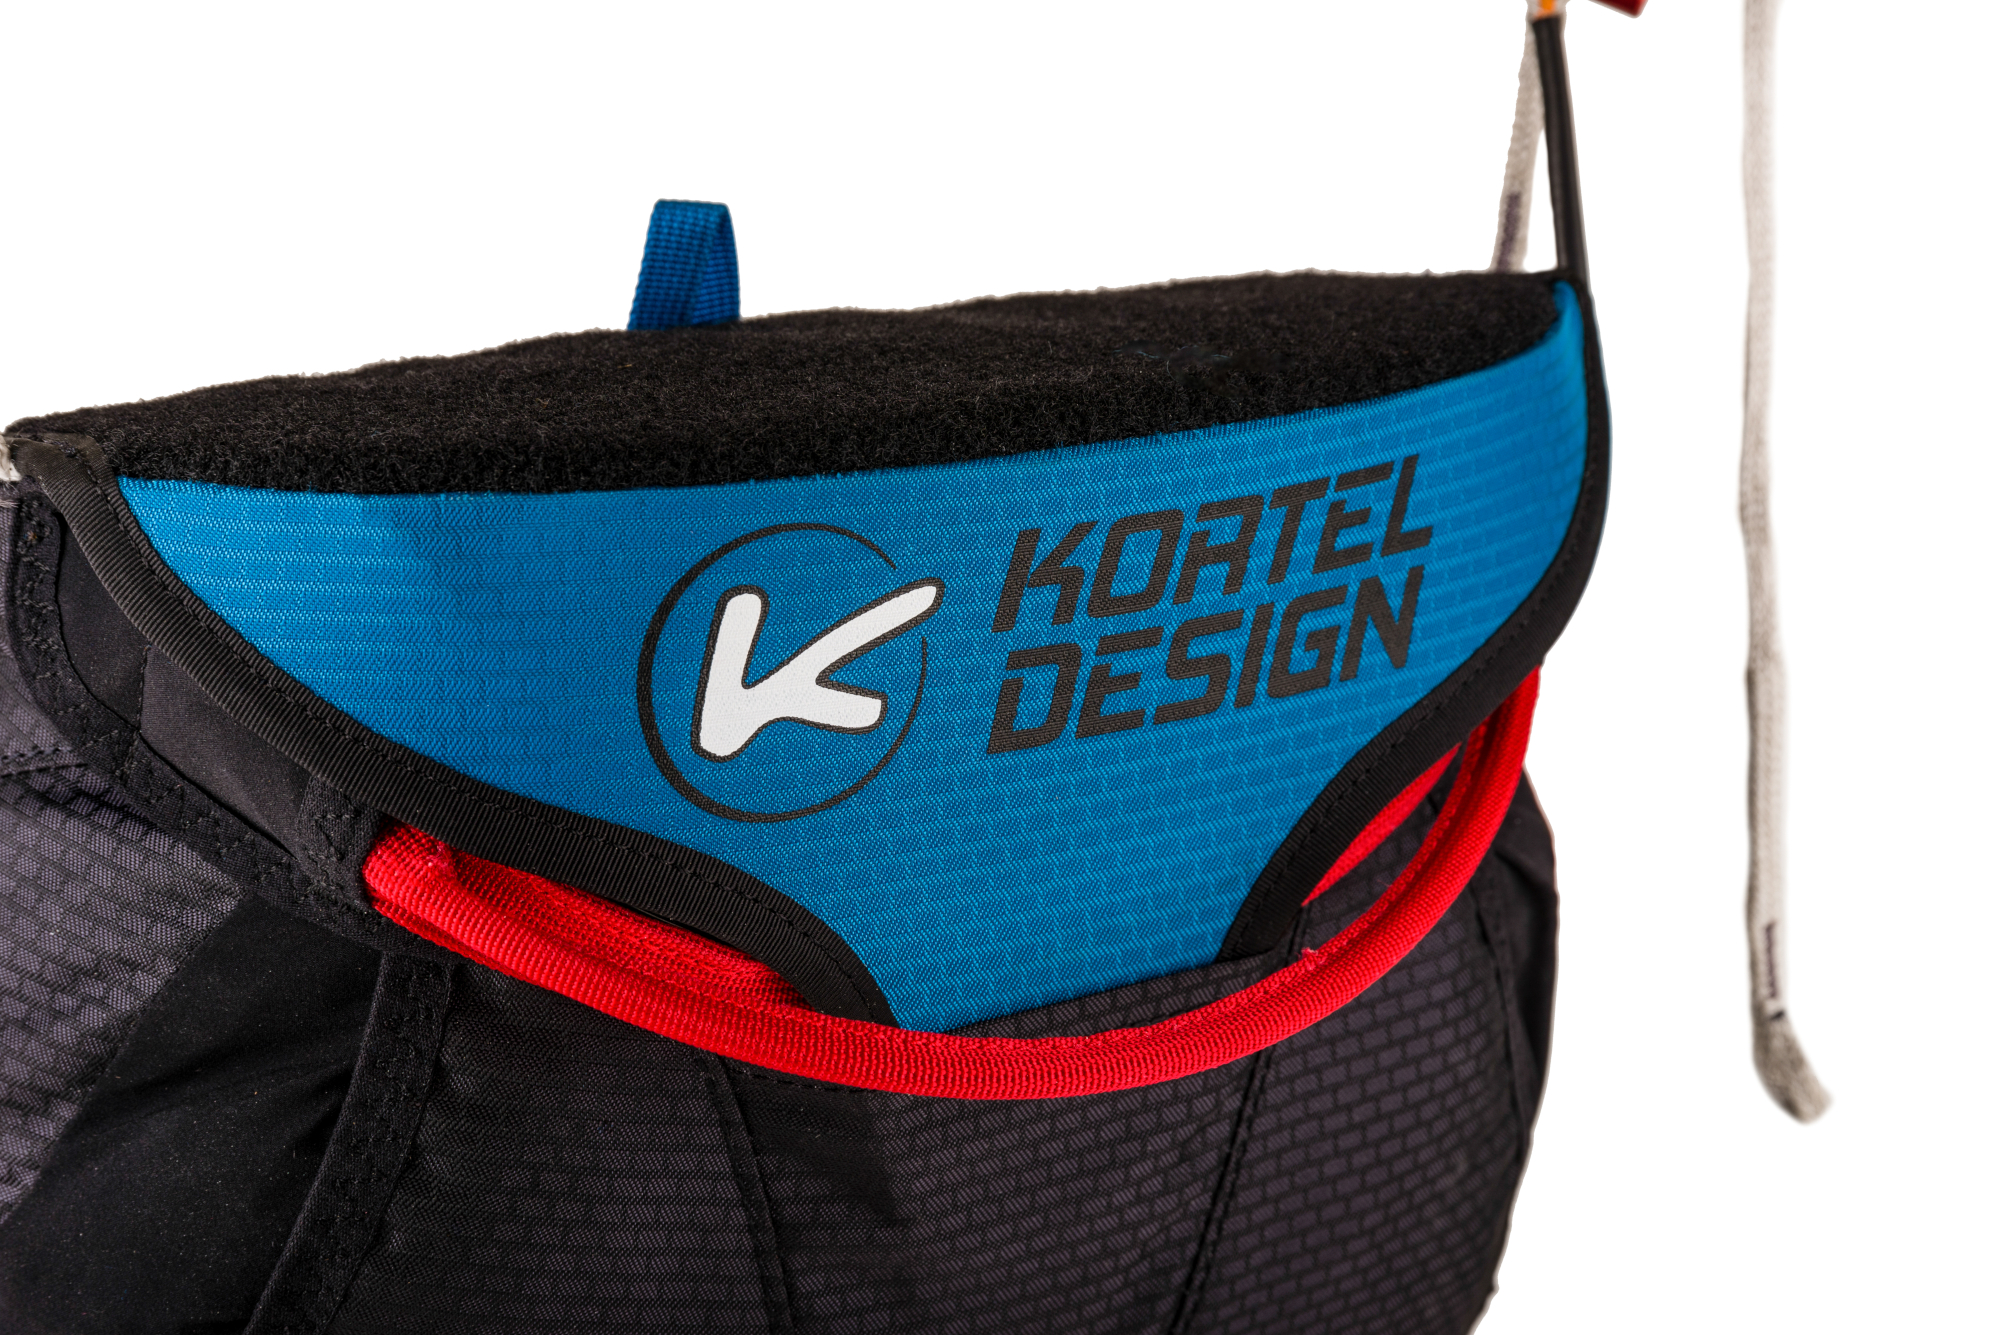
- Is the handle properly seated in its velcro/neoprene holster? Aged velcro can harden over time—cycle it open and closed periodically.
- Is the bridle routing tunnel cleanly closed?
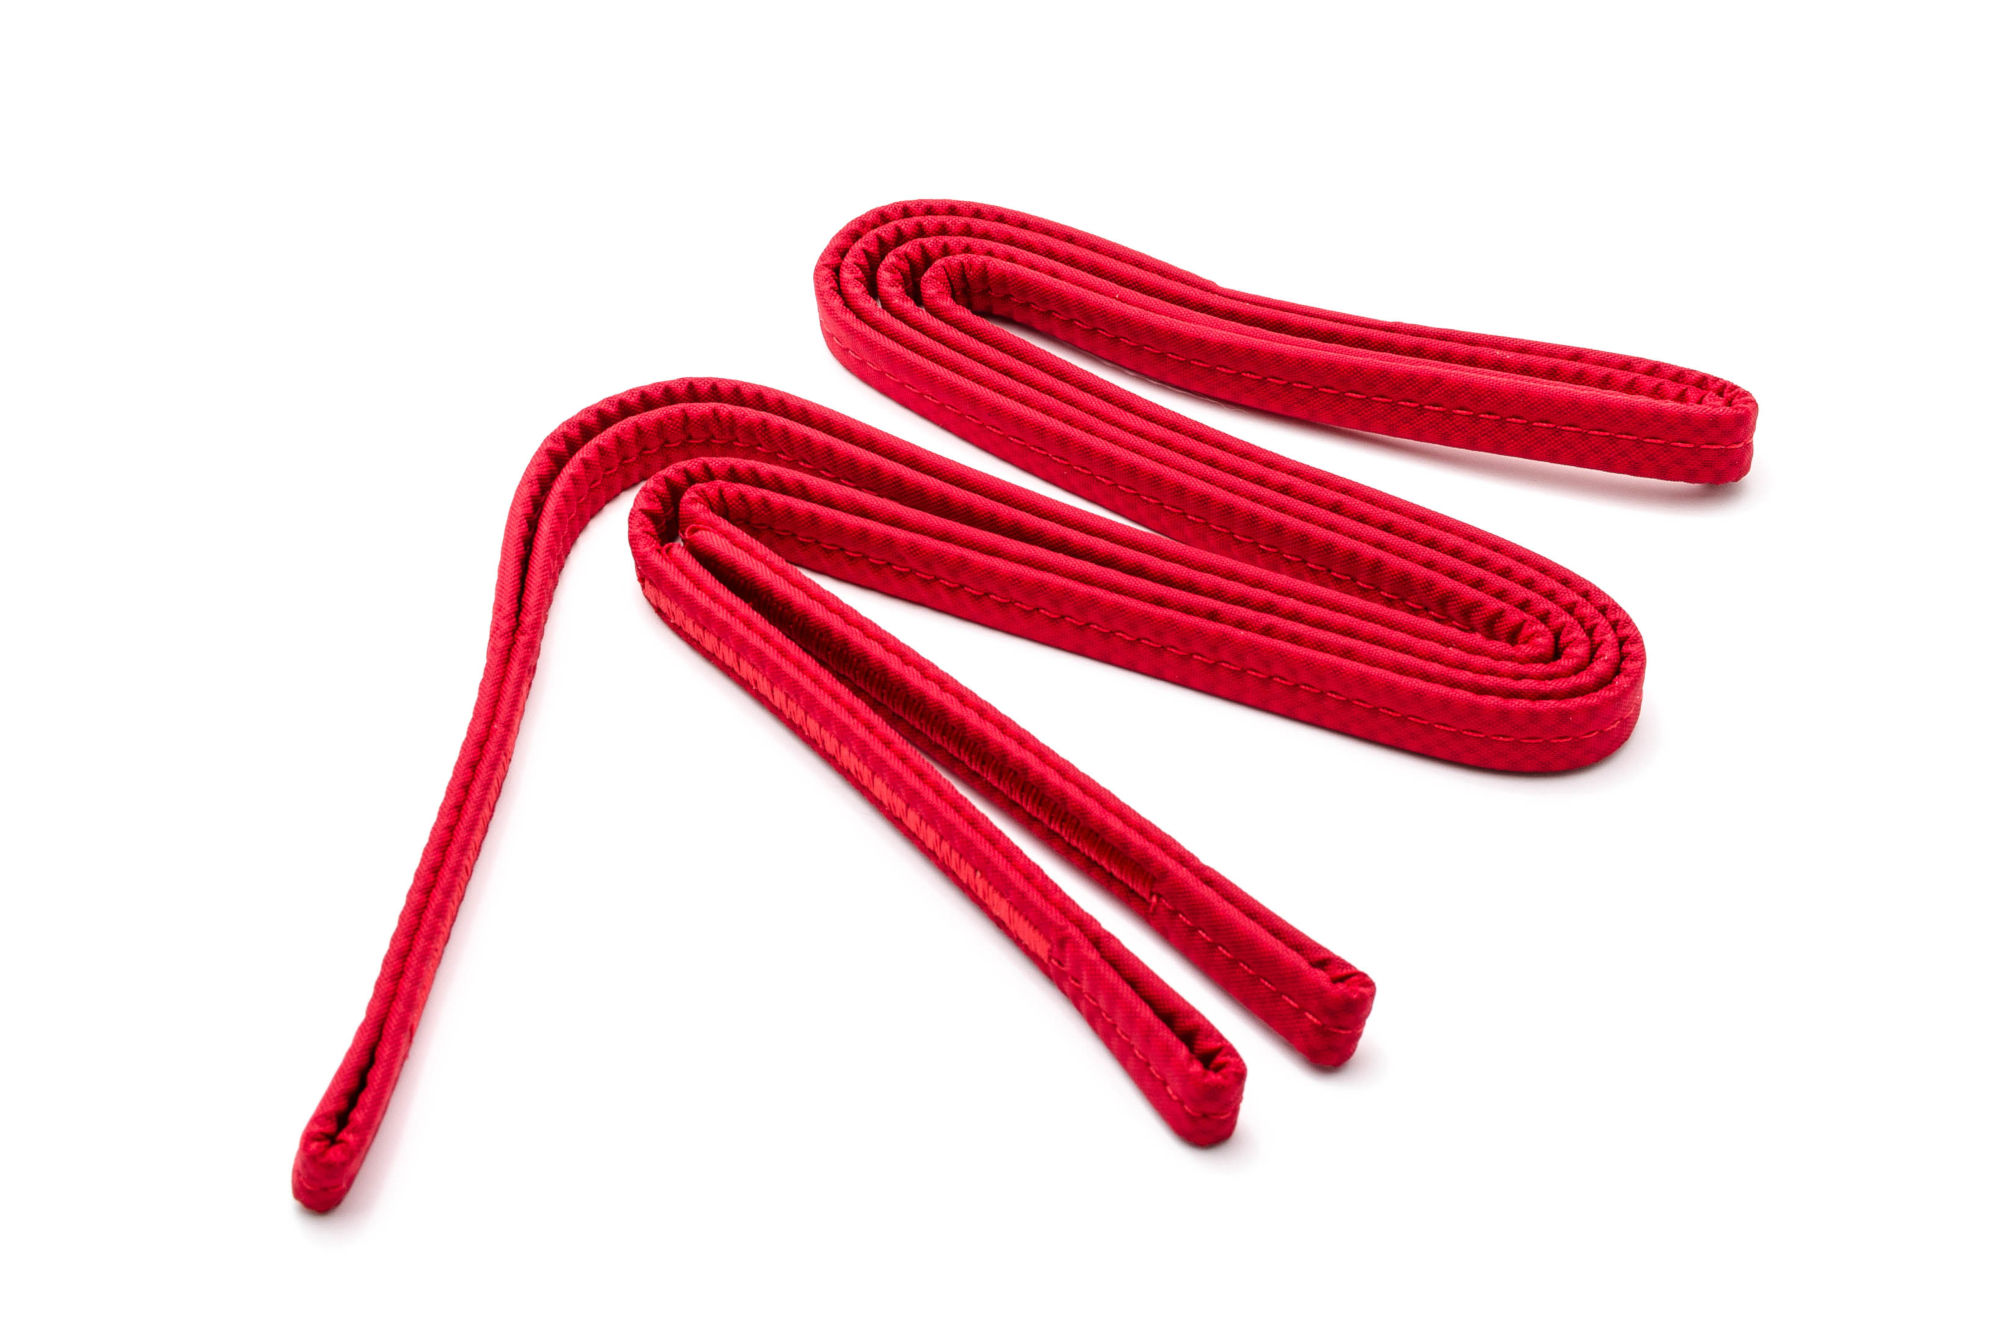
- Are bridles in pristine condition with no abrasion or UV damage?
- Are reserve bridles securely attached to the harness shoulder hang points?
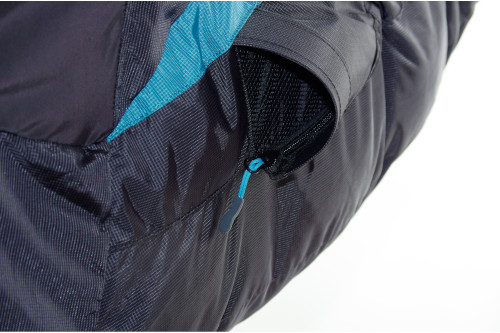
Back Protection:
Airbag Protection:
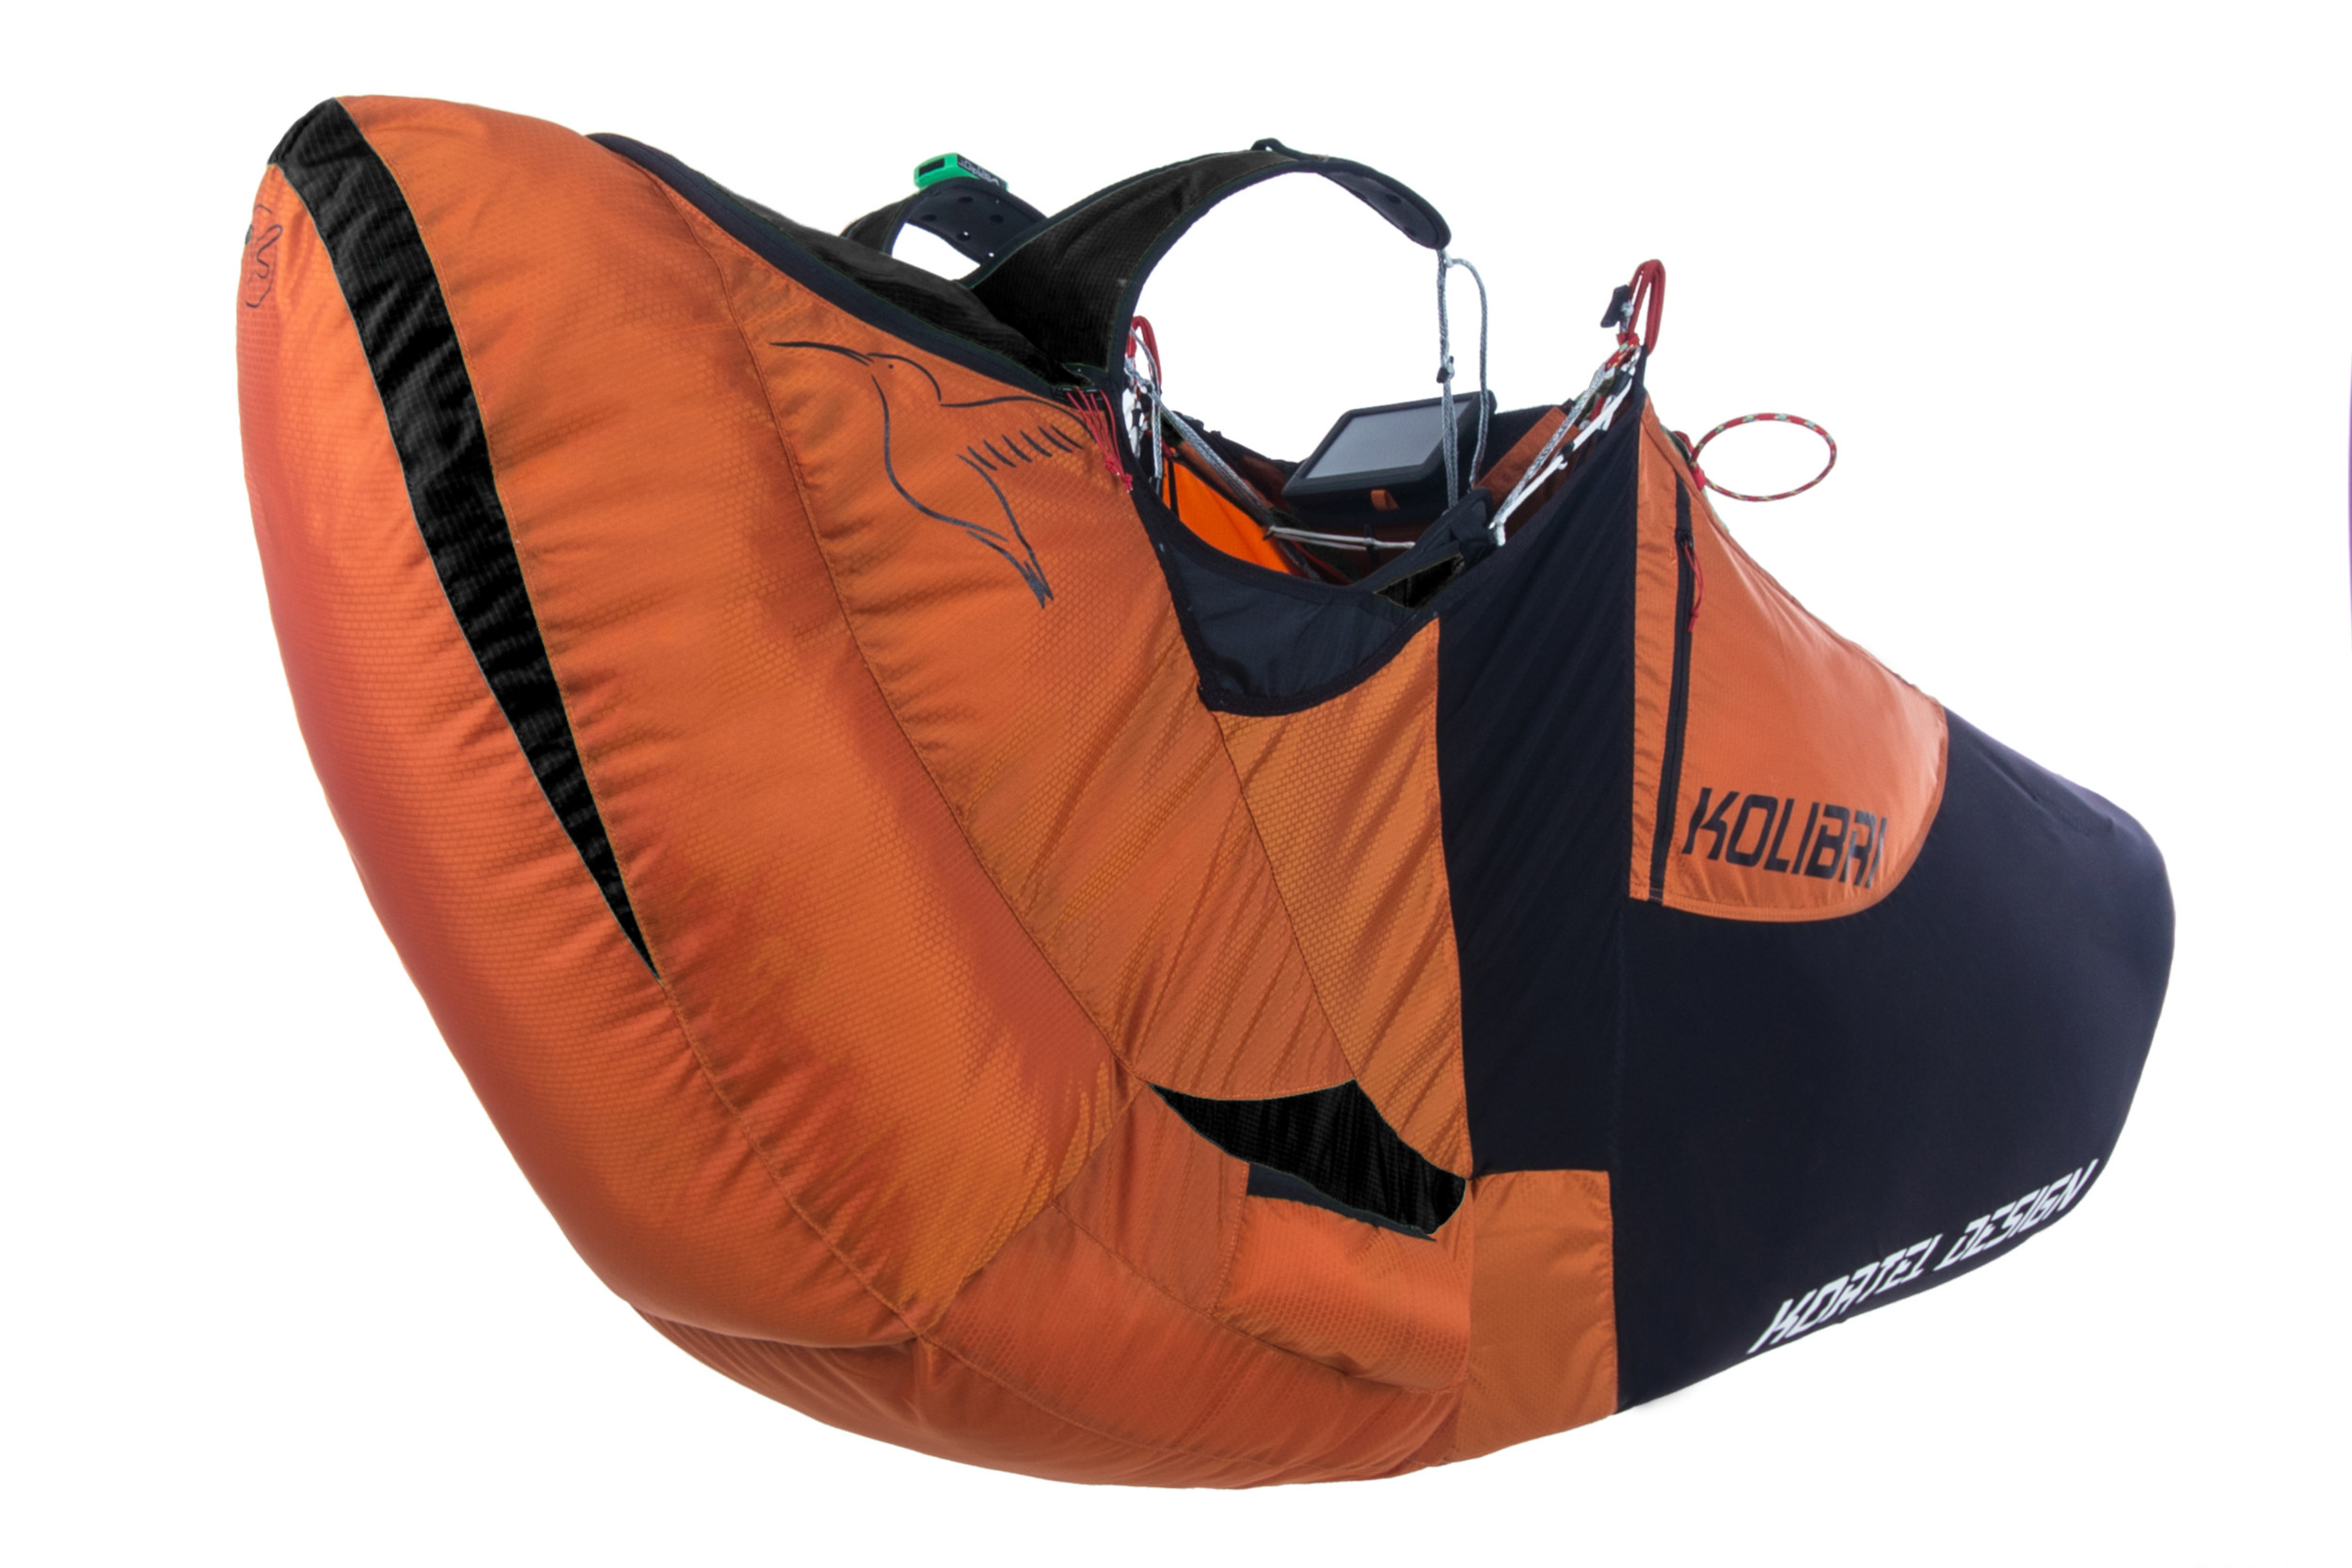
- Condition of airbag fabric? On reversible harnesses, check backpack exterior panels carefully since they serve as the airbag skin!
- Are air intake valves and scoops clean, free of dirt, and properly shaped to scoop air?
- Are all compartment zippers completely closed and locked?
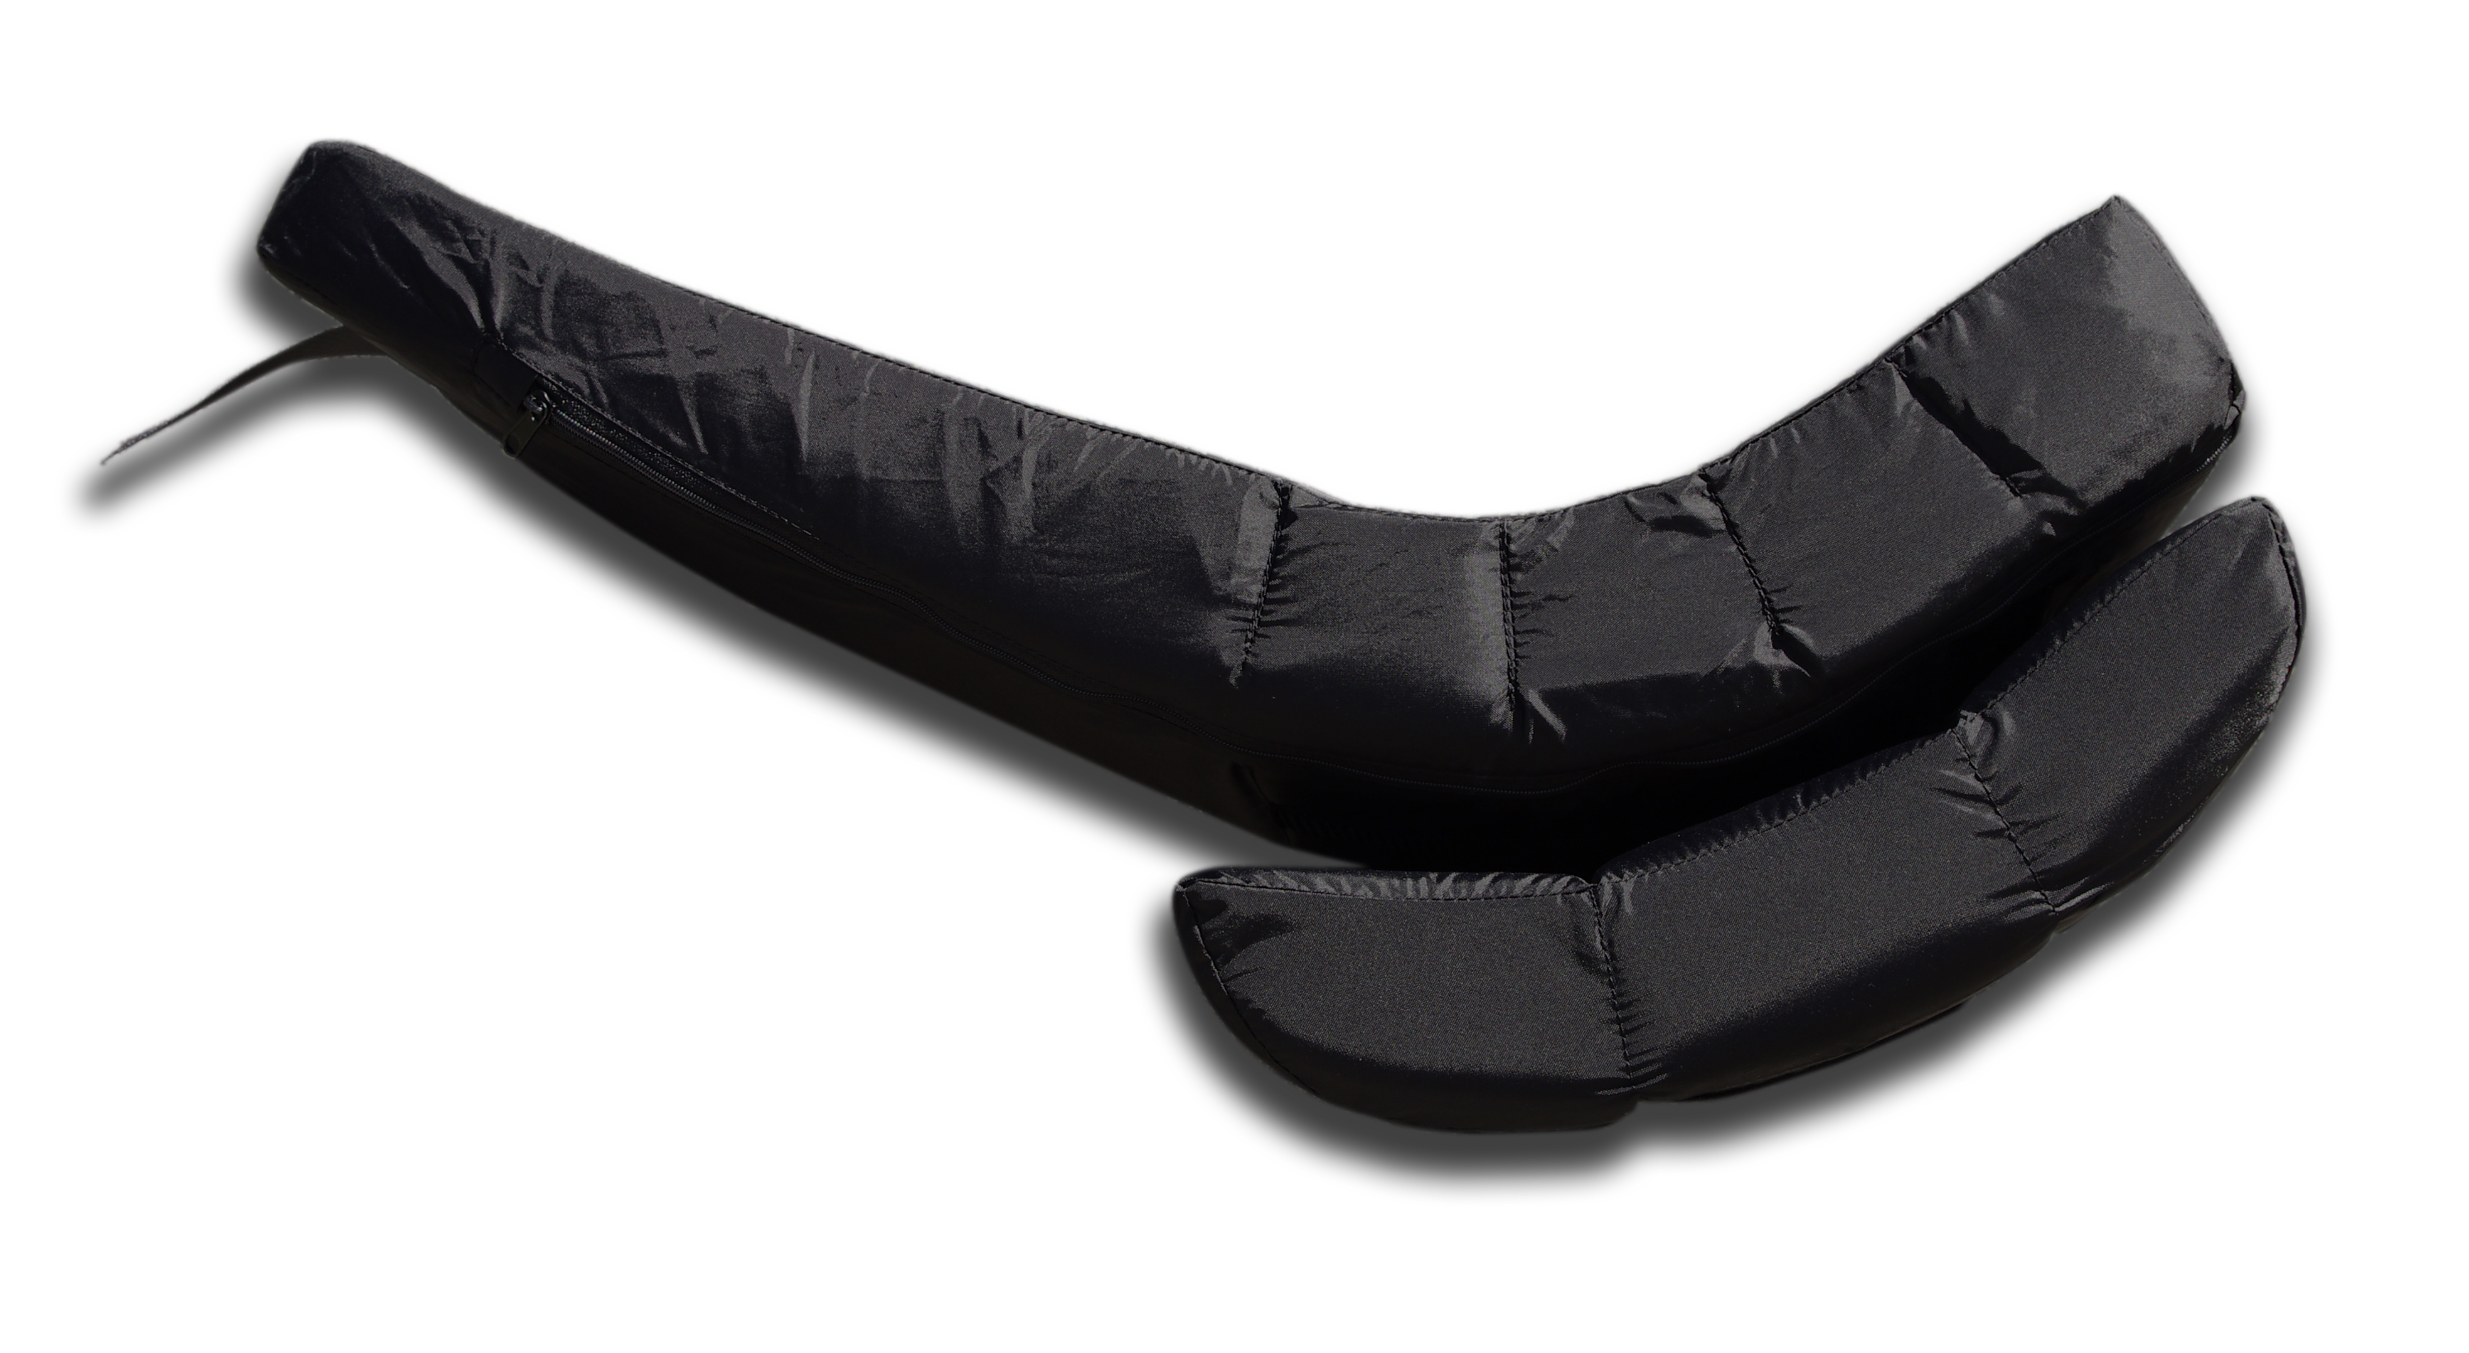
Foam-bag Protection:
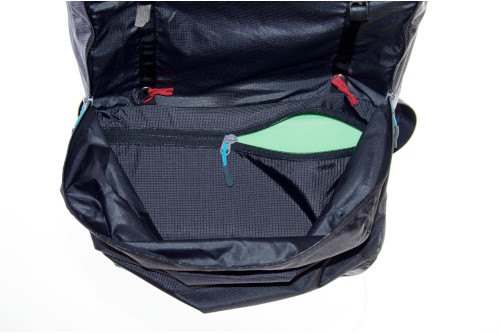
- Condition of foam and casing: any punctures, tears, or internal moisture?
- Are foam inserts properly positioned and seated in the compartment?
- Is the foam fully expanded? Long periods packed tight in a backpack can compress foam and retard shape recovery. Avoid storing harnesses compressed for months.
Main Glider Connectors:
General:
- Do connectors match the width of harness and riser webbing?
- Are connectors seated correctly within the harness hang loops? Red protective sleeves on Kortel Design harnesses indicate proper hang loops.
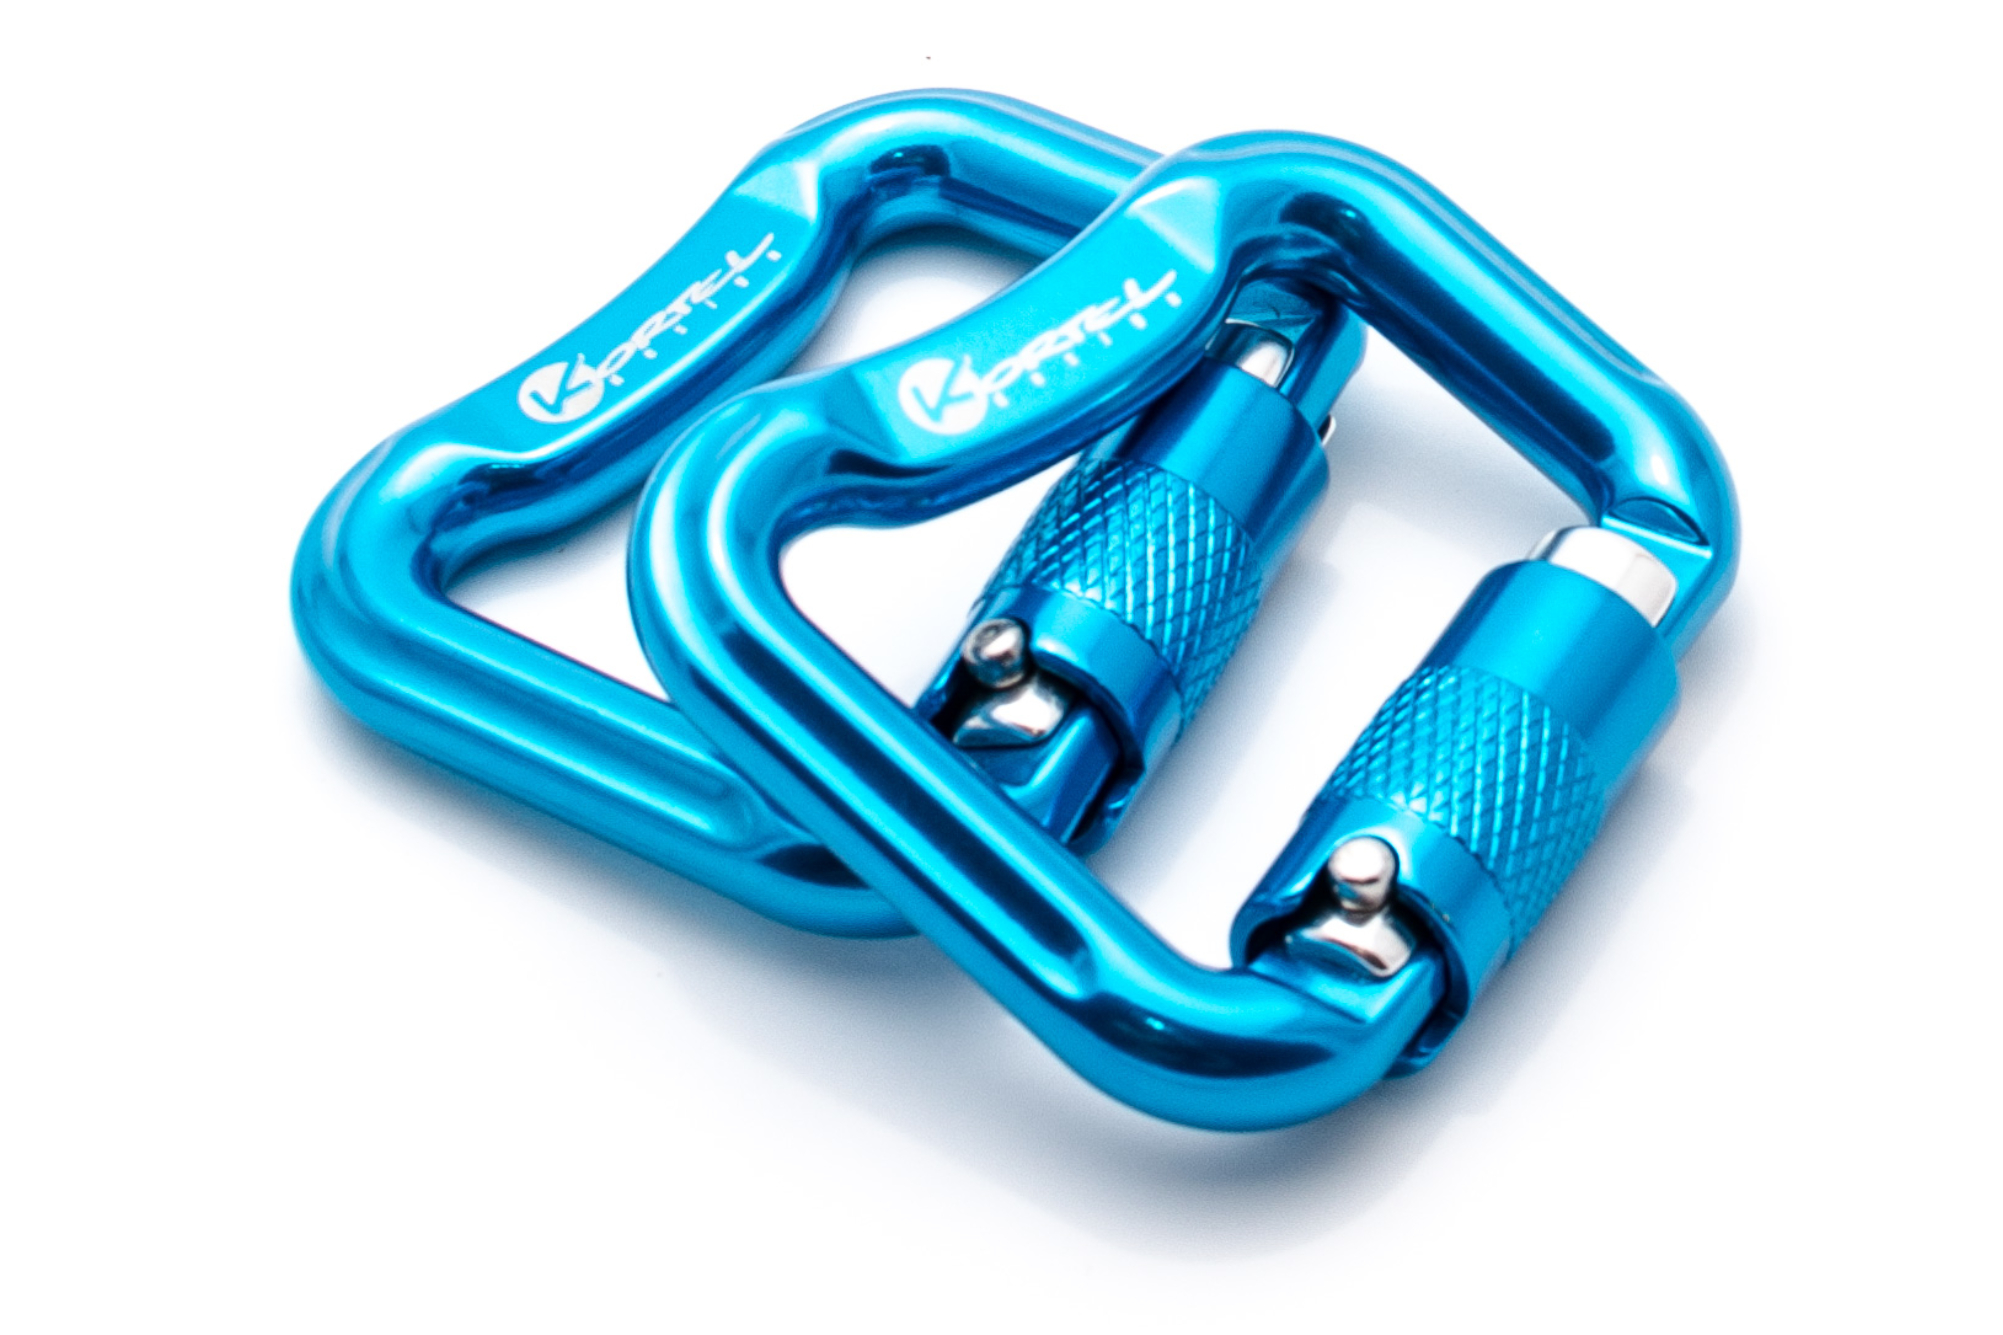
Automatic Carabiners:
- Signs of wear? Scratches, metal burrs, sand, or corrosion?
- Does the gate mechanism operate crisply? Gate opening, locking collar snap, smooth return?
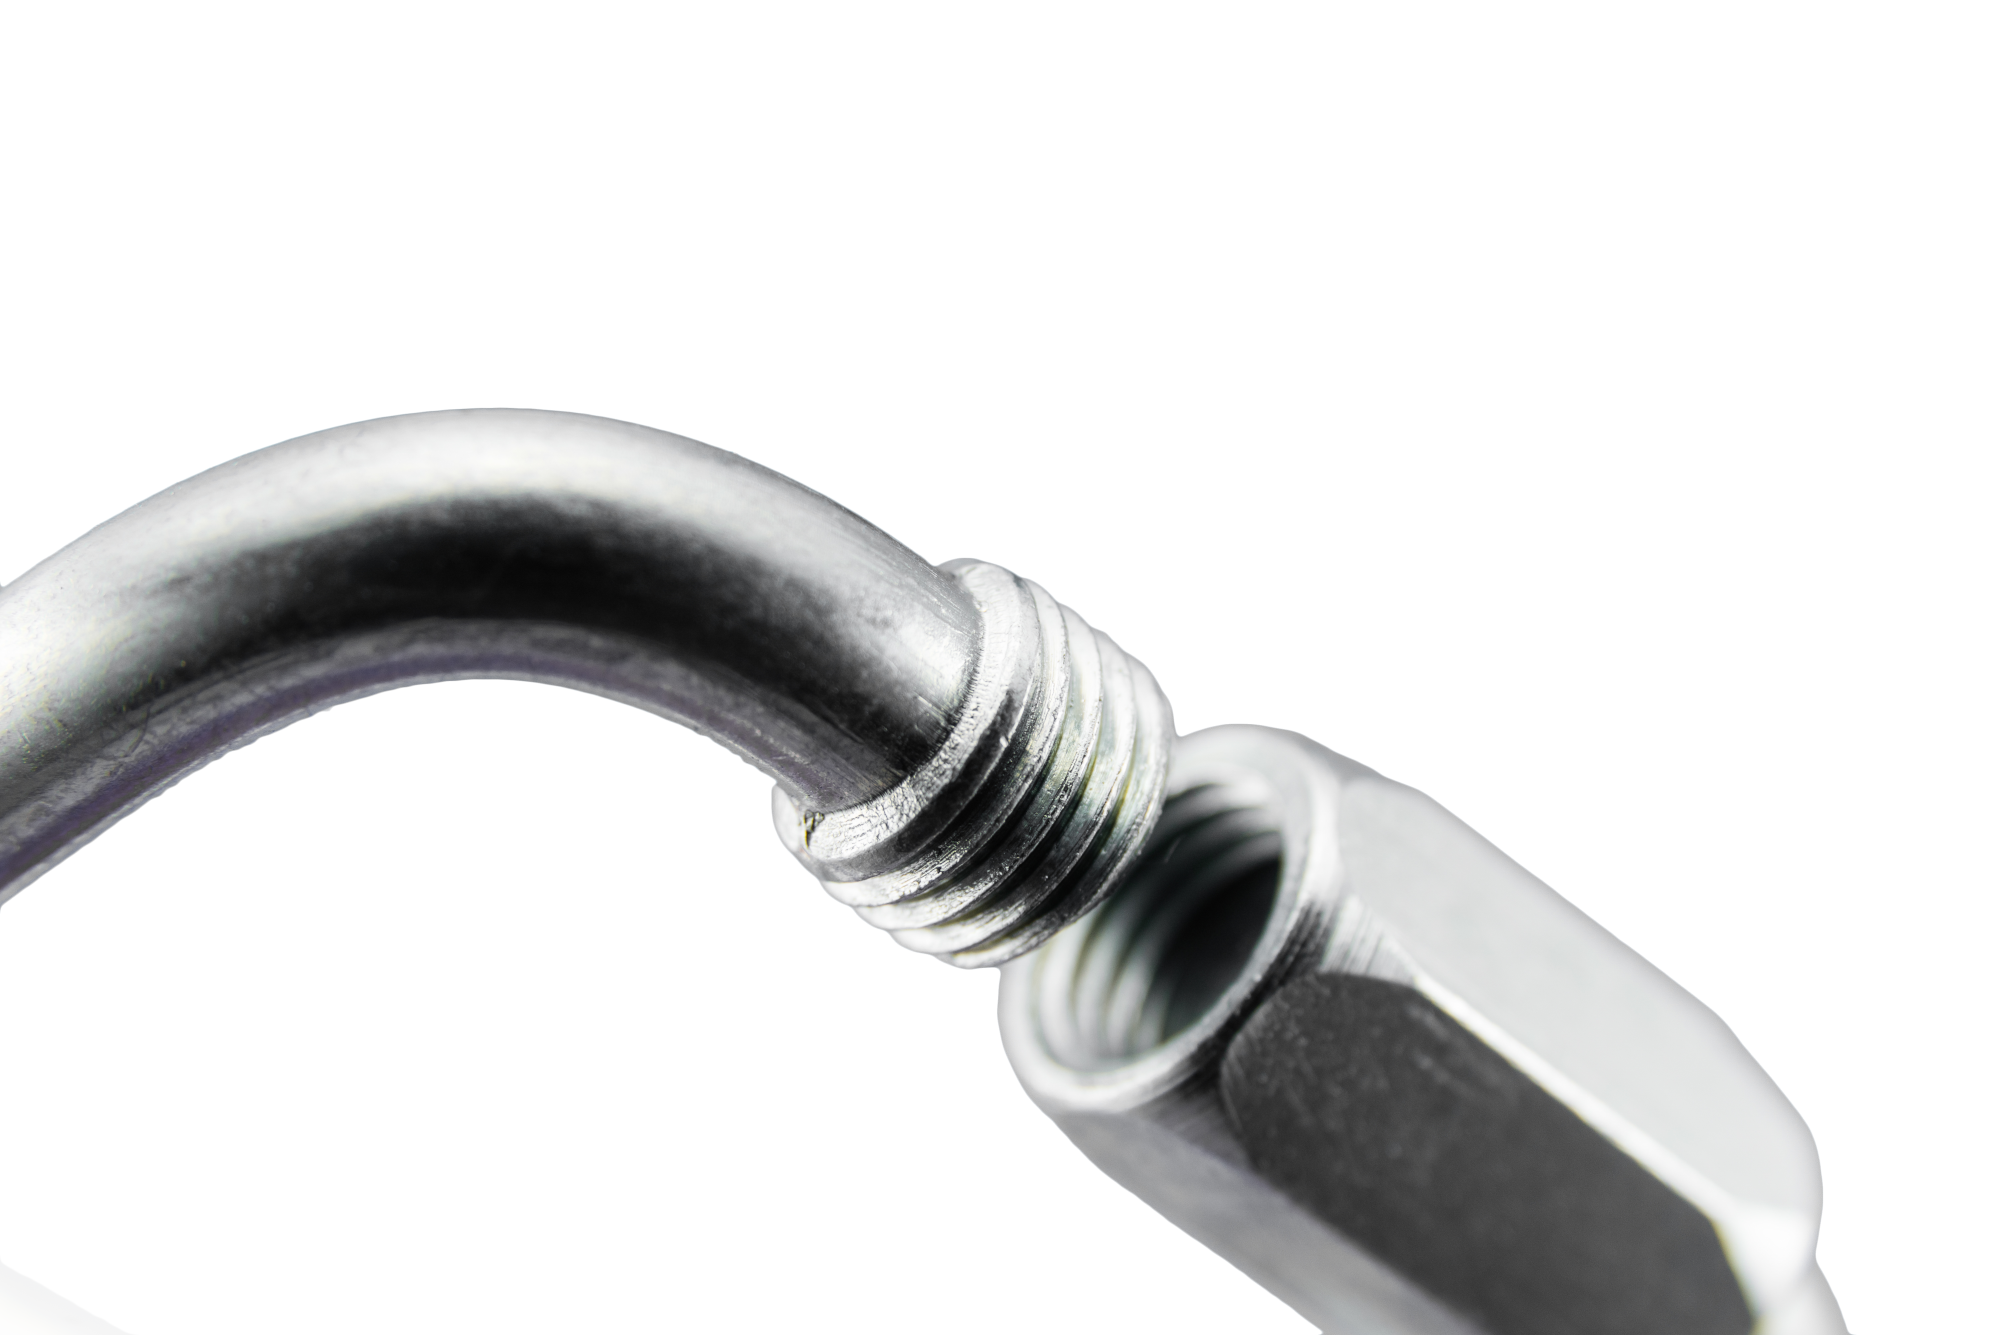
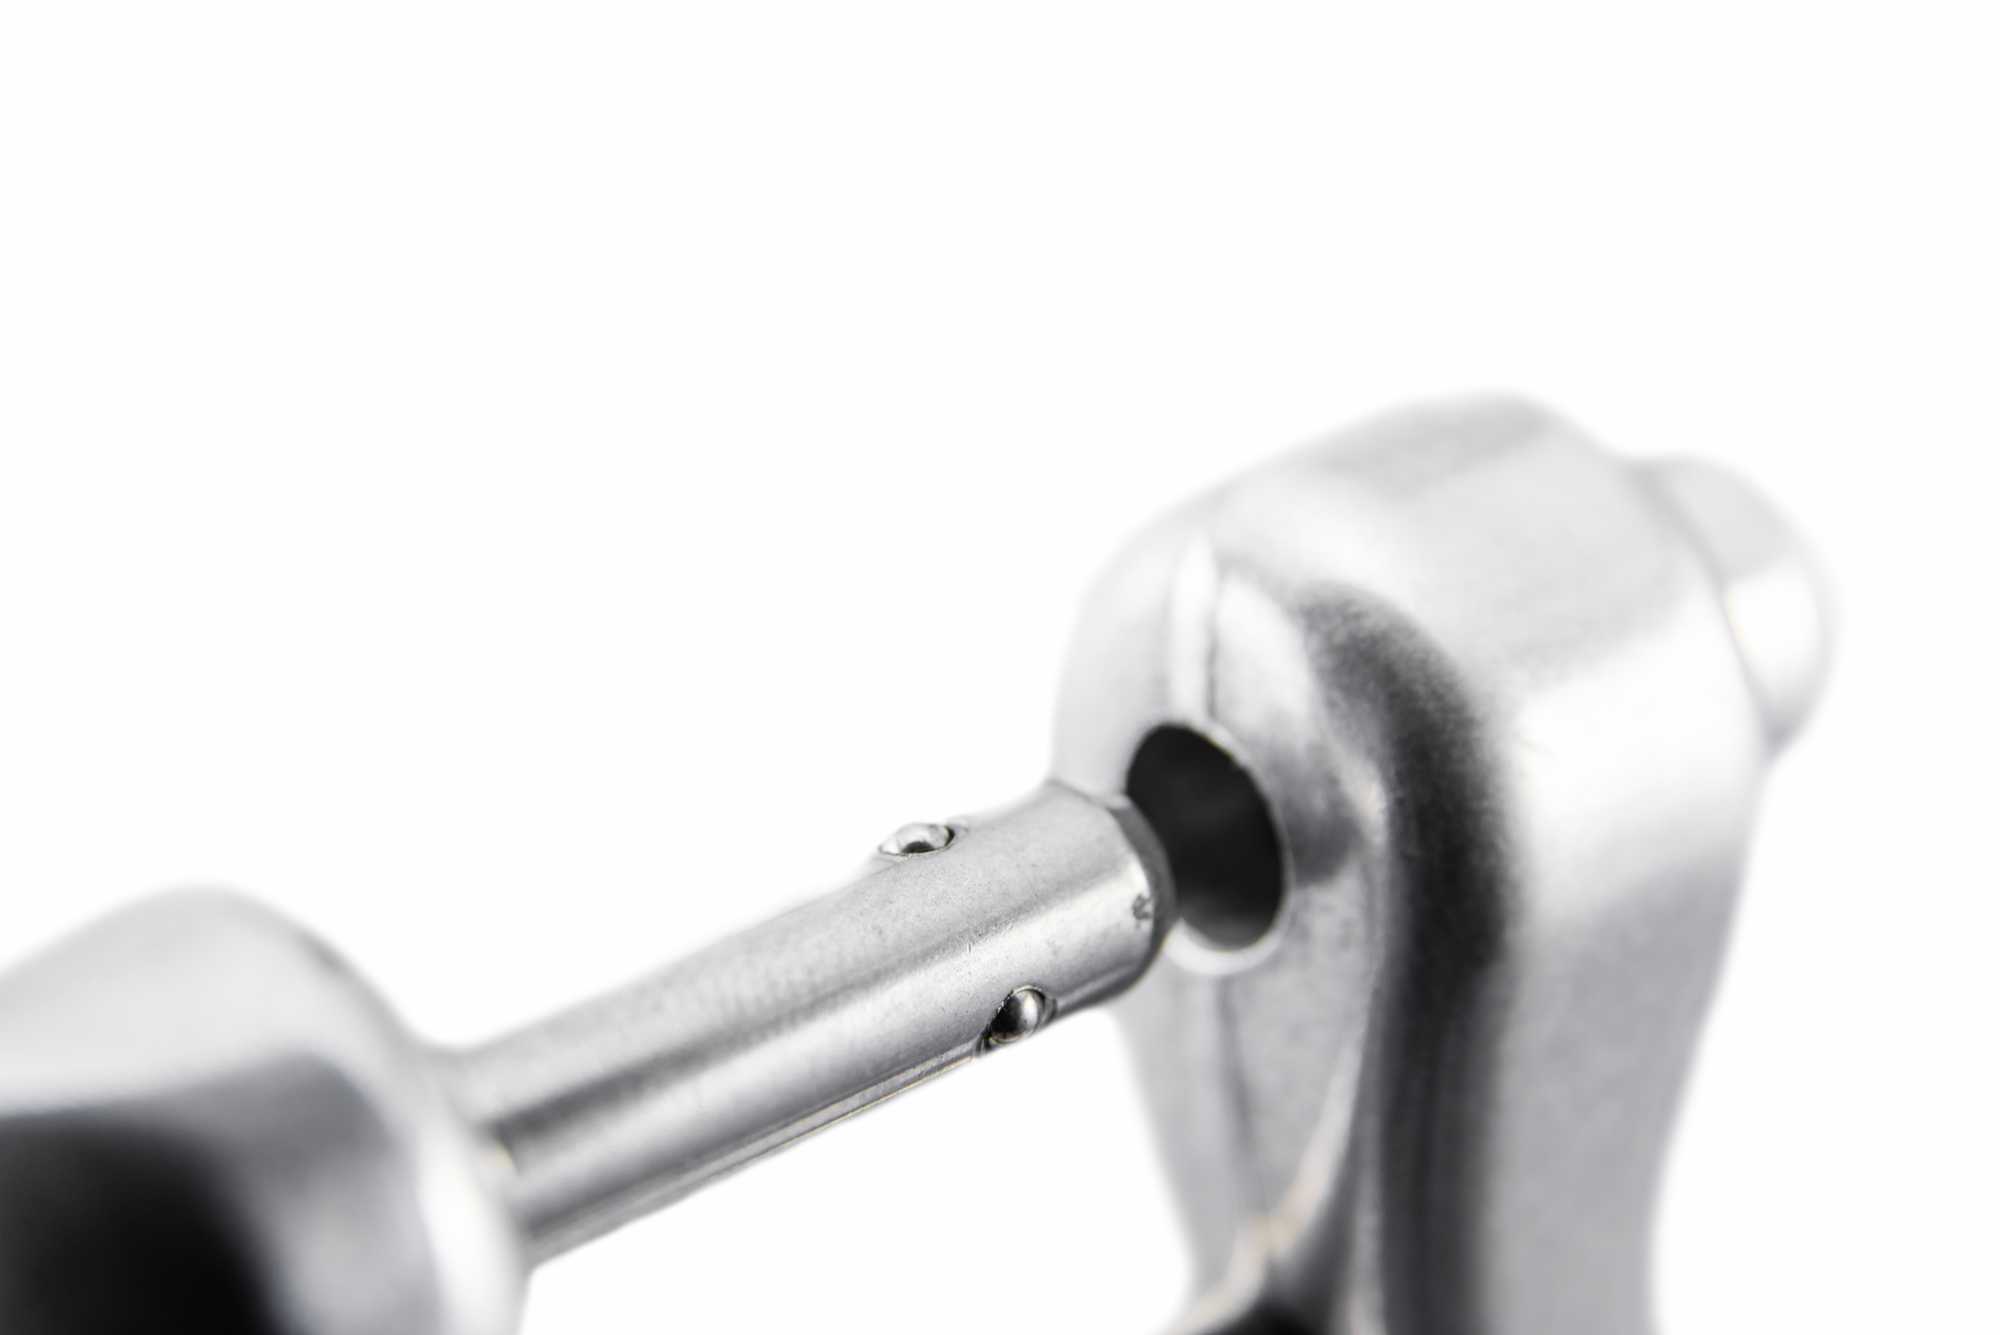
Maillons Rapides (Quick Links):
- Structural condition: check for thread deformation or rust.
- Does the barrel screw smoothly by hand? Cross-loading can distort the frame and bind the barrel.
- Is the barrel screwed completely shut to the specified torque?
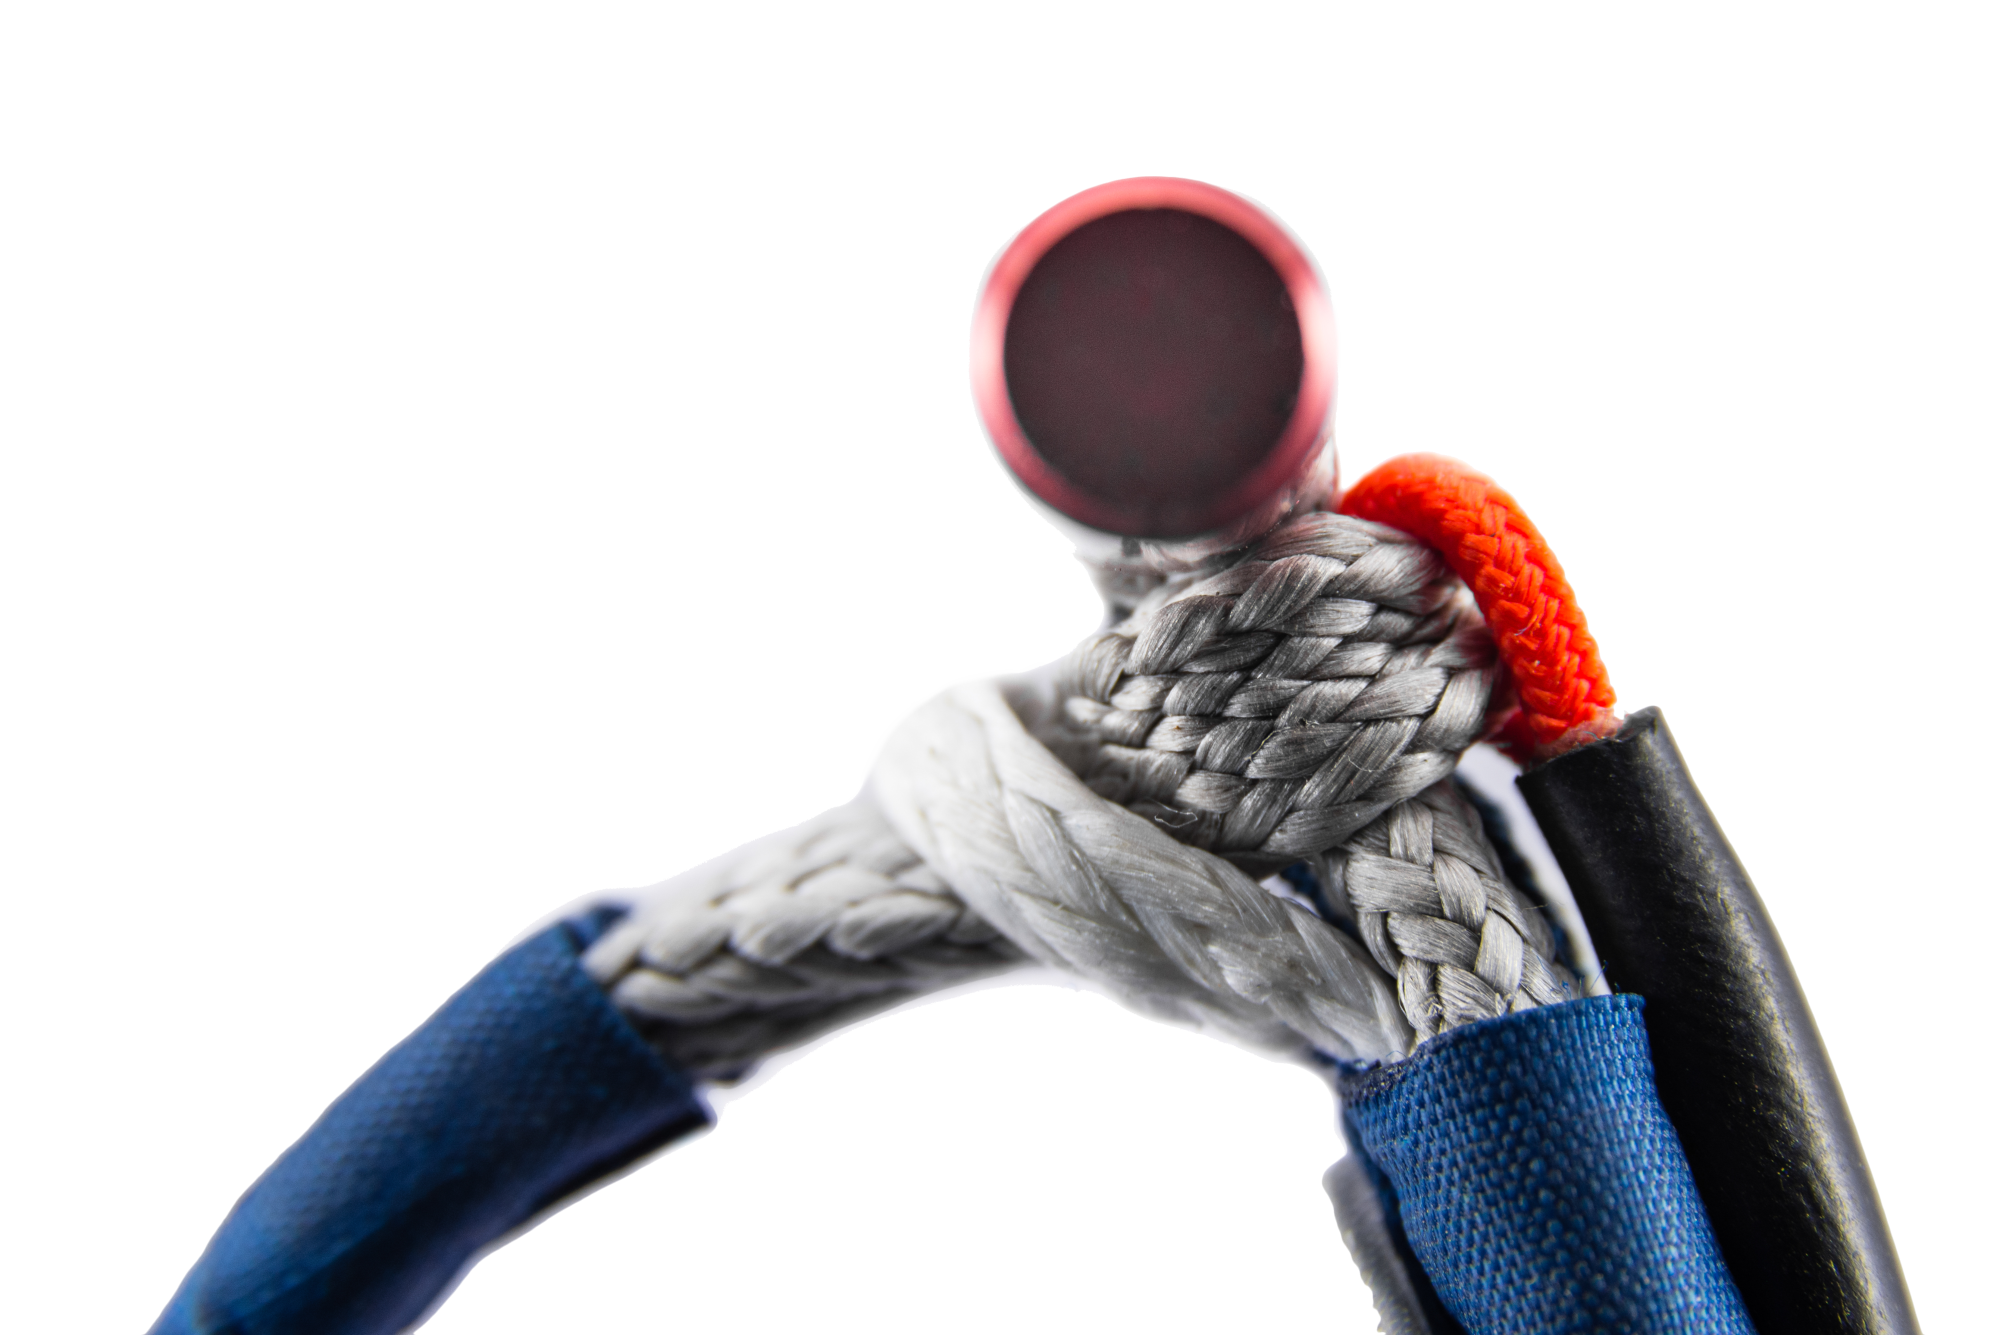
Soft Links:
- Check for core fiber damage, cuts, burns, or excessive fraying.
- Verify correct assembly and complete toggle seating per instructions.
Buckles and Closure System:
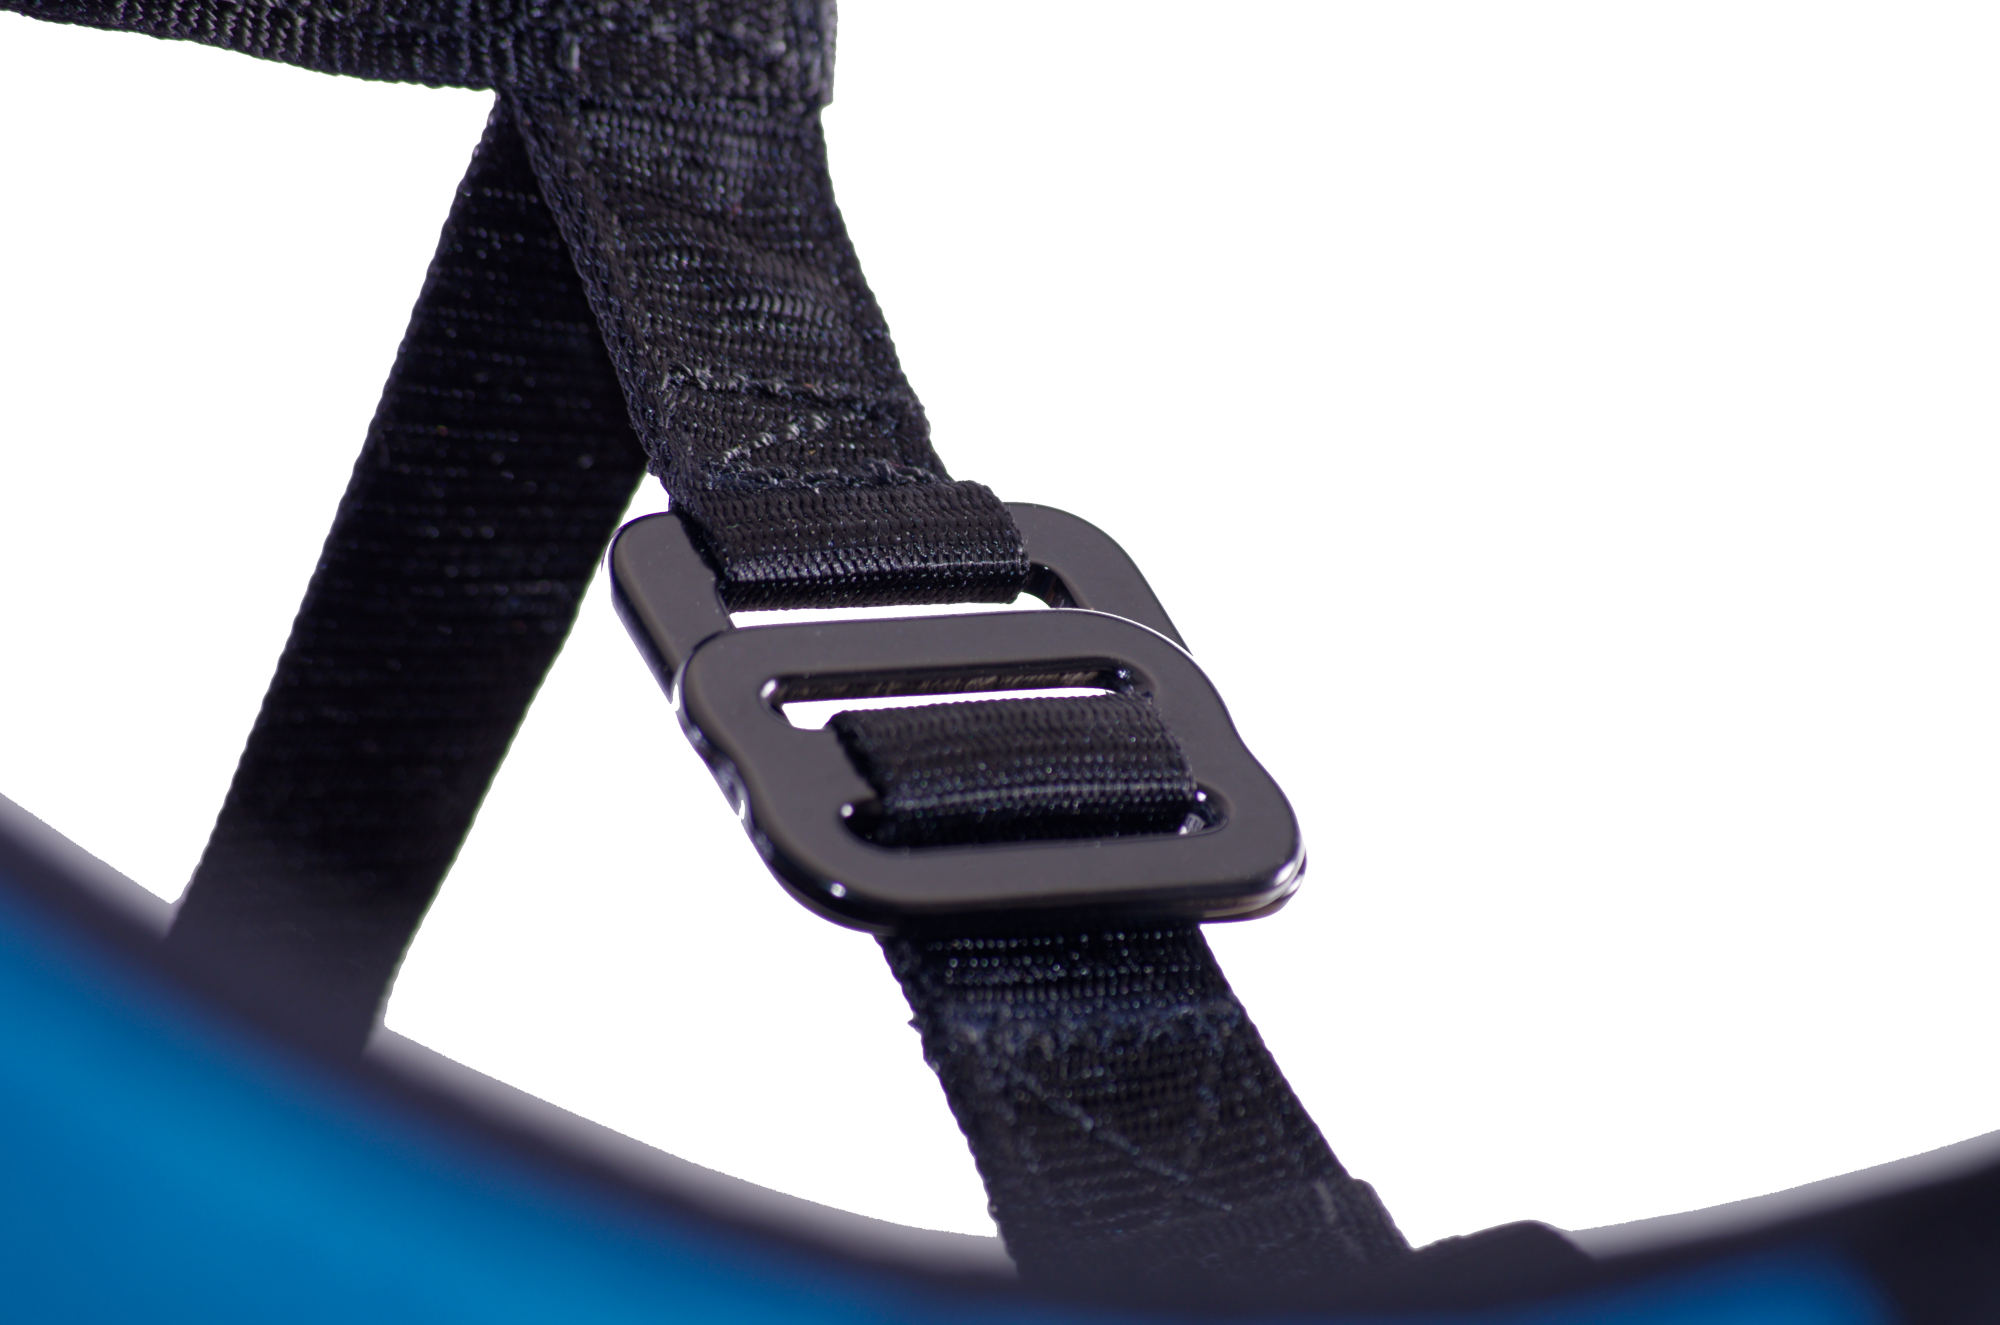
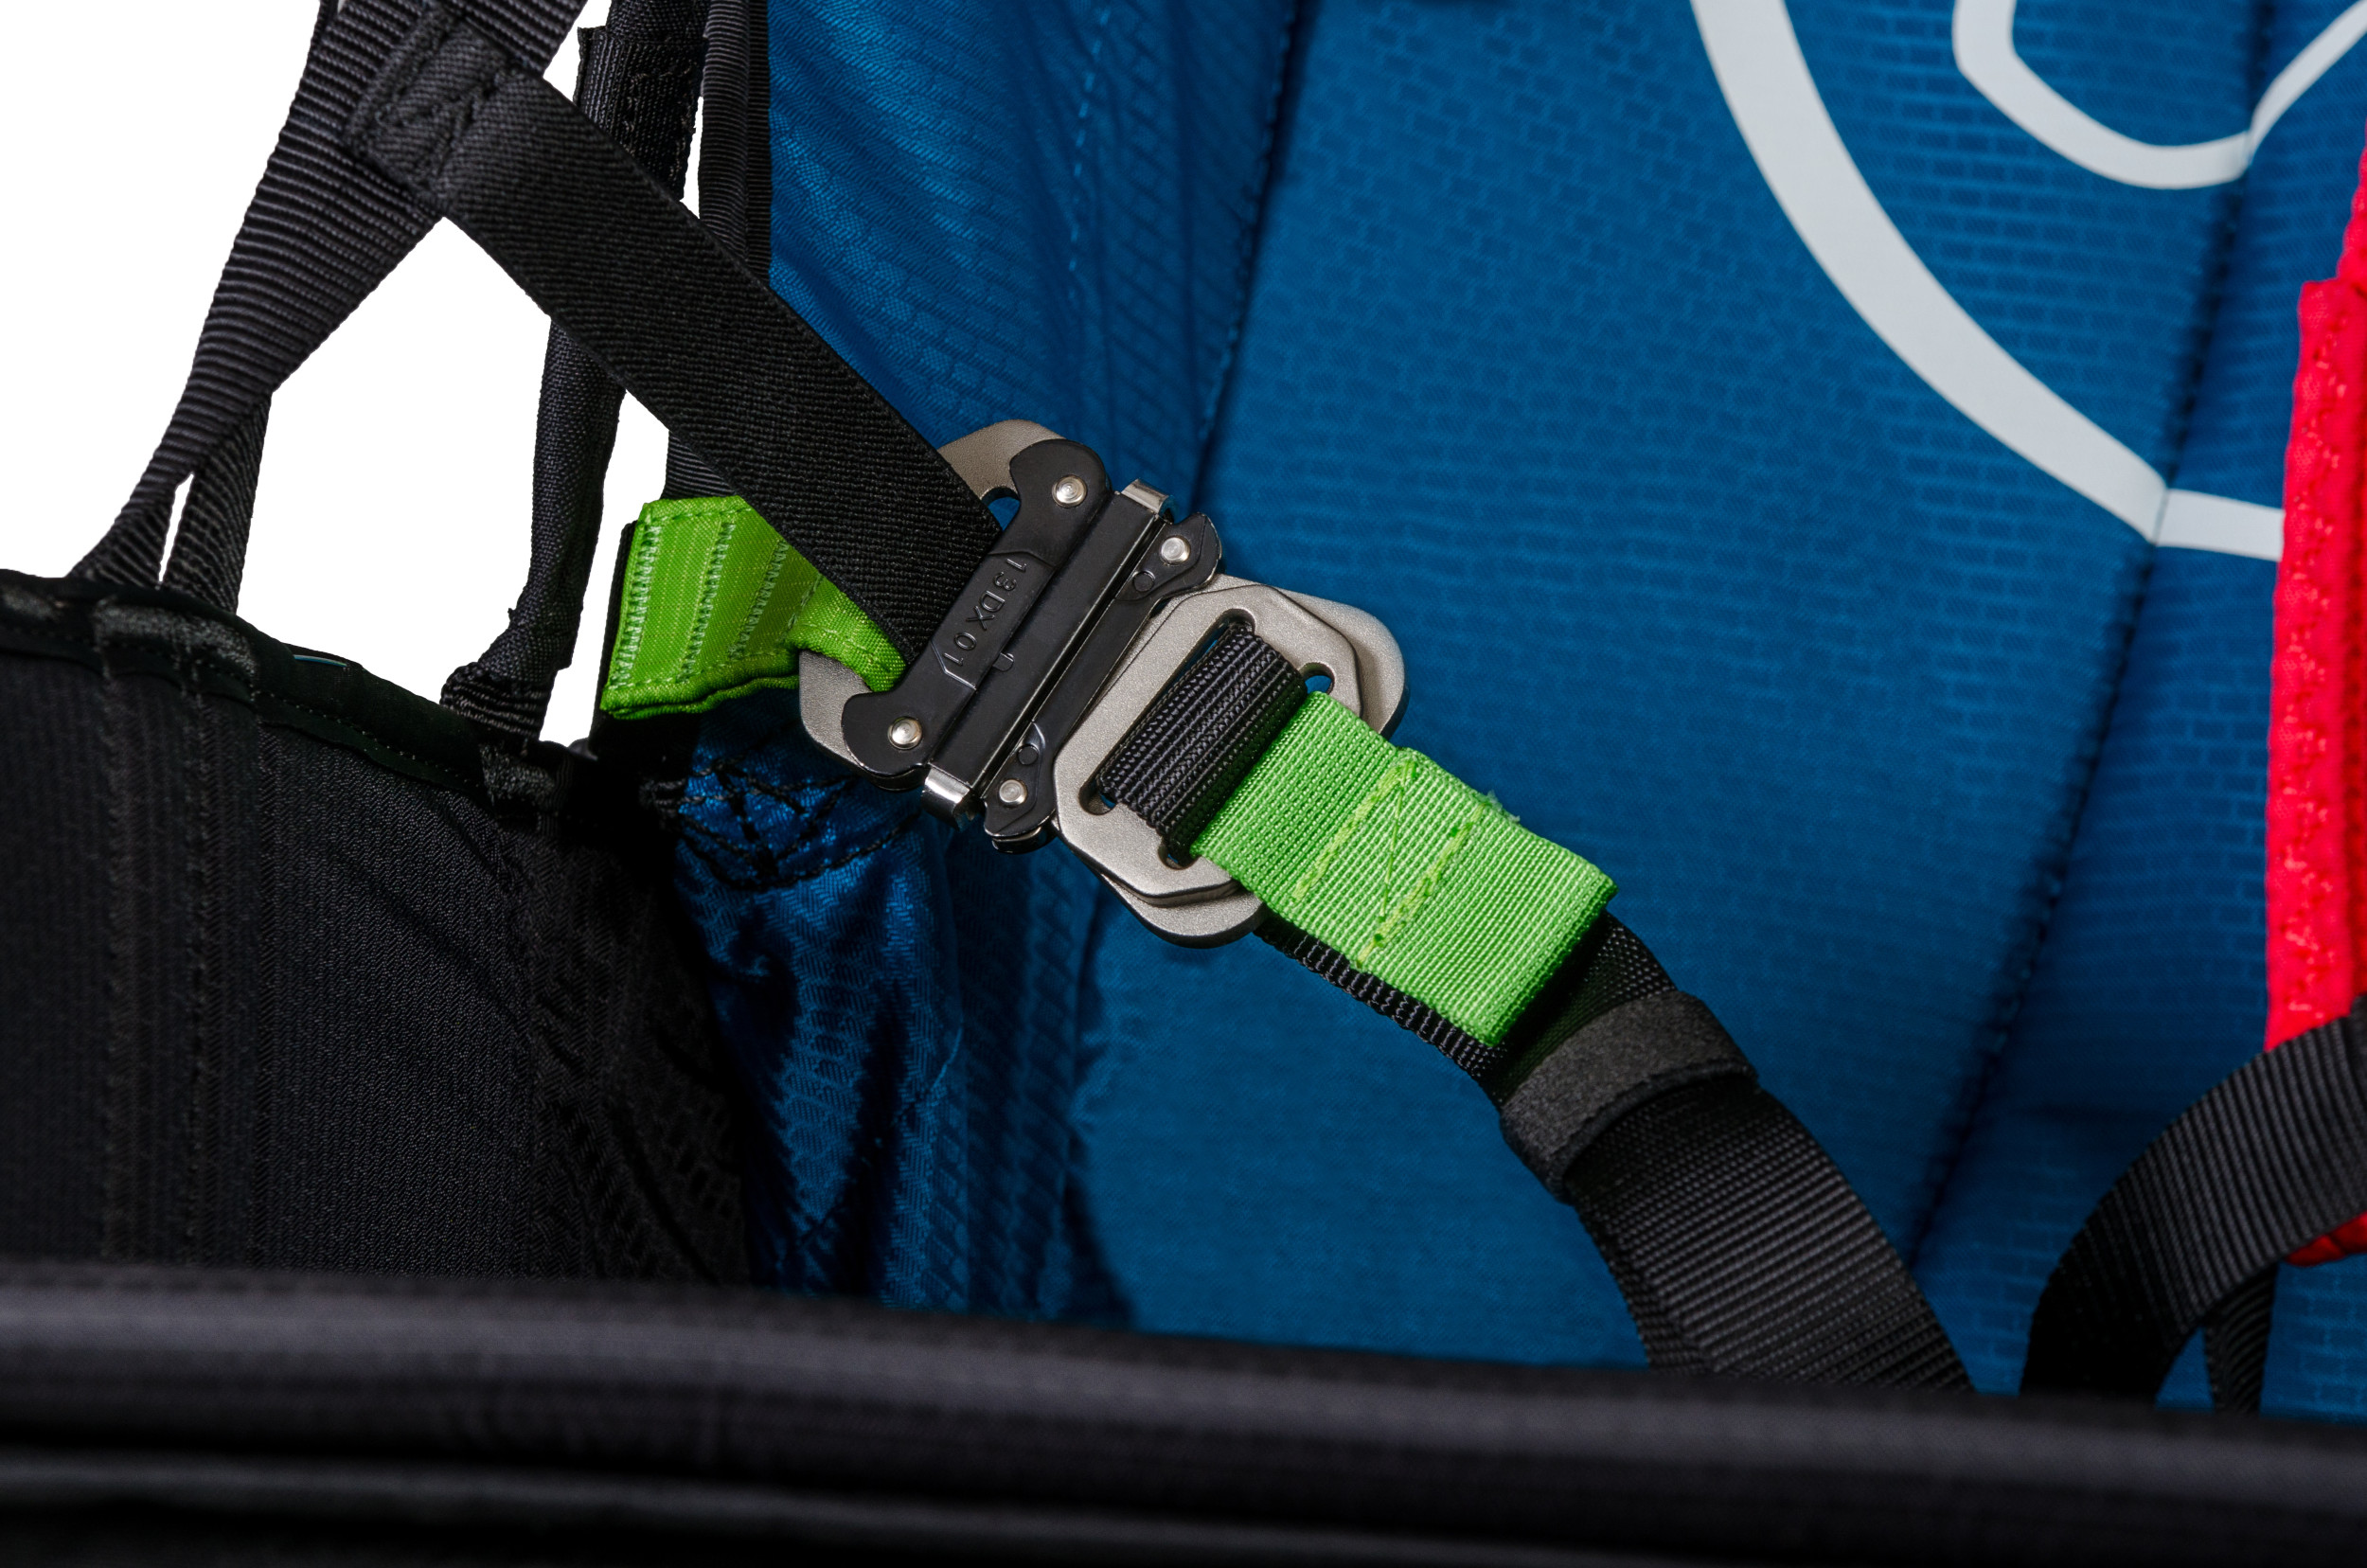
- Are metal and composite buckles clean and undamaged?
- Do buckles latch with a solid mechanical engagement? In addition to listening for the audible click, pull firmly on each buckle individually to confirm it is fully locked.
Once strapped in on launch:
- Physically touch and verify every single buckle.
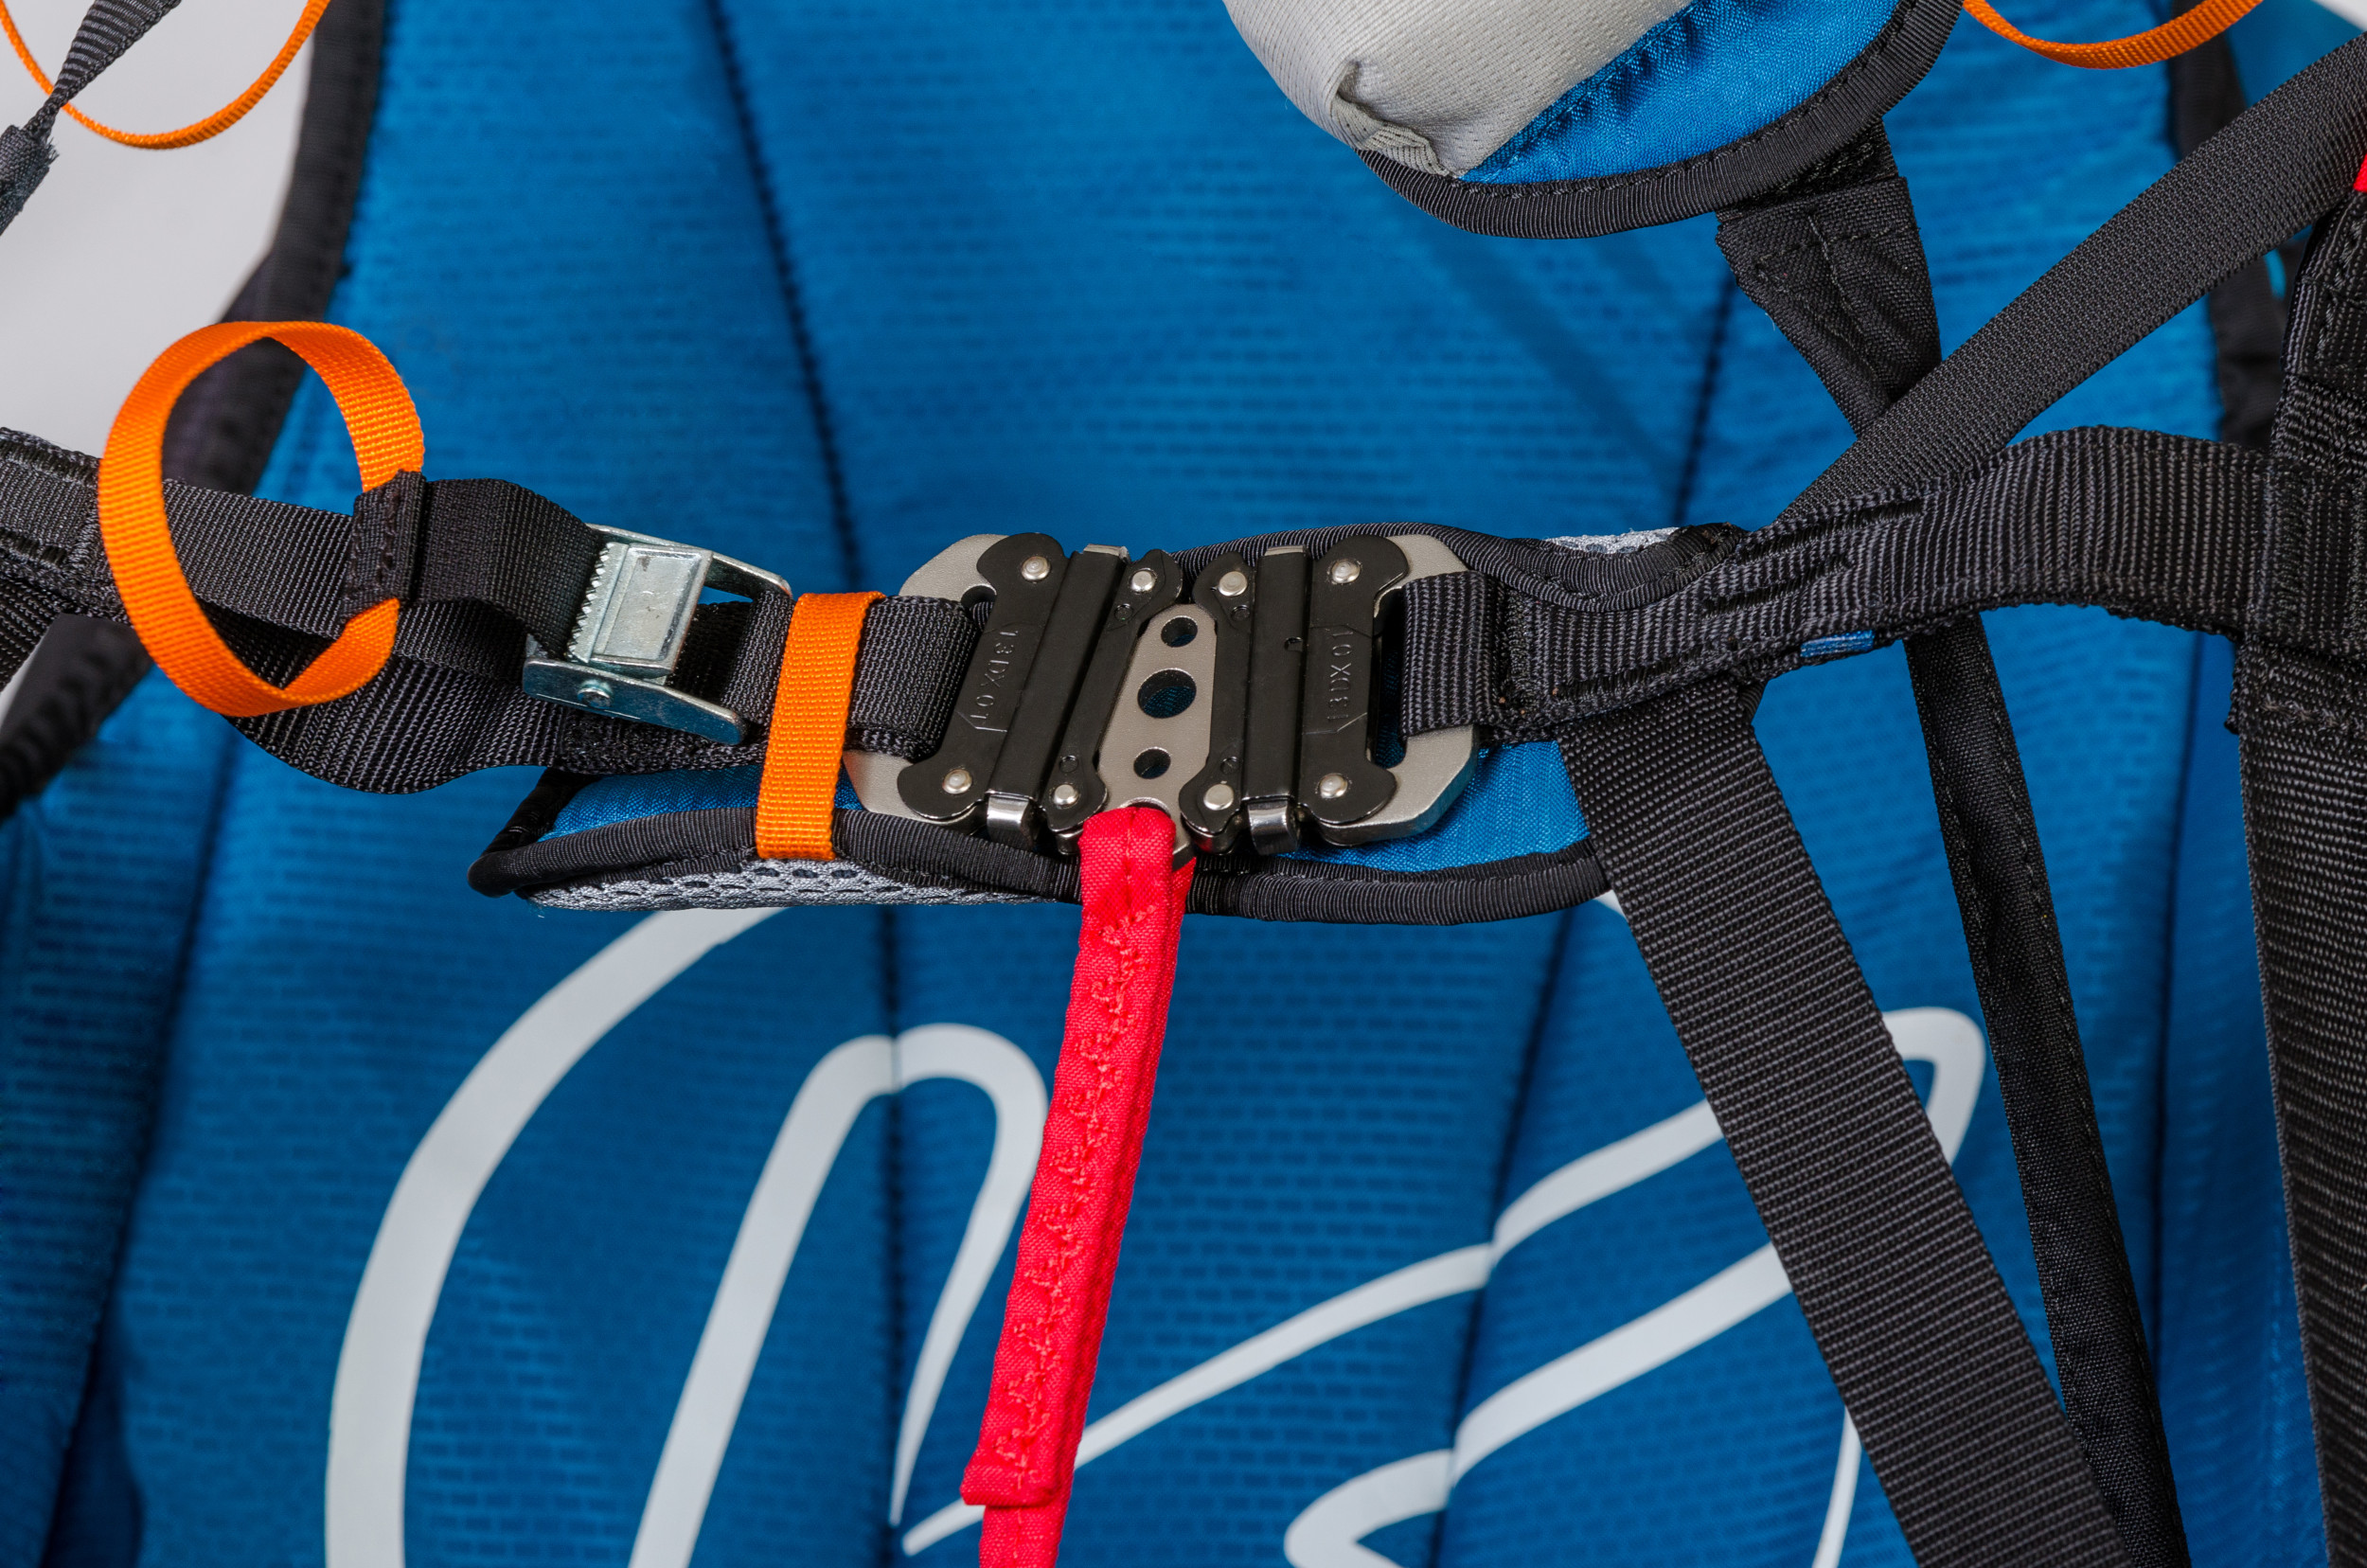
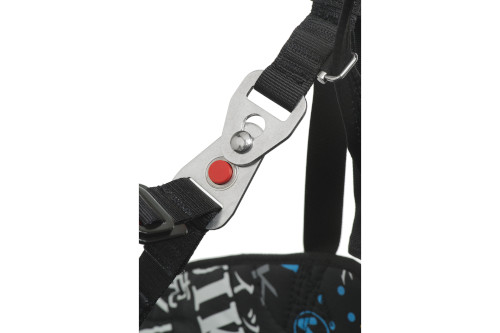
Perform these checks periodically in a calm environment. Avoid interruptions (phone, conversations) so you can conduct this inspection methodically and thoroughly.
Take care of your gear, and have great flights!
Personally, having witnessed a pilot perish from forgetting to buckle their leg straps, I choose harnesses where leg loops are permanently sewn in, or I stitch them closed myself: my way of eliminating this danger at the source! Free flight offers plenty of other challenges to navigate. On lightweight harnesses, stepping into the loops causes no real handicap, even on skis.
My advice to pilots: build an ultra-simple mental checklist covering solely vital points. Run through it immediately before your final check of wind and airspace. Repeat it whenever your launch is delayed by even a minute.
My personal checklist works strictly from the inside out:
- What holds me inside the system:
- Leg straps + chest strap (even when stitched closed, to maintain the habit if flying another harness).
- What links the harness to wing and reserve:
- Rescue: pins properly engaged in loops.
- Connectors: visual check and physical pull-test on gate locks.
- Risers:
- A-risers on top, clean run to the leading edge
- Speed bar lines connected and clear of risers
- Brakes running freely through pulleys
- Suspension lines: clean layout, clear of ground debris
- Wing canopy