
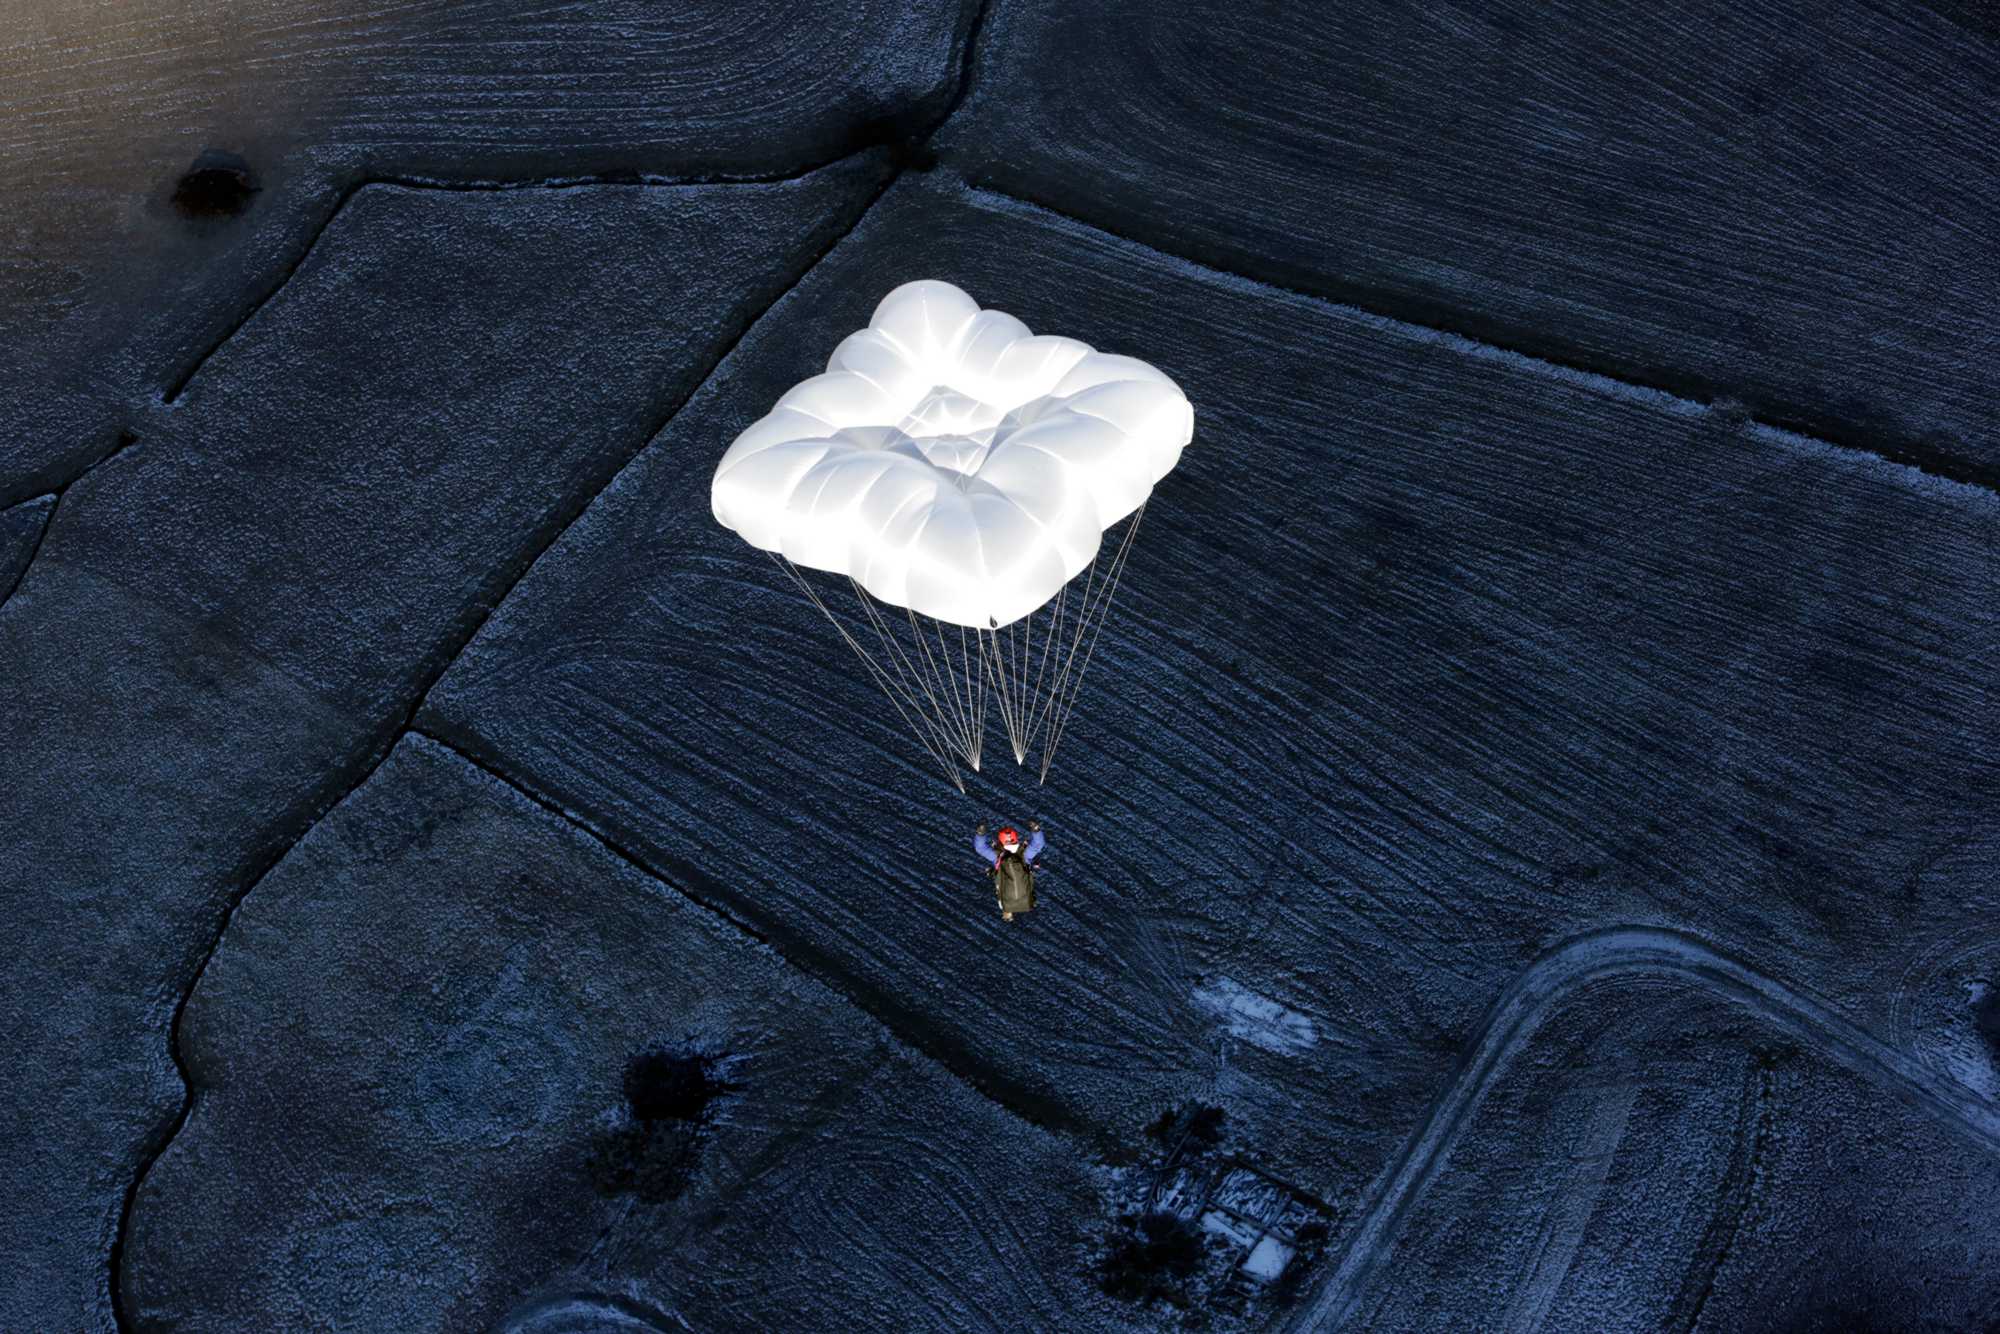
Thoughts on … Reserve Parachute Packing and Setup
When forced to deploy your reserve parachute, it must open flawlessly and as quickly as humanly possible!
Yet the parachute canopy is merely one link in a vital sequence: the deployment chain. Here we dissect every element of that chain, their functions, and their interactions. Even if each component is certified individually, a single incompatibility can become the failure point preventing deployment. Verifying total system compatibility is essential.
Core Terminology:
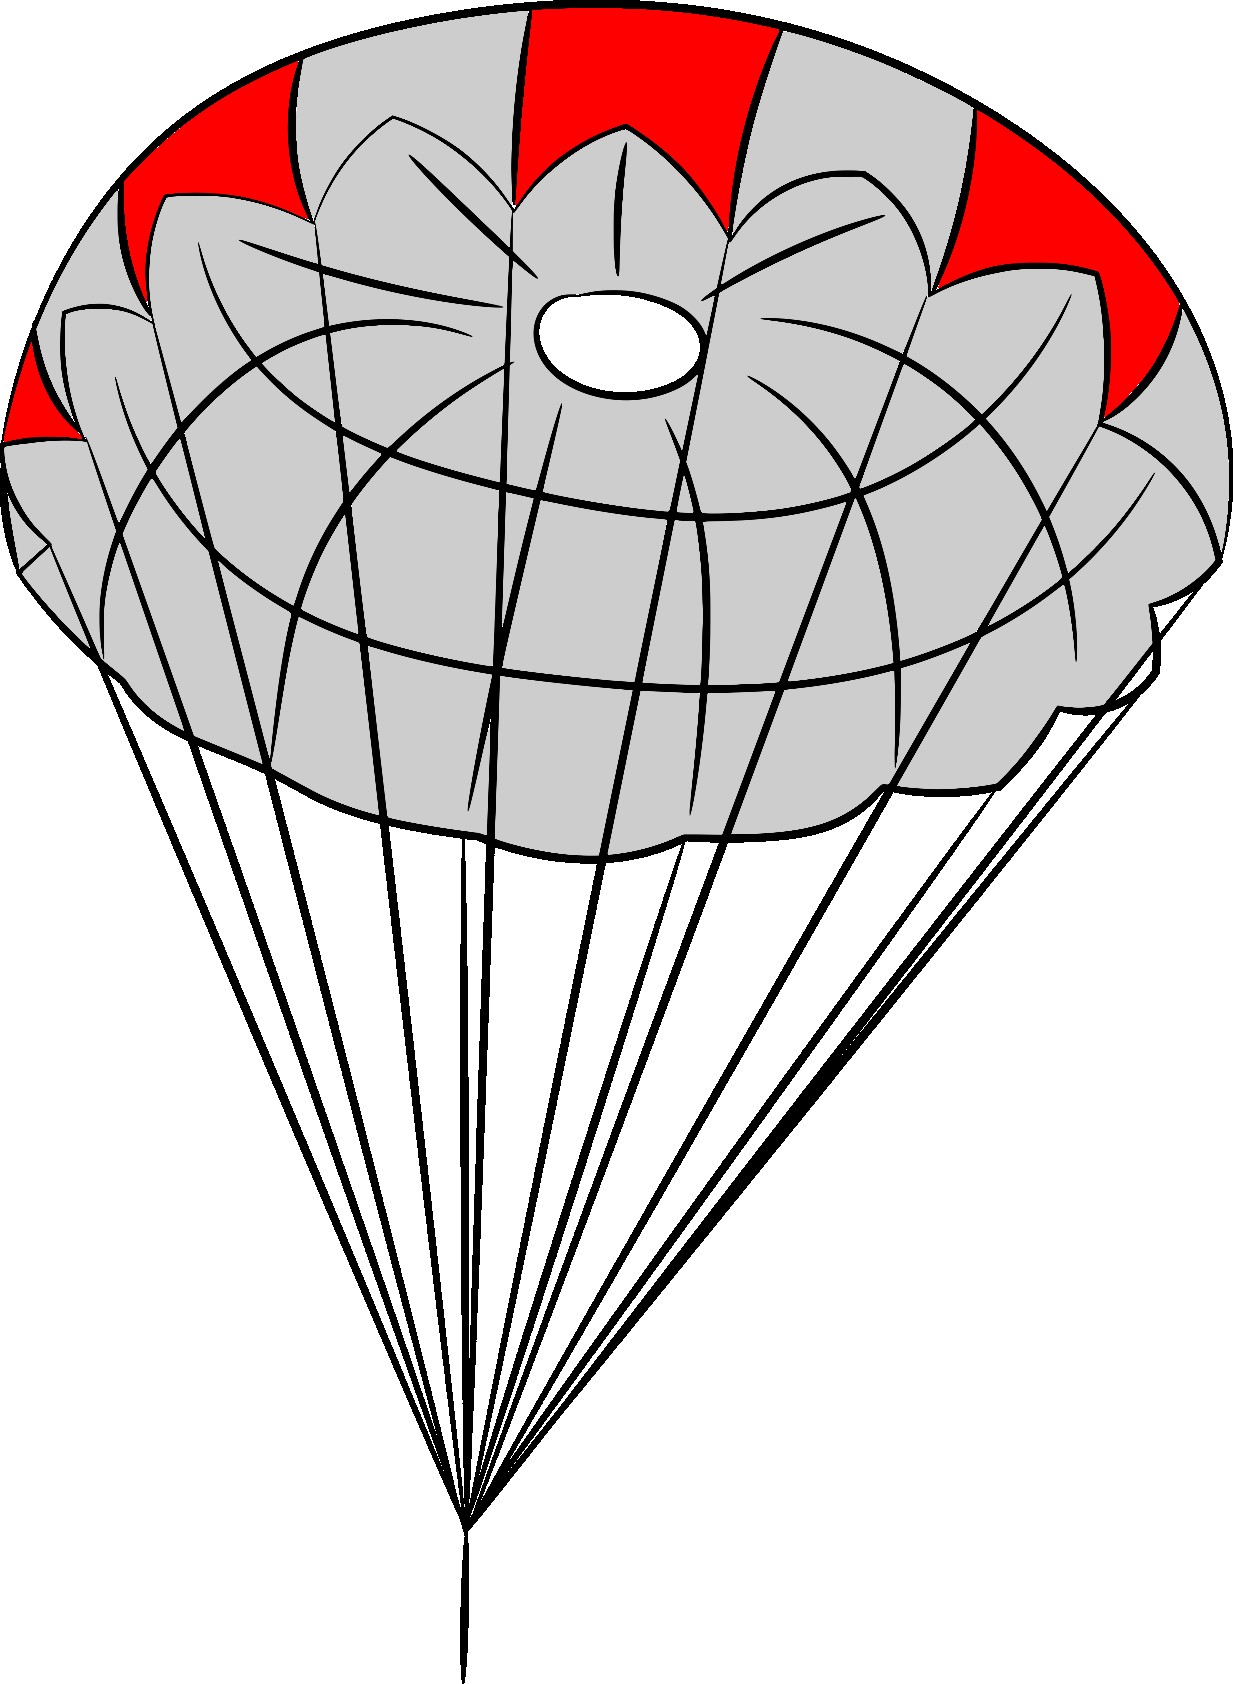
– Reserve parachute: An aerodynamic drag device composed of canopy and lines designed to slow pilot descent to a survivable impact speed.
– Suspension lines: Structural line set maintaining the parachute's designed geometry and load transfer, integral to the canopy.
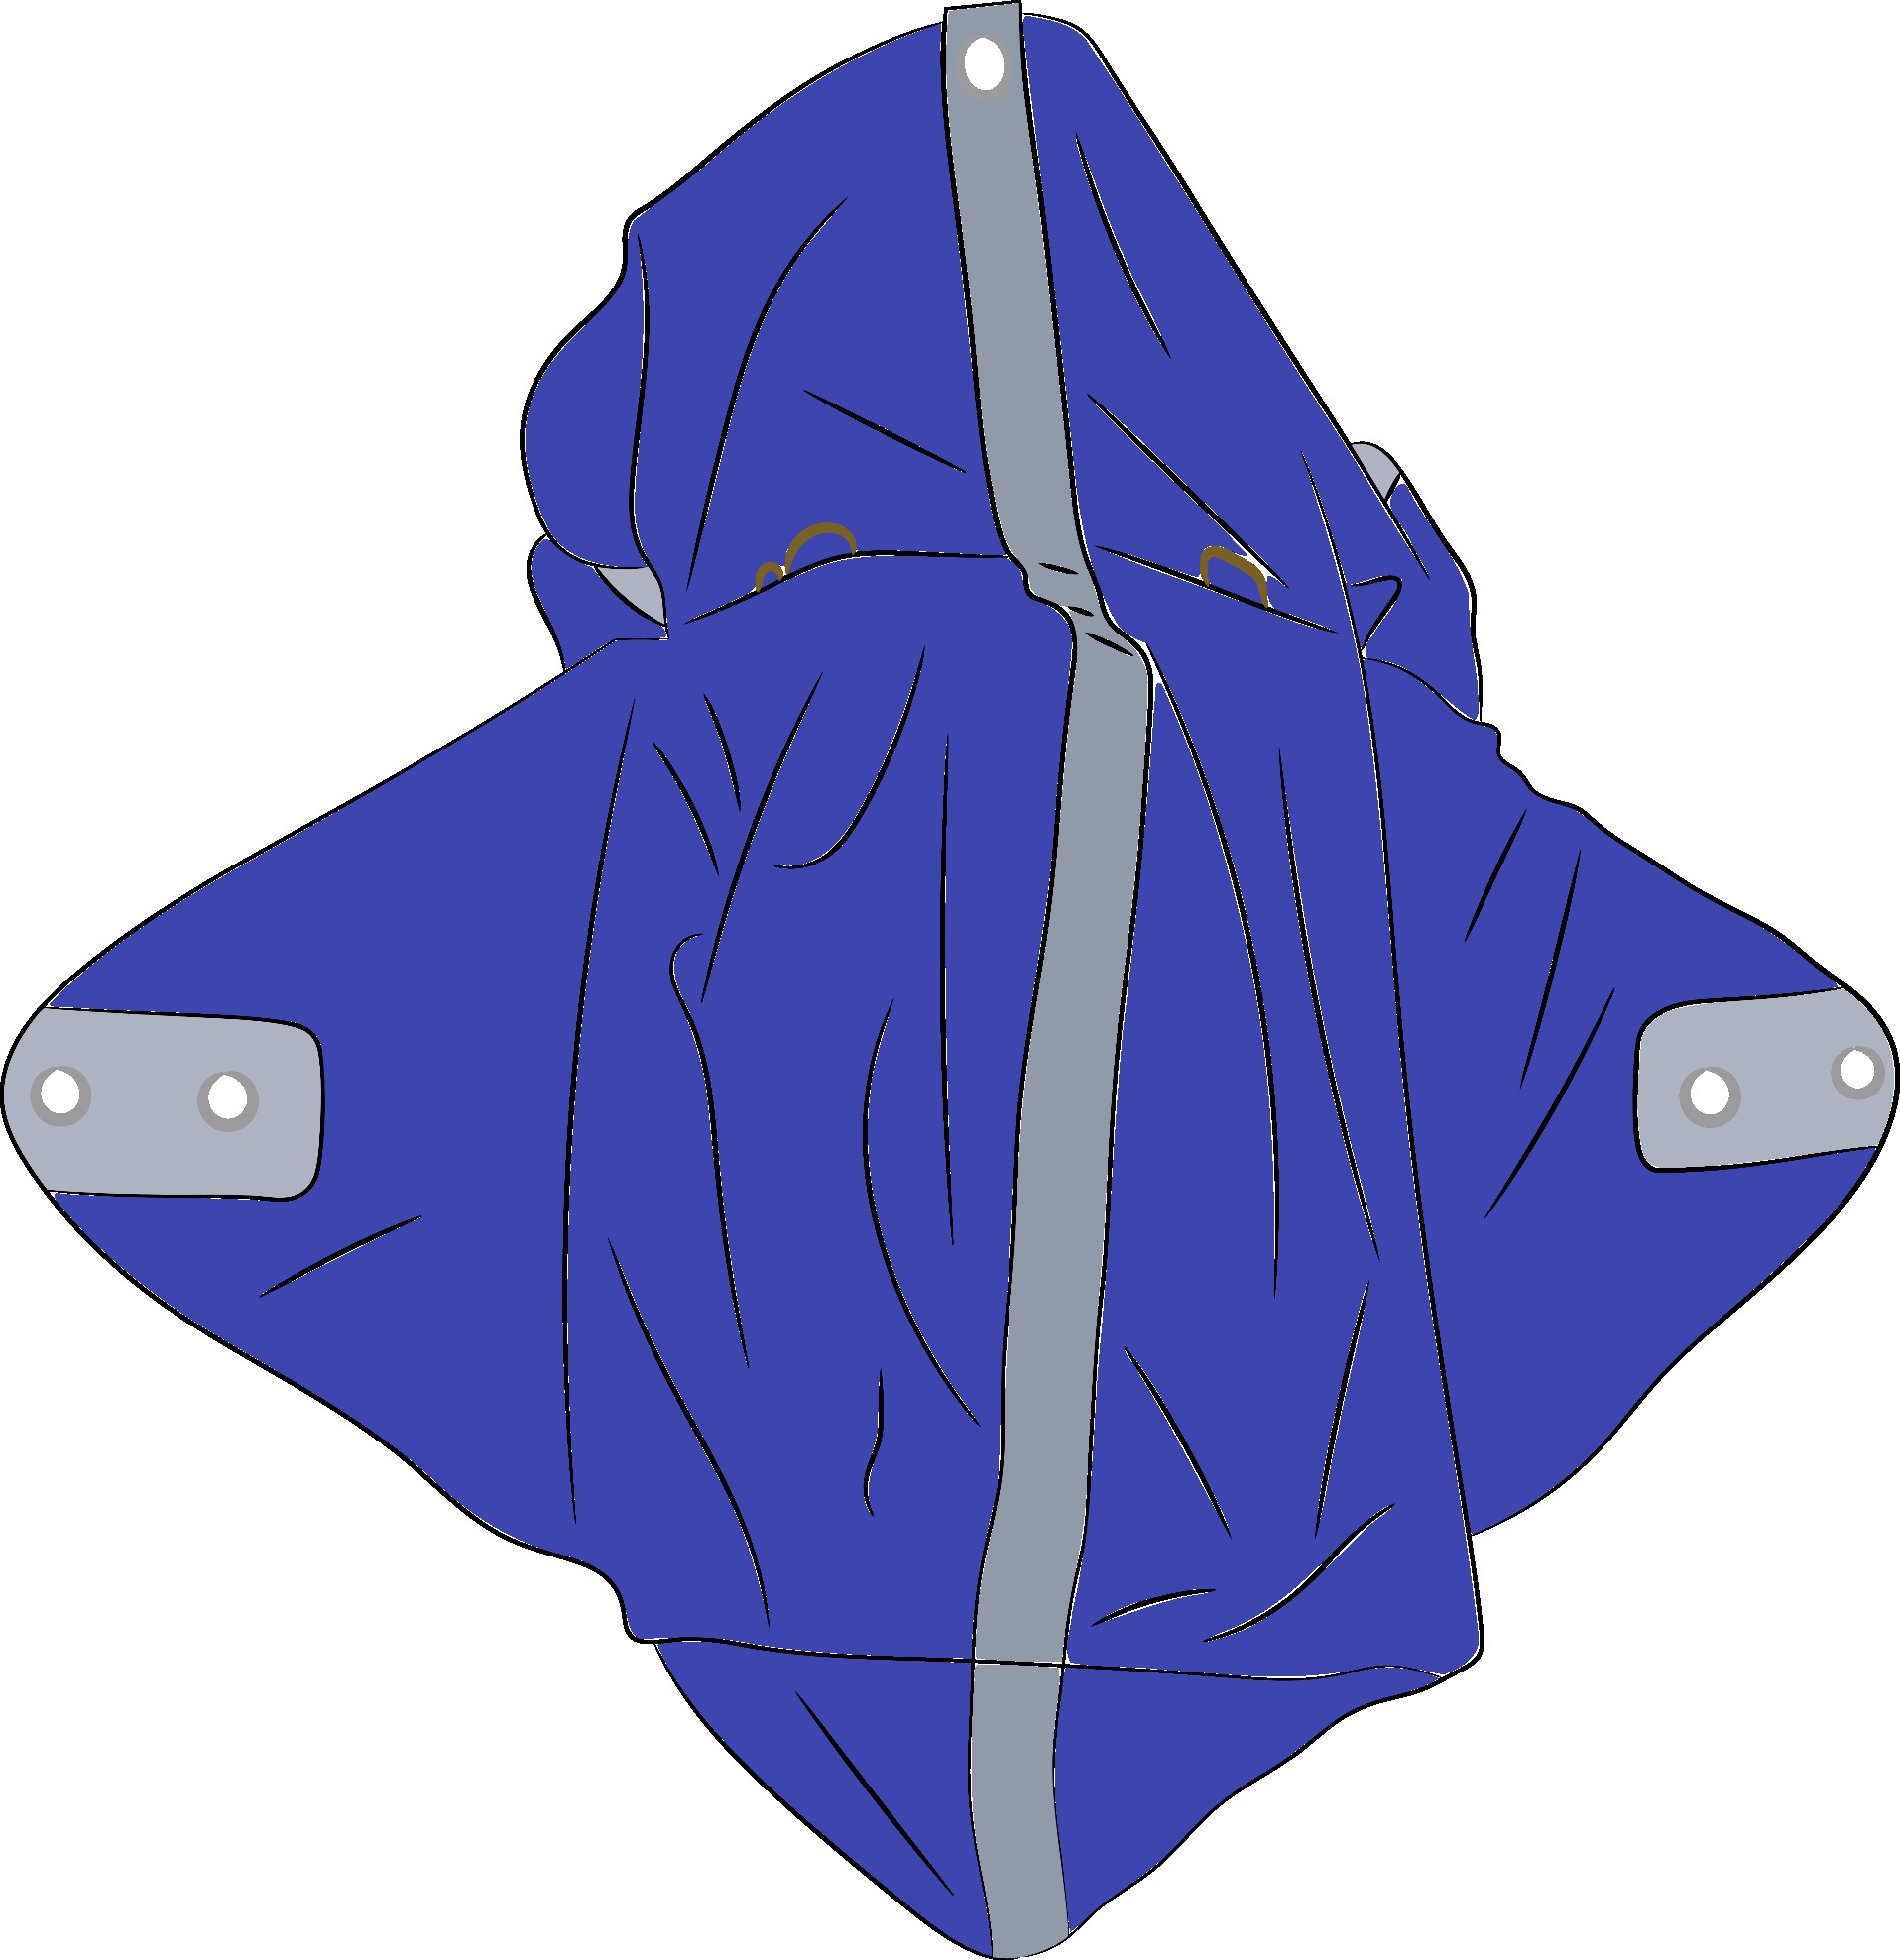
– Pod (Deployment bag): Textile envelope holding the folded parachute compact until line tension extracts it.
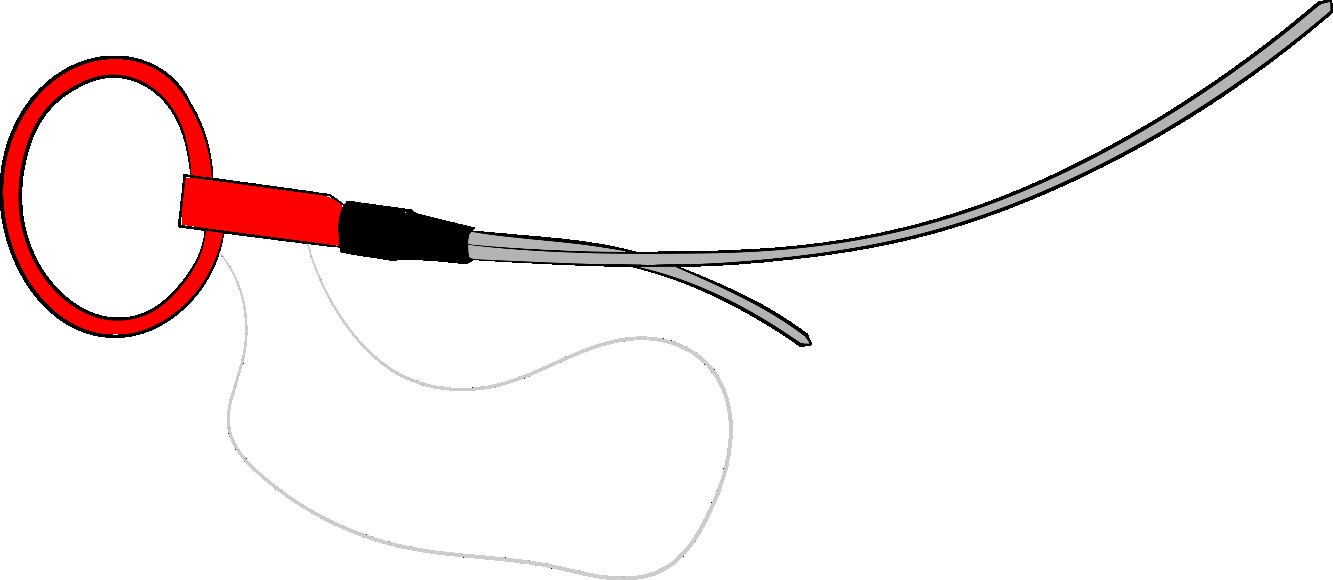
– Rescue handle: Ergonomic handle that unlocks the container flaps and provides the grip to extract and throw the pod.
– Connecteurs: Textile softlinks or metal quick links (maillons) joining elements together.


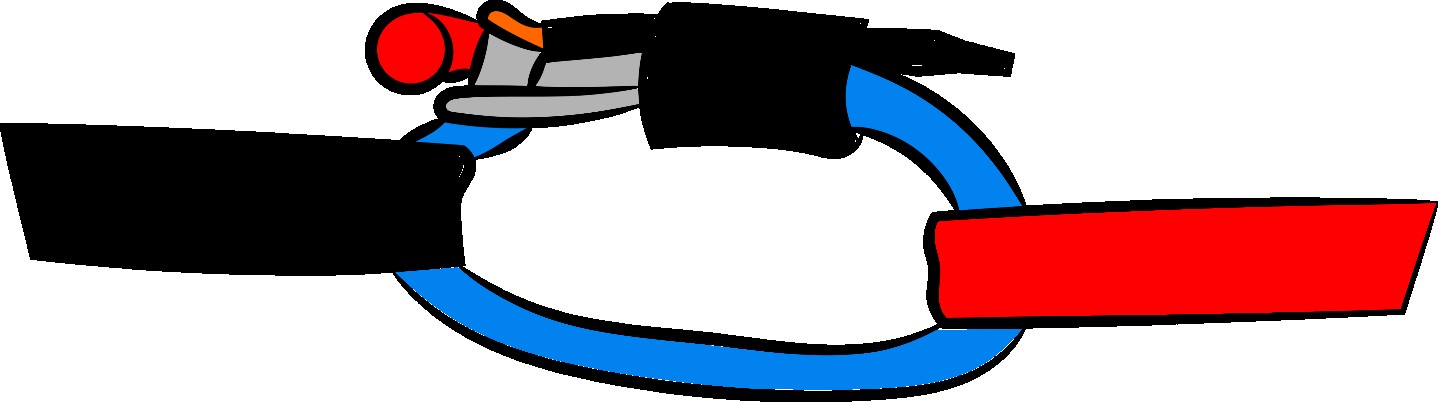
– Container: Built-in or external harness compartment housing the packed pod, secured shut by the handle pins.
– Rescue bridles: High-strength webbings linking the reserve apex lines to harness shoulder hang points (integrated or detachable).
– Flaps: Container fabric leaves enclosing the pod.
– Rescue system: Complete assembly of canopy, lines, pod, handle, bridles, and container.
– Deployment chain: The complete sequential operation from handle pull to canopy inflation.
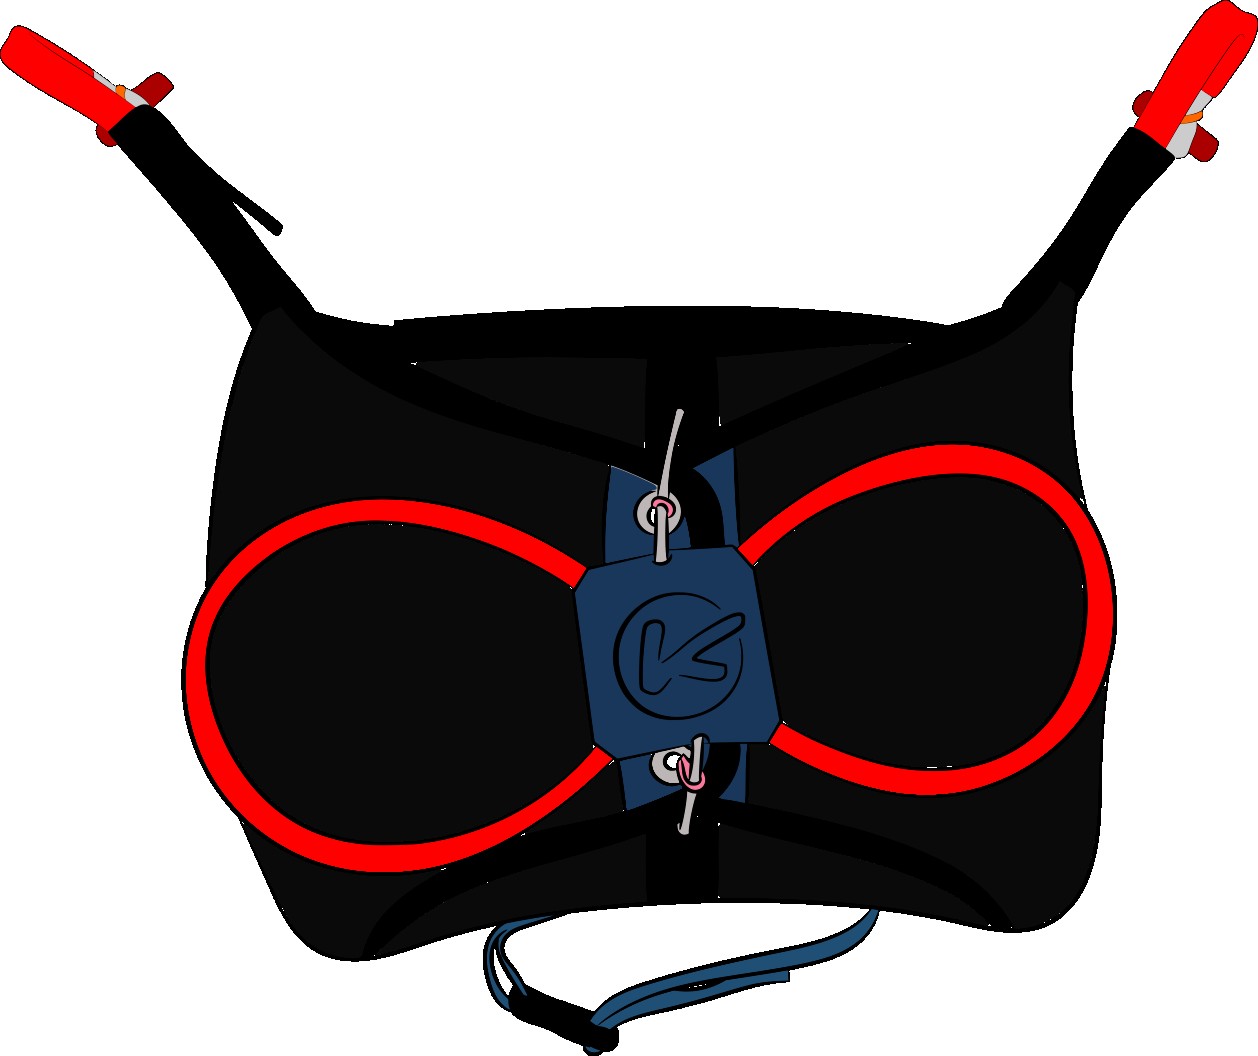

Two main phases: PACKING and INSTALLATION.
Let's examine critical safety checkpoints at each step.
PACKING
Packing Method
While packing may seem intimidating, following the manufacturer manual step-by-step makes it straightforward. If you lack confidence, delegate repacking to a certified professional workshop.
Why is strict adherence to the manufacturer manual so vital?
It directly reflects certification testing: the reserve (loaded to max weight) is dropped at 40 m/s airspeed and must inflate within a certified timeframe under 11G peak deceleration without tearing fabric or lines. With modern lightweight fabrics, designers use phased packing methods (such as staged diapers/folds) to soften shock loading and ensure aerodynamic stability during opening. Never improvise on packing methods.
Critical Checkpoints:
– Inspect canopy and lines for tears, abrasion, dampness, or mildew.
– Strictly follow the manufacturer's manual.
– Remove all packing accessories (packing cords, pins, weights, clips) before closing the pod!
– Only pack when fabrics are completely dry and aired.
The Pod (Deployment Bag)
The pod holds the folded canopy ready for extraction and connects to the deployment handle. It is tailored in volume and geometry to the specific parachute; parachute certification is granted strictly for the parachute/pod combination tested. Swapping pods without manufacturer approval compromises certified opening behavior.
Pod closure is secured by elastic bands holding bights of suspension lines. Upon line tension during a throw, the line bight pulls free, opening the pod. Elastics must hold firmly enough to prevent accidental opening inside the container from turbulence, yet release smoothly under moderate pull.
Critical Checkpoints:
– Verify pod compatibility with the parachute model.
– Inspect pod for seam wear or fabric damage.
– Ensure the pod is completely dry.
– Check closing rubber bands for elasticity and deterioration.
– Inspect handle attachment loops on the pod.
NOTE:
Repack and air your reserve parachute at least every six months. Recent studies show opening speed degrades significantly beyond 3 months of compaction in a harness. Aerating and repacking every 3 months is optimal for fast deployment.
Now that the parachute is packed into its pod, let us move to installation!
INSTALLATION
Reserve Bridles
Bridles connect the parachute to harness hang points:
– V-bridles: Connect two harness shoulder points to a single reserve junction (standard for round, square, and non-steerable canopies).
– H-bridles: Used on steerable reserves, maintaining left/right orientation.
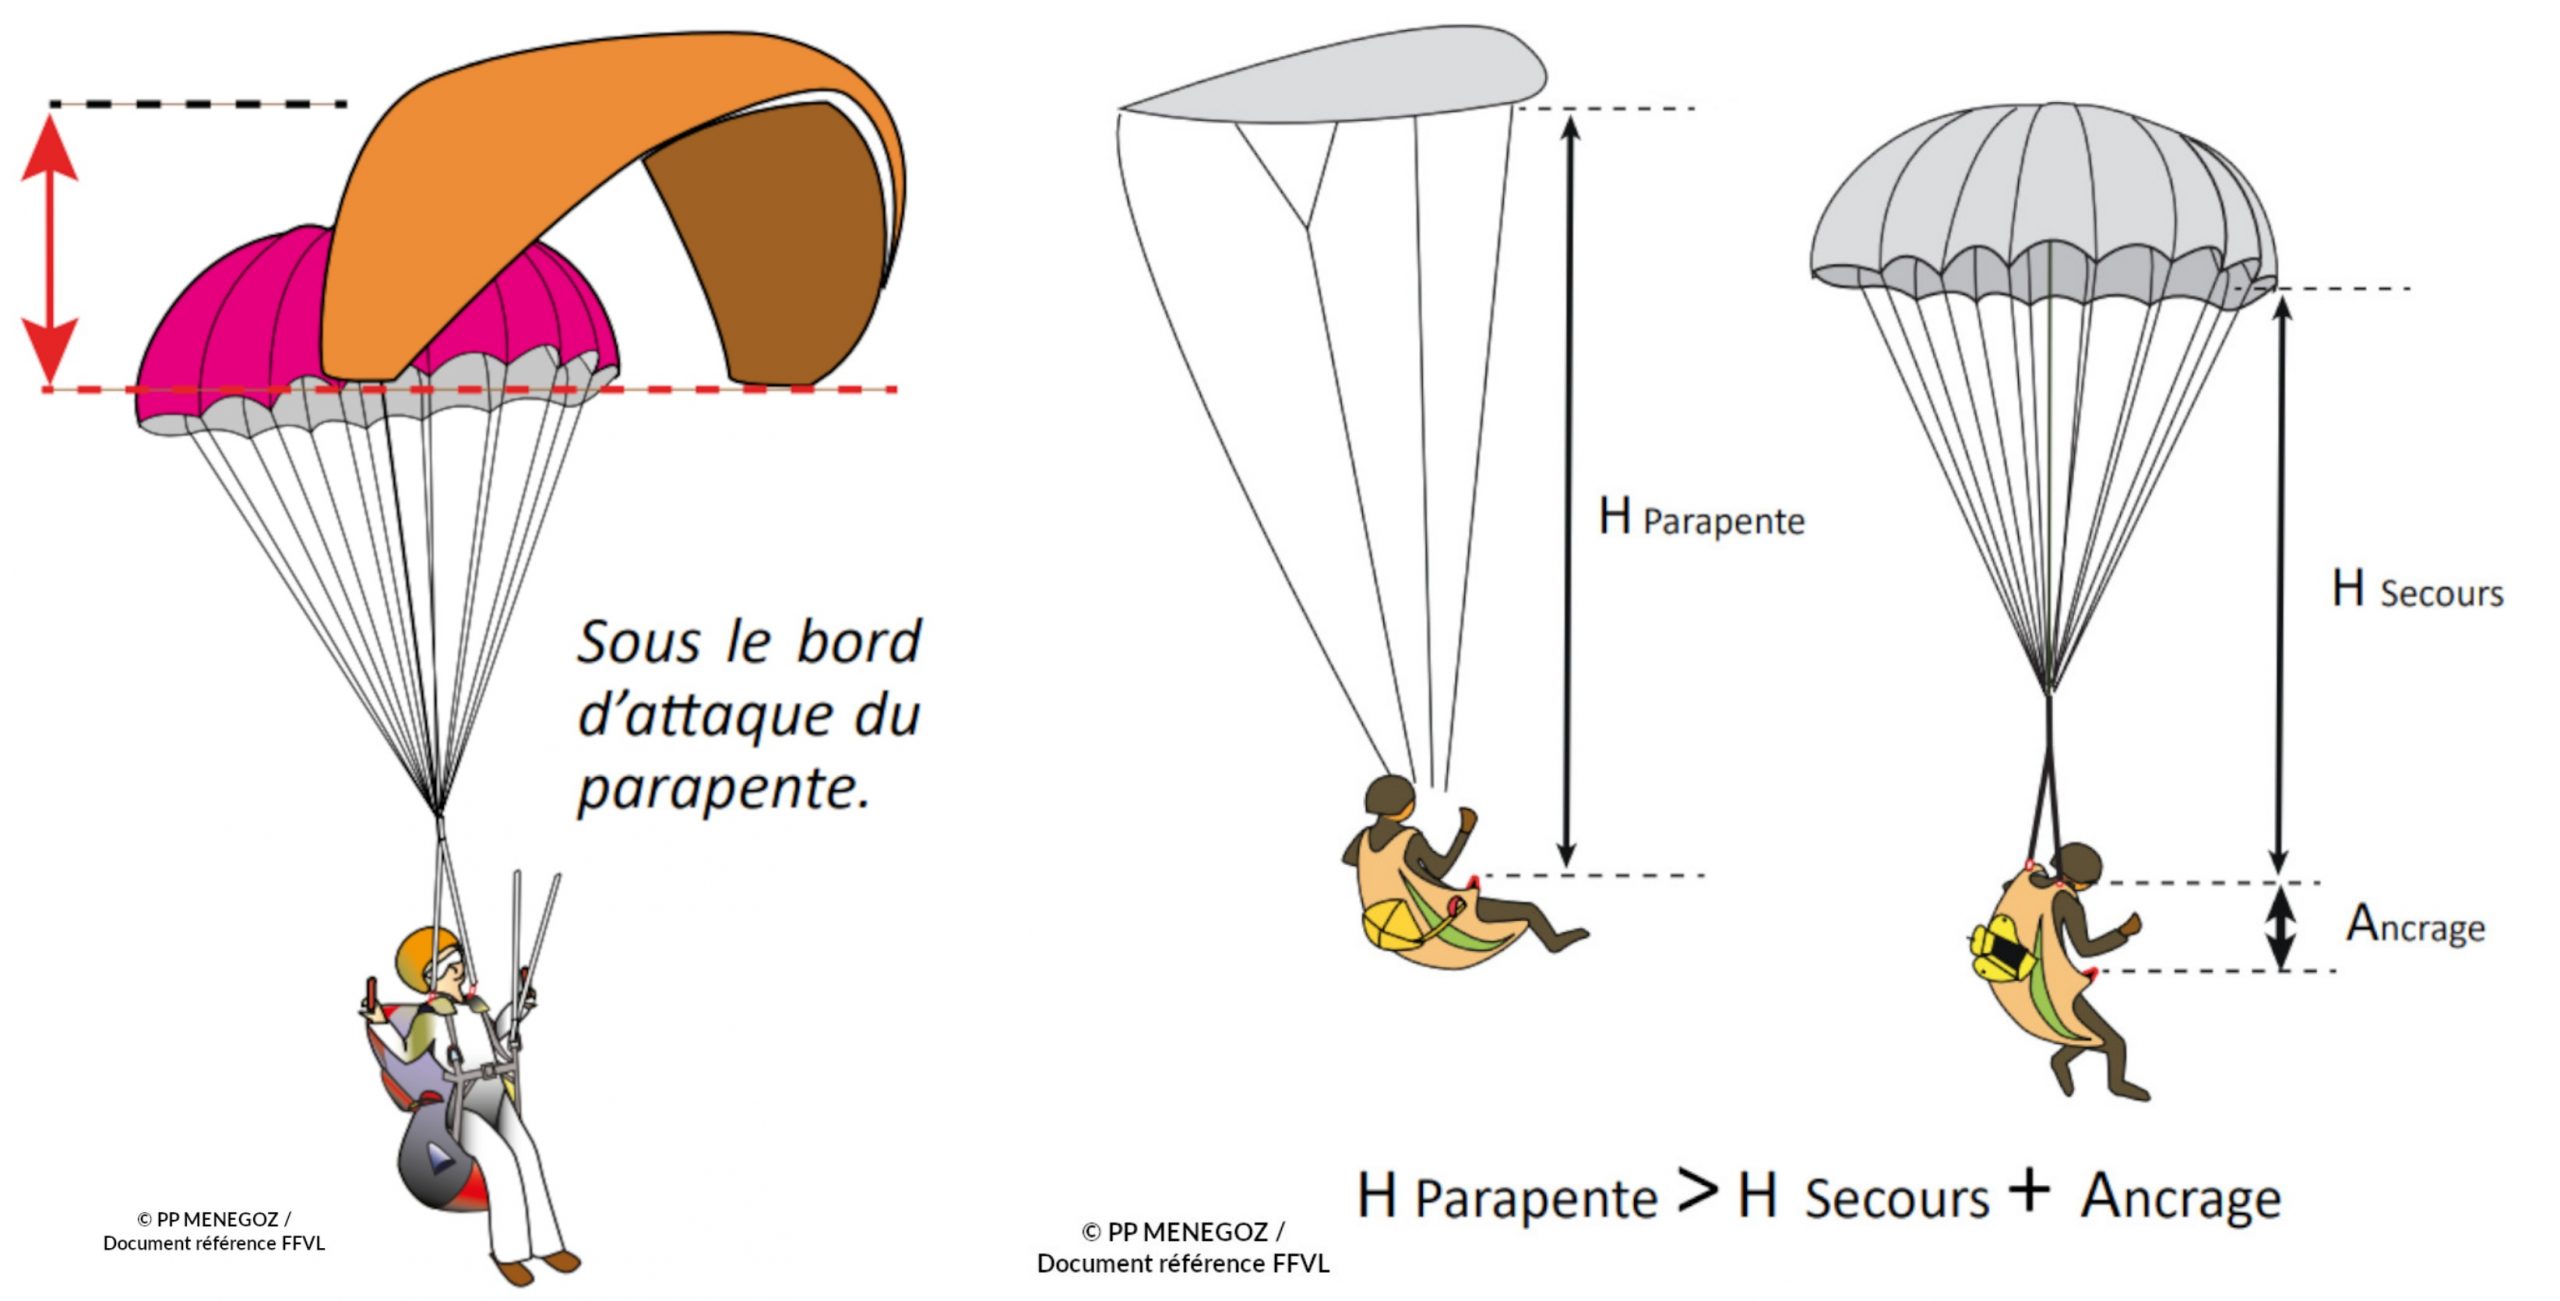
Bridle length must be calibrated so that the combined length of bridles plus reserve lines does not match paraglider line length, preventing the reserve from inflating inside the paraglider canopy wake. Bridles of 120-130 cm are standard.
Critical Checkpoints:
– Inspect bridles for wear, cuts, friction marks, or seam damage.
– Verify bridle length matches your glider line cone (120-130 cm typical).
Connectors
Where possible, direct larks head (choke hitch) connections minimize failure points. Properly executed with webbings dressed flat and pulled tight, larks head knots are completely safe and widely used. When using hardware connectors (steel maillons, soft links), select items rated >= 24 kN to satisfy all certified norms.
Avoid twists, keep straps flat, and secure connector orientation with o-rings or rubber sleeves to prevent cross-loading.
– Breaking strength: Choose connectors rated >= 24 kN for universal safety across solo and tandem standards.
– Geometry: Match connector slot widths to webbing widths to prevent bunching or transverse rotation.
– Locking security: Ensure screw barrels are tightened and cannot vibrate open.
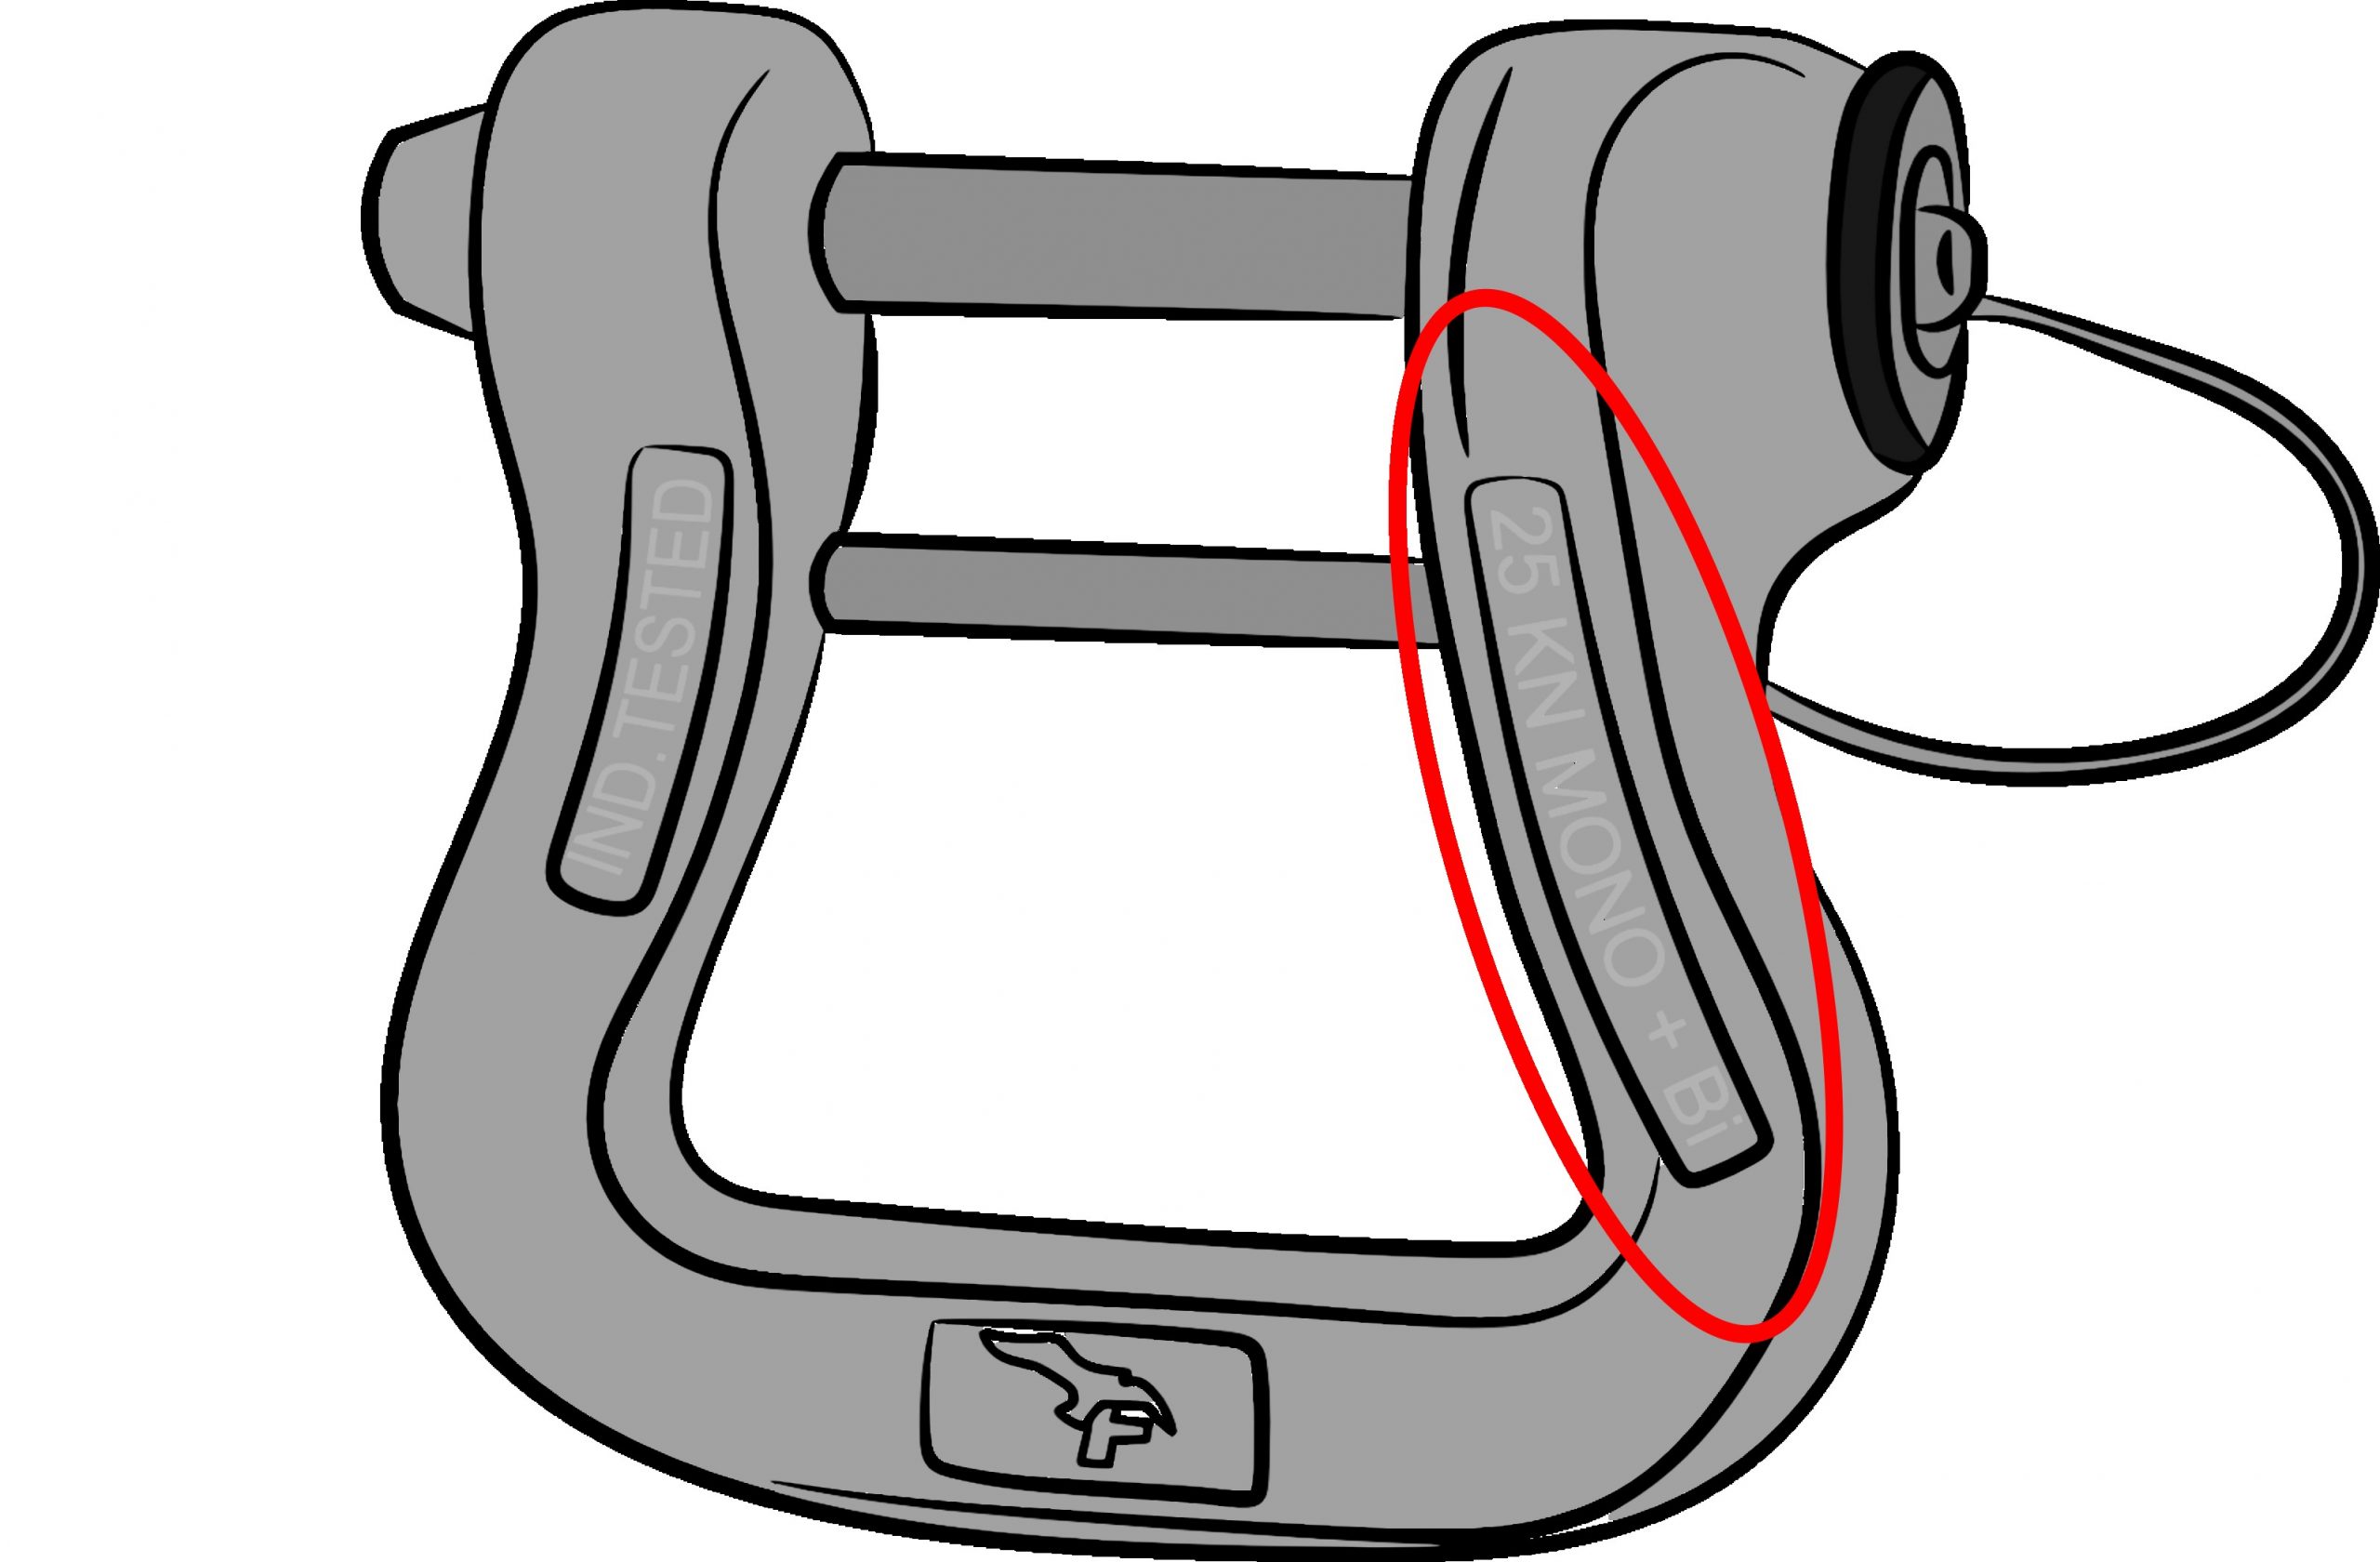
– Alignment: Ensure the connector stays aligned along its primary strength axis.
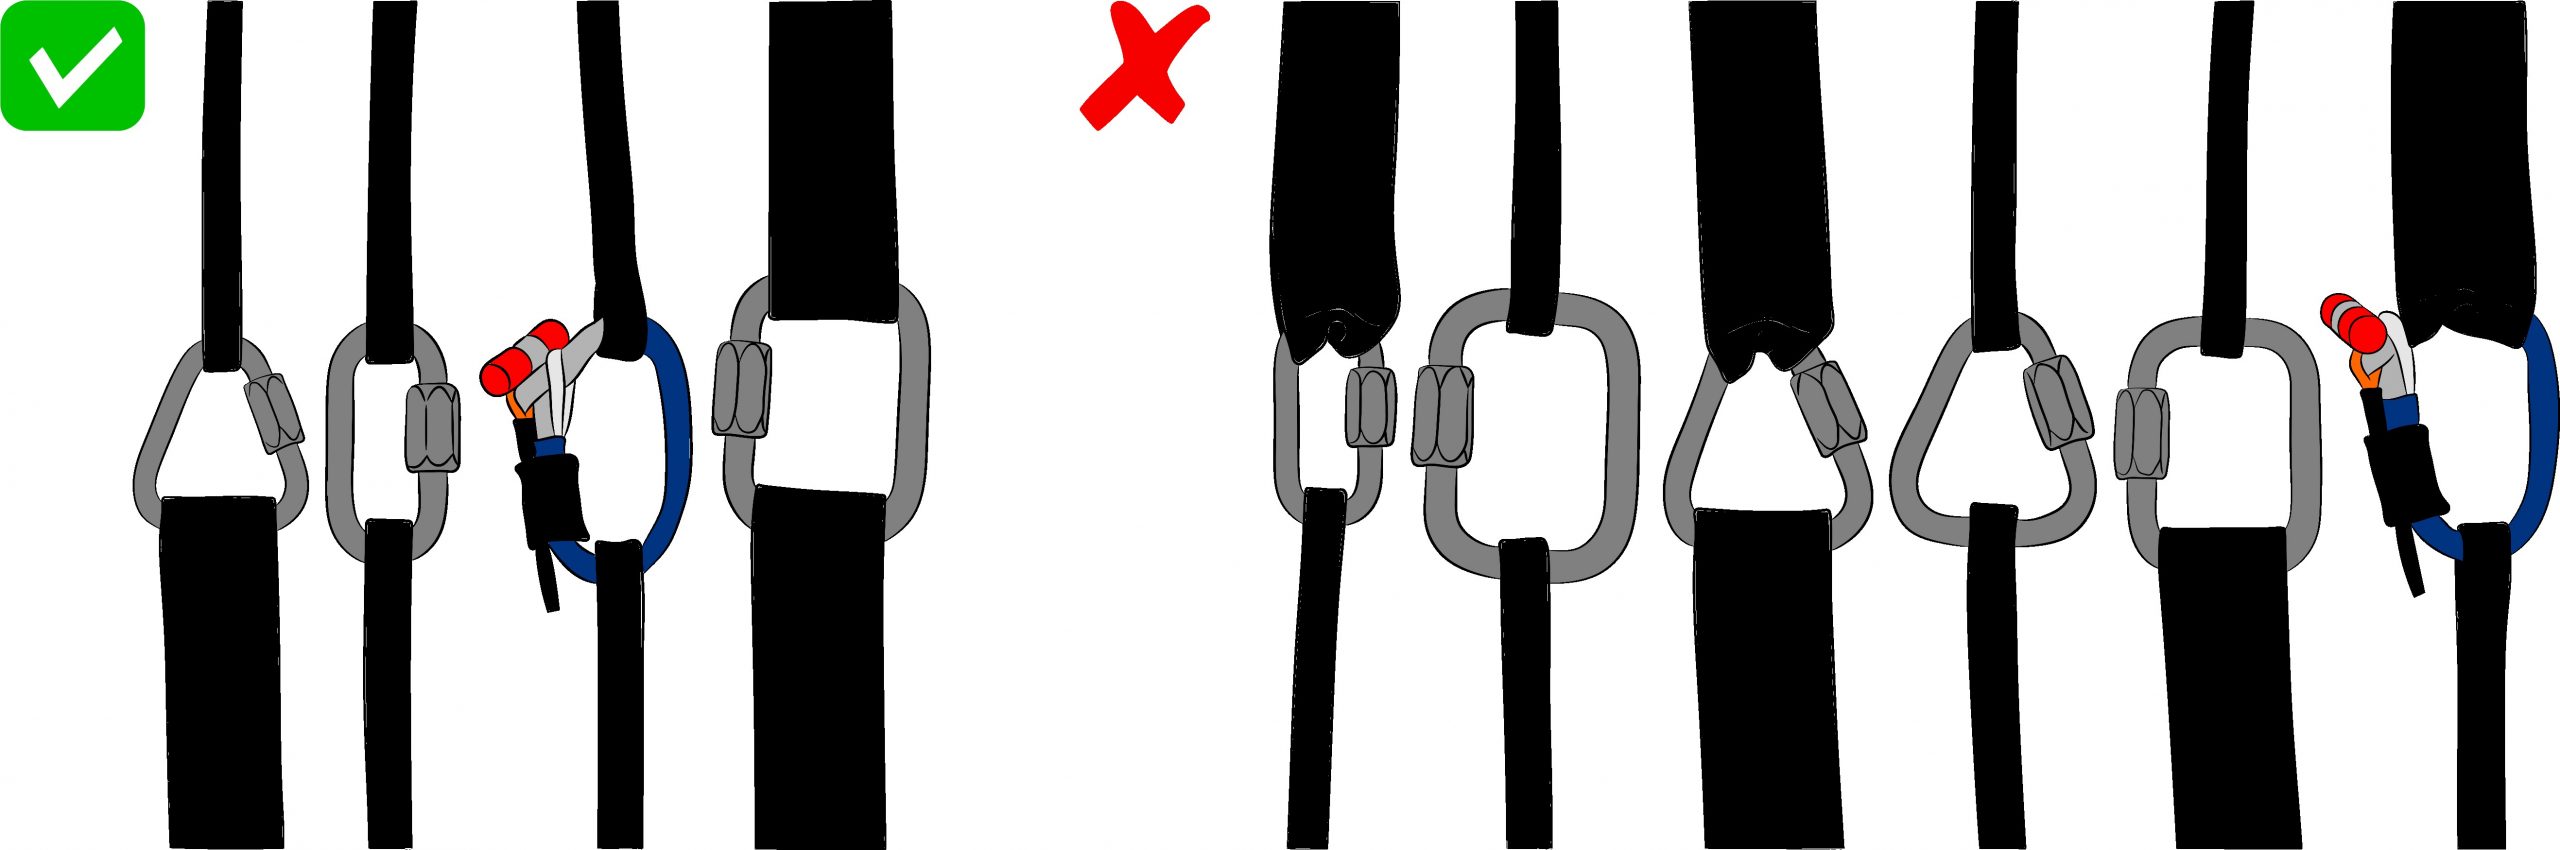
Securing strap positions with an o-ring is highly recommended (Video tutorial). Avoid solvent-based tapes that degrade textile fibers.
Critical Checkpoints:
– Verify certified breaking strength (>= 24 kN recommended).
– Inspect hardware for corrosion, burrs, or thread wear; inspect soft links for fiber cuts or burns.
– For larks head hitch, dress webbing completely flat and cinch knot tight.
– Ensure connector width matches webbing dimensions.
Bridle Routing Tunnel
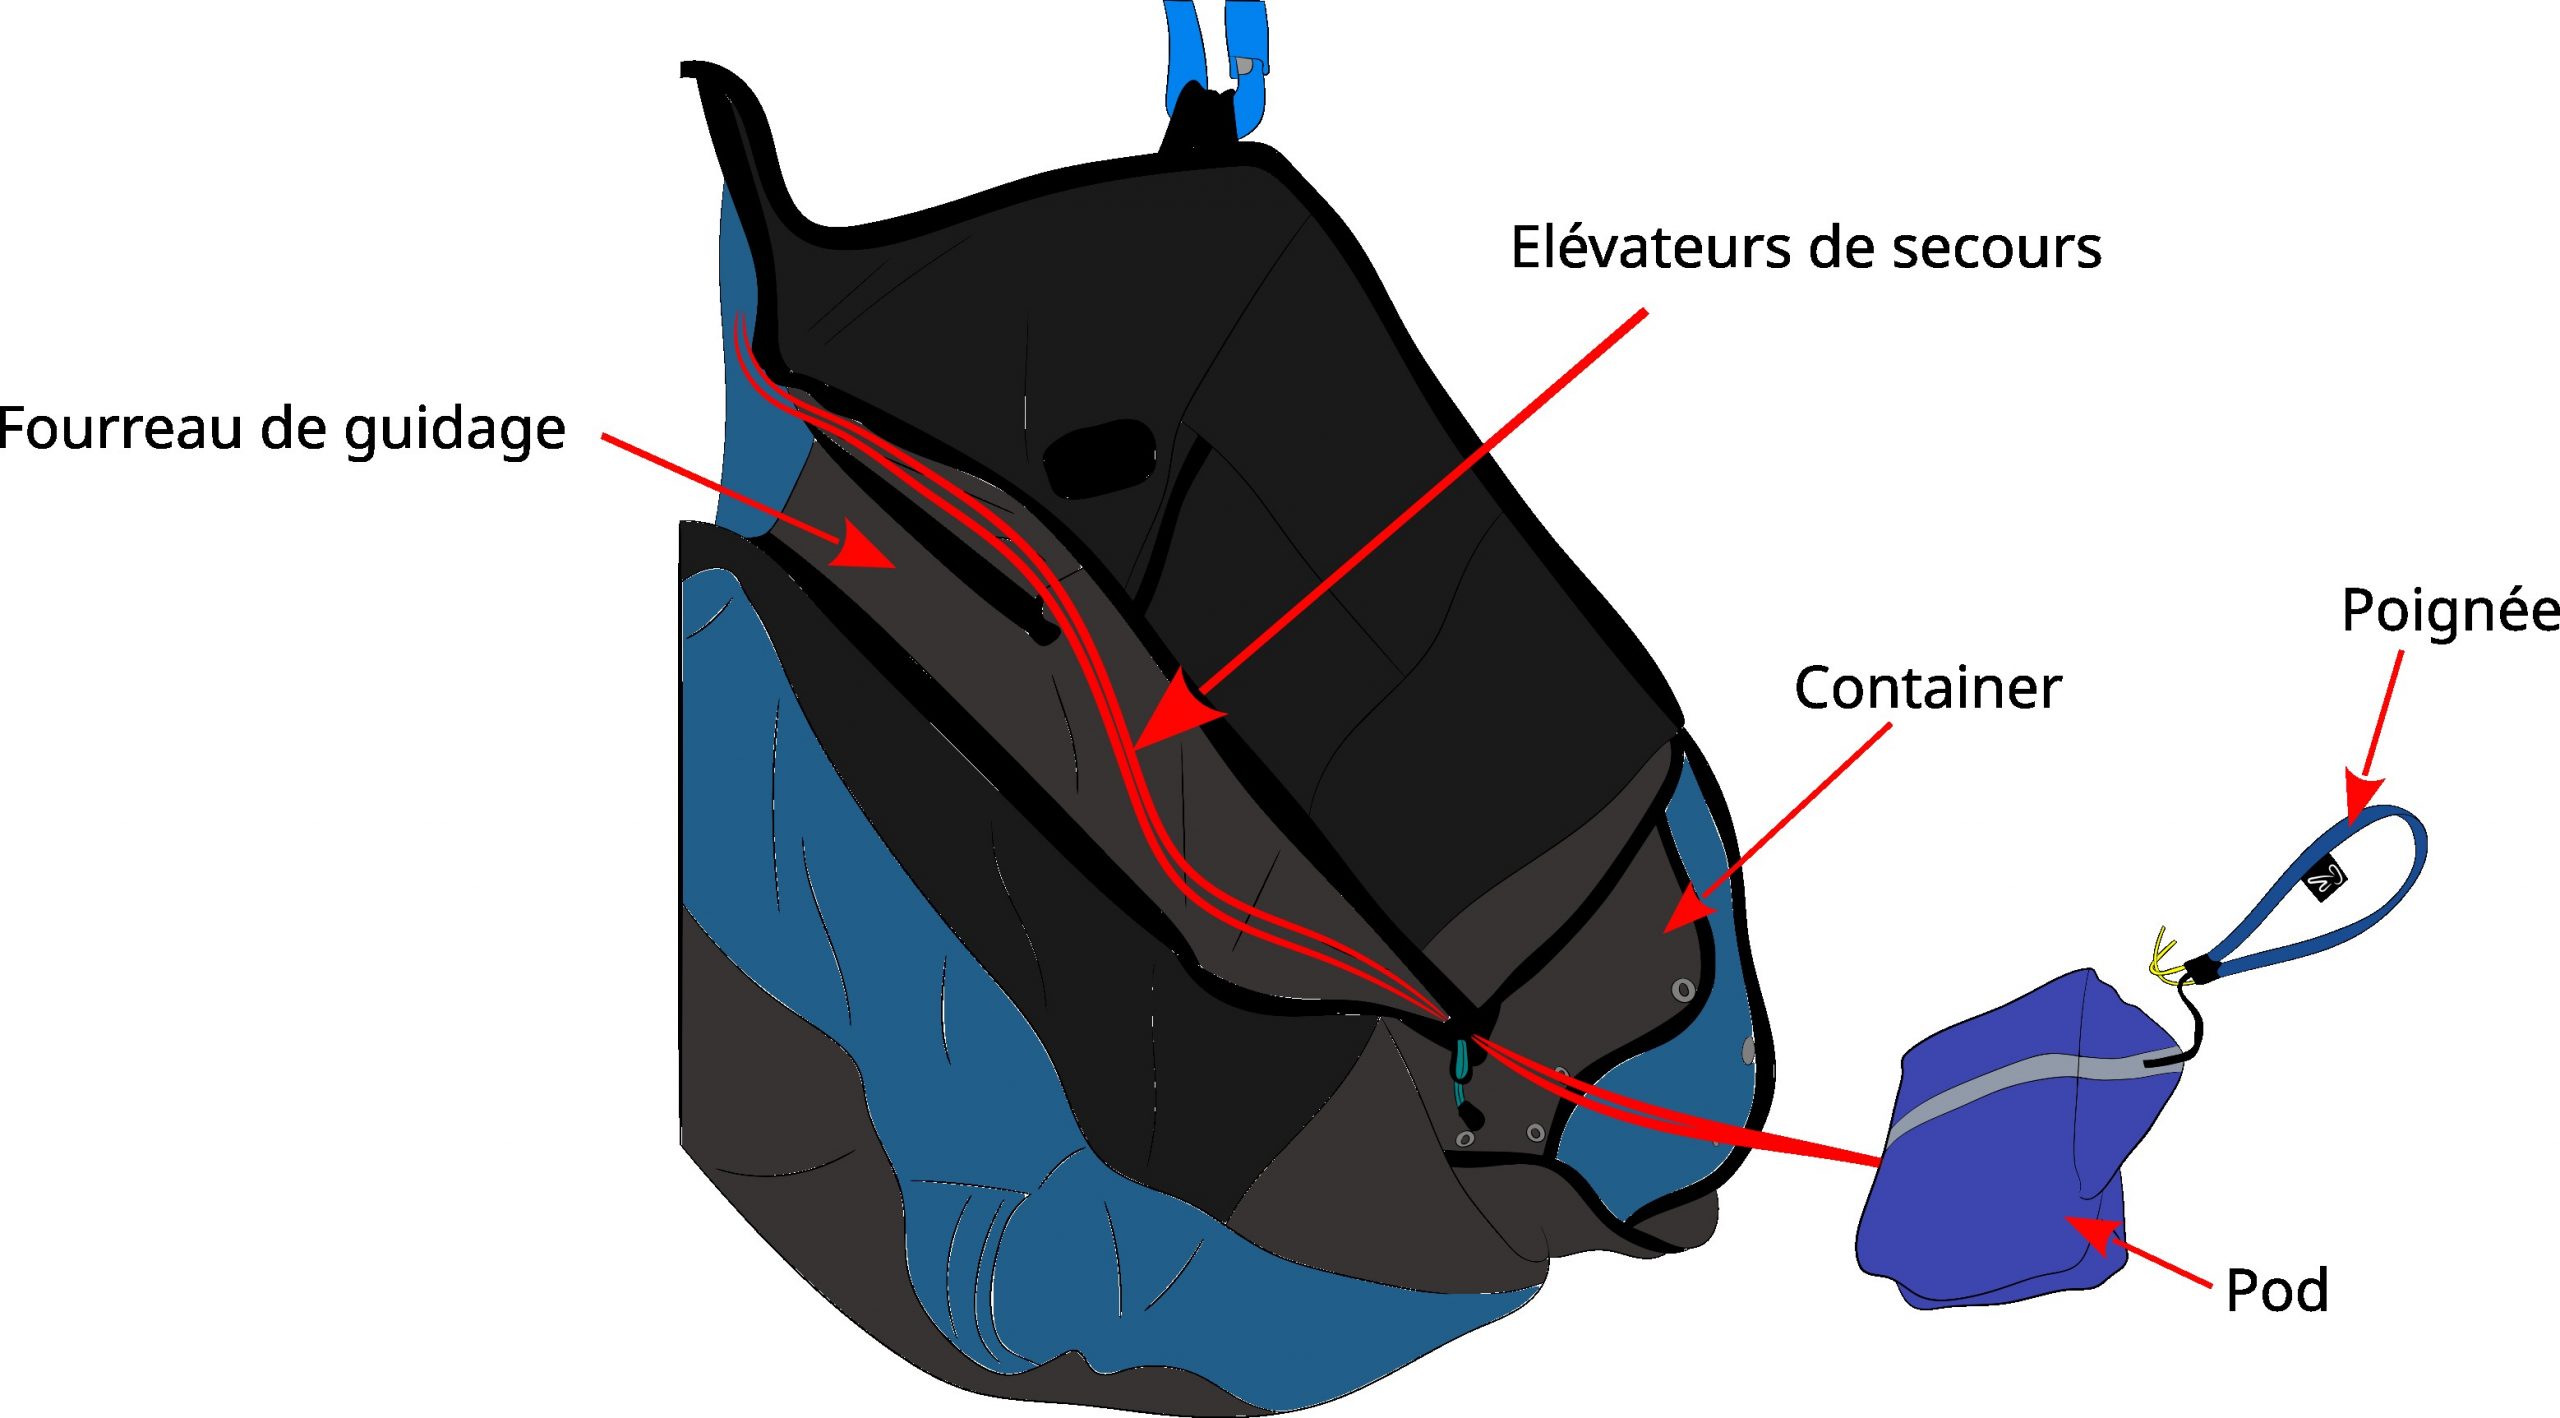
Bridles run from the container through a protective tunnel or sleeve to the shoulder hang points, closed via velcro or an exploding zipper. The tunnel must open cleanly under bridle tension without catching. On front-mount containers, route the bridle sleeve outside the speed bar line to avoid snagging.
Critical Checkpoints:
– Inspect velcro and zipper closures.
– Confirm the tunnel bursts open cleanly without friction points.
Container
The container houses the pod and line bights. It must match the packed reserve volume: an oversized container allows the pod to shift and lines to uncoil; an undersized container creates excessive extraction friction. Flaps must peel wide open upon handle pull.
Modern harnesses provide integrated pod-handle systems tailored to the container cavity. Transferring a parachute to a harness-specific pod requires careful refolding to conform to the new pod shape while maintaining original packing sequence.
Critical Checkpoints:
– Verify container fabric integrity and cleanliness.
– Match container volume to parachute size.
– Check closing eyelets, nylon rods, and release loops for damage.
– Ensure packing aid cords (pull-up cords) are completely removed!
Rescue Handle
The handle is the pilot's primary interface to initiate deployment. The connecting strap length between handle and pod is critical: if too short, the pod jams against the flaps before pins pull free; if too long, throwing leverage is compromised and the loose strap can tangle around lines during the toss. Keep the handle strop as short as possible while ensuring clean flap release.
Under EN 1651, handle pull extraction force must fall between 2 kg and 7 kg.
Critical Checkpoints:
– Verify handle matches the container design.
– Inspect handle grip, locking pins, and closure cords.
– Inspect handle-to-pod connecting strap and stitching.
– Ensure connecting strap length allows complete pin extraction before pod pull.
CONCLUSION
In a real in-flight emergency, you have zero time for doubt or hesitation.
Take ownership of your rescue system: learn its assembly, inspect it regularly, and build total trust in your equipment.
Perform regular hang-frame test extractions: suspend your harness, adopt an active flight posture, and practice extracting the pod across various directions and pulling speeds. Have an assistant catch the pod to avoid canopy repacking. Test different angles—forward, sideways, rearward—and verify bridles pull free cleanly from tunnels. Remember that in an actual spiral dive or lock-in, centrifugal force and adrenaline will make extraction much harder than in a calm workshop.
The rescue deployment chain relies on multiple links that must function seamlessly as one integrated system. If any element shows incompatibility, upgrade to proper gear immediately. Leave nothing to chance.
When in doubt, consult professional free-flight workshops and certified instructors.
Size your reserve parachute with at least a 15% safety margin below the manufacturer's maximum certified weight. Air density drops significantly with altitude and temperature, reducing descent braking. The hardest part of a loss of control is making the definitive decision to throw. Once you decide, throw hard and outward toward clear air. Practicing mock handle touches in flight and repacking every 3 months is the single best way to save precious seconds.